Tenants
This is where you'll see and manage the tenants of your instance.
What is a tenant?
A tenant is a sub-division of your instance. Each client and user is tied to a specific tenant.
This is mostly useful if you want to create a product sold in white-label where each of your client has its own space. It allows for example for a user to have several accounts with the same email address inside one instance, but actually tied to different tenants. From a user point-of-view, this is a different application on which they login with different credentials.
If you don't plan to do this, that's okay: you'll always use a single tenant in your instance.
Each instance has at least one default tenant.
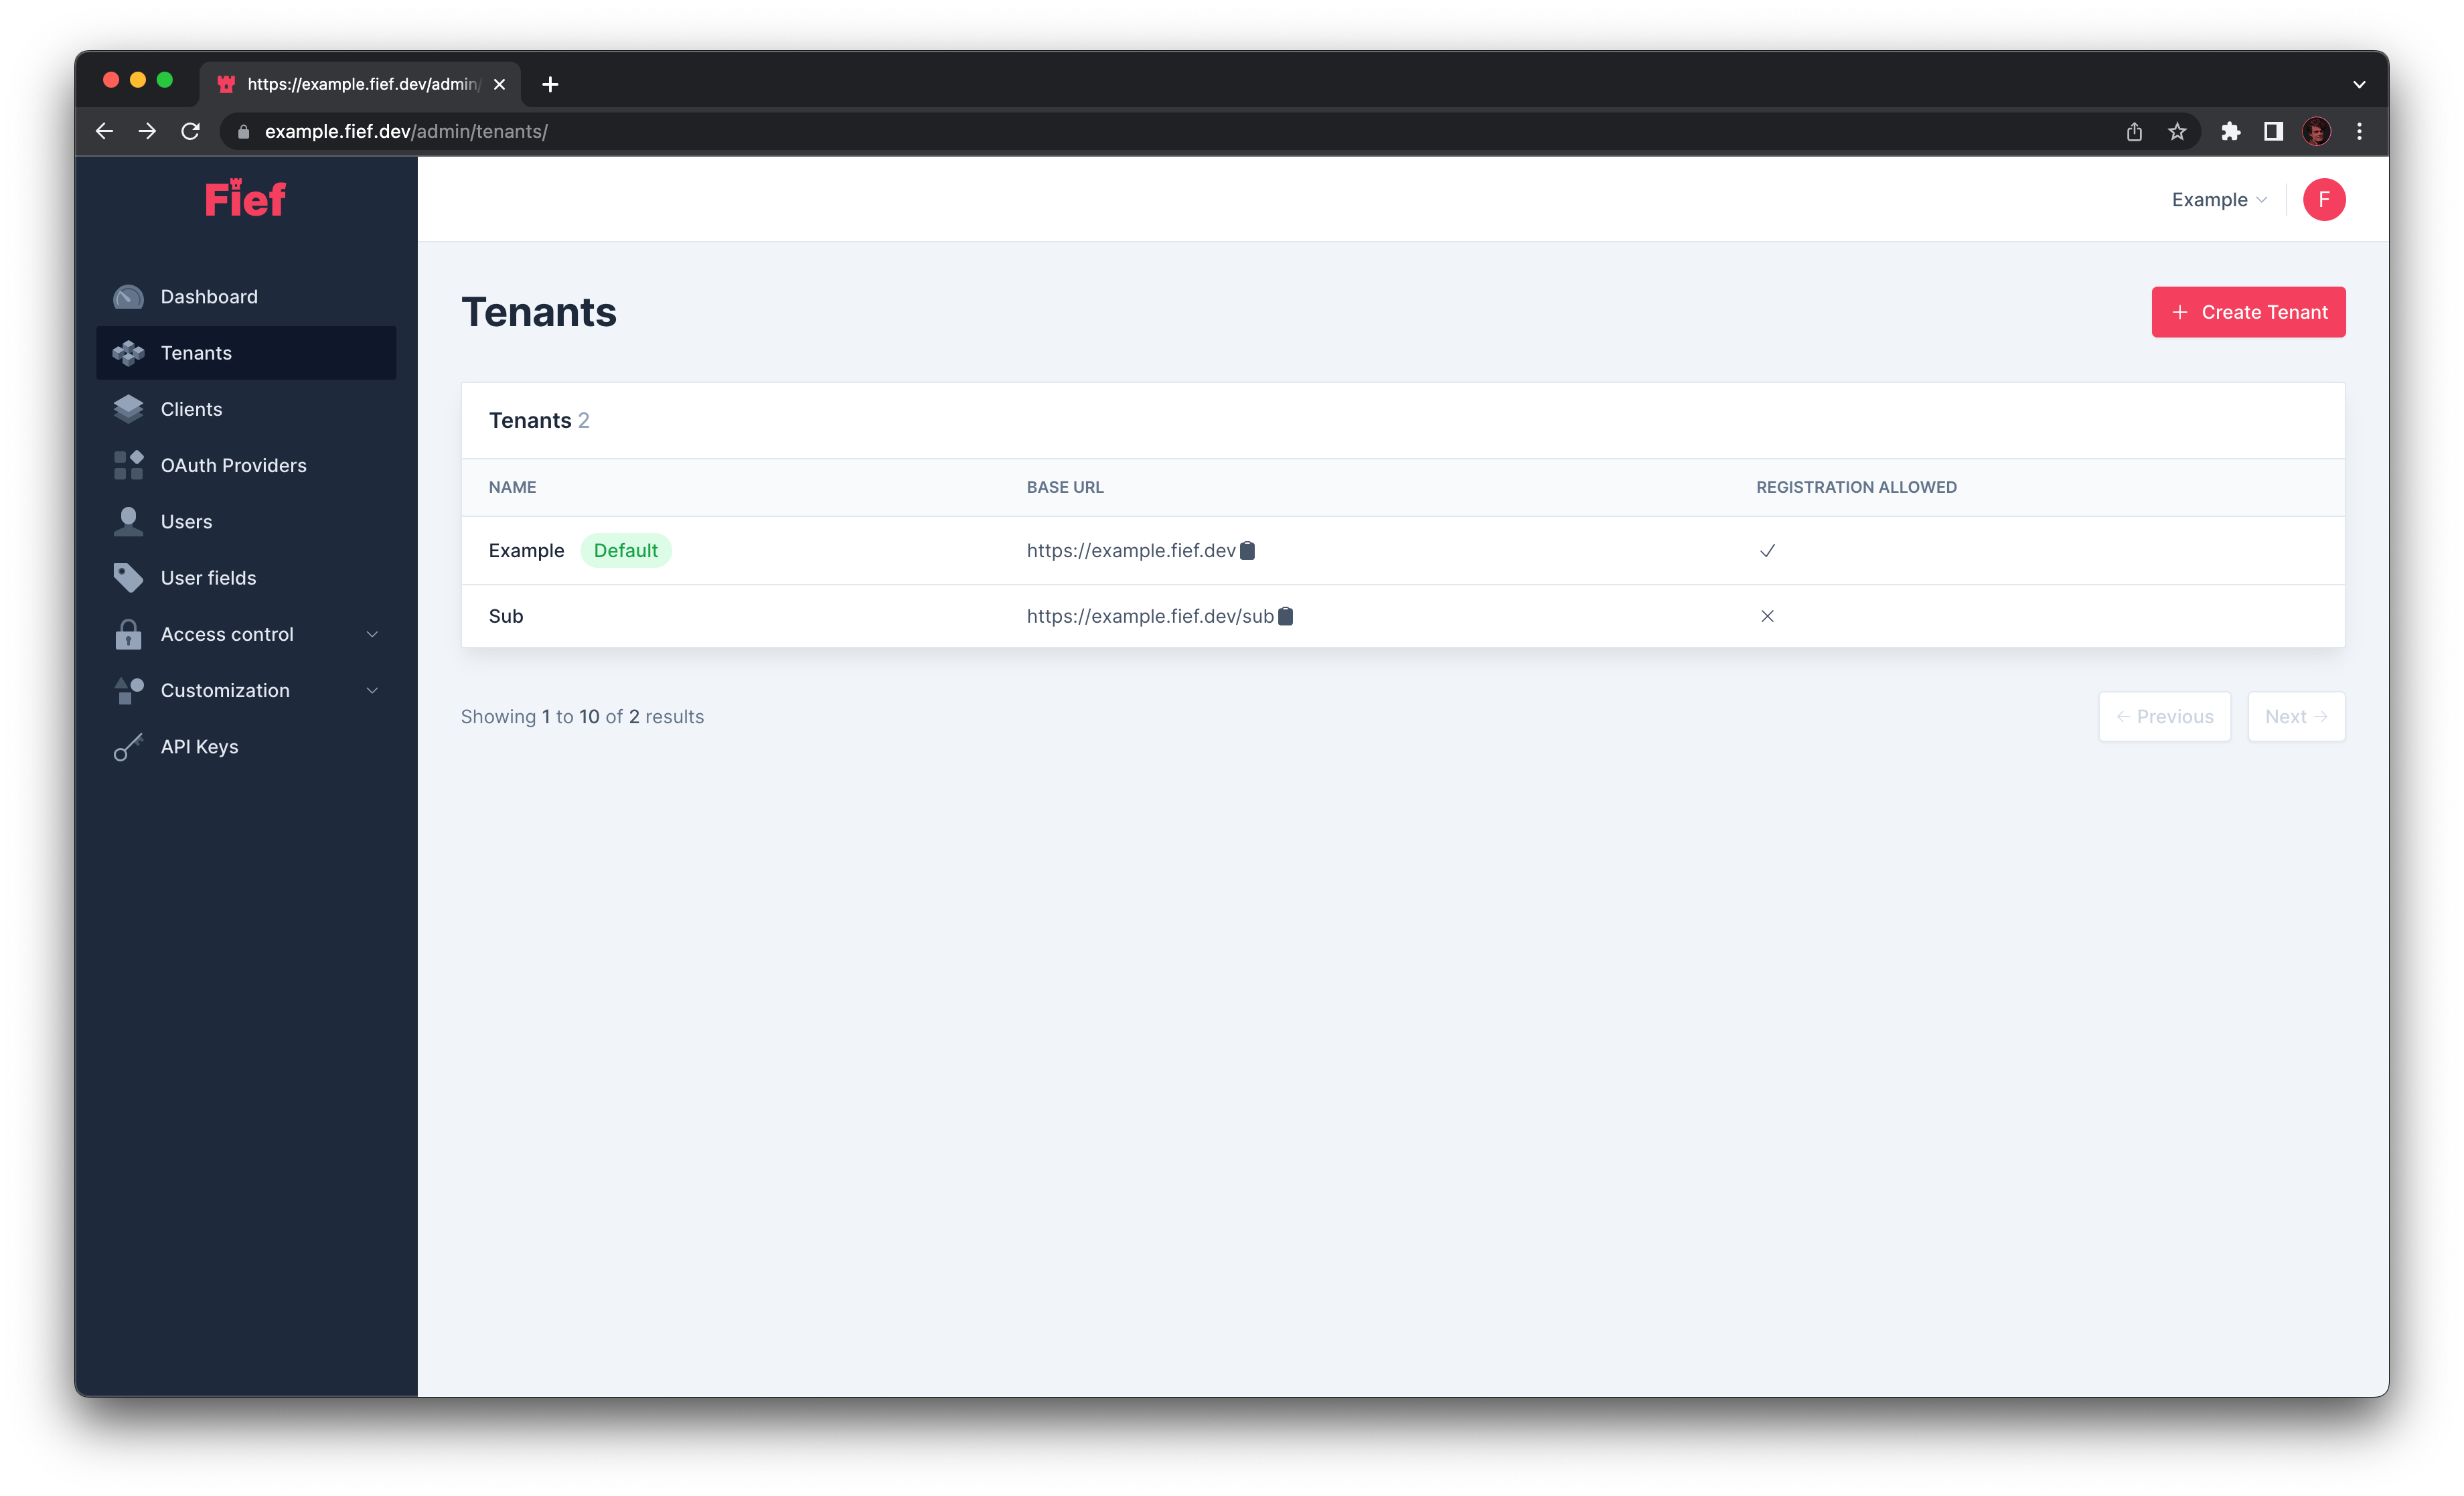
Base URL
Each tenant is tied to a base URL: each routes, like login or registration, will be derived from this base. When you integrate Fief in your application, you'll need this base URL.
Each instance has one default tenant with a base URL pointing to your root domain, like https://fief.mydomain.com.
Other tenants gets a path prefix, like https://fief.mydomain.com/other-tenant.
Tip
You can copy the base URL directly using the clipboard button in the list.
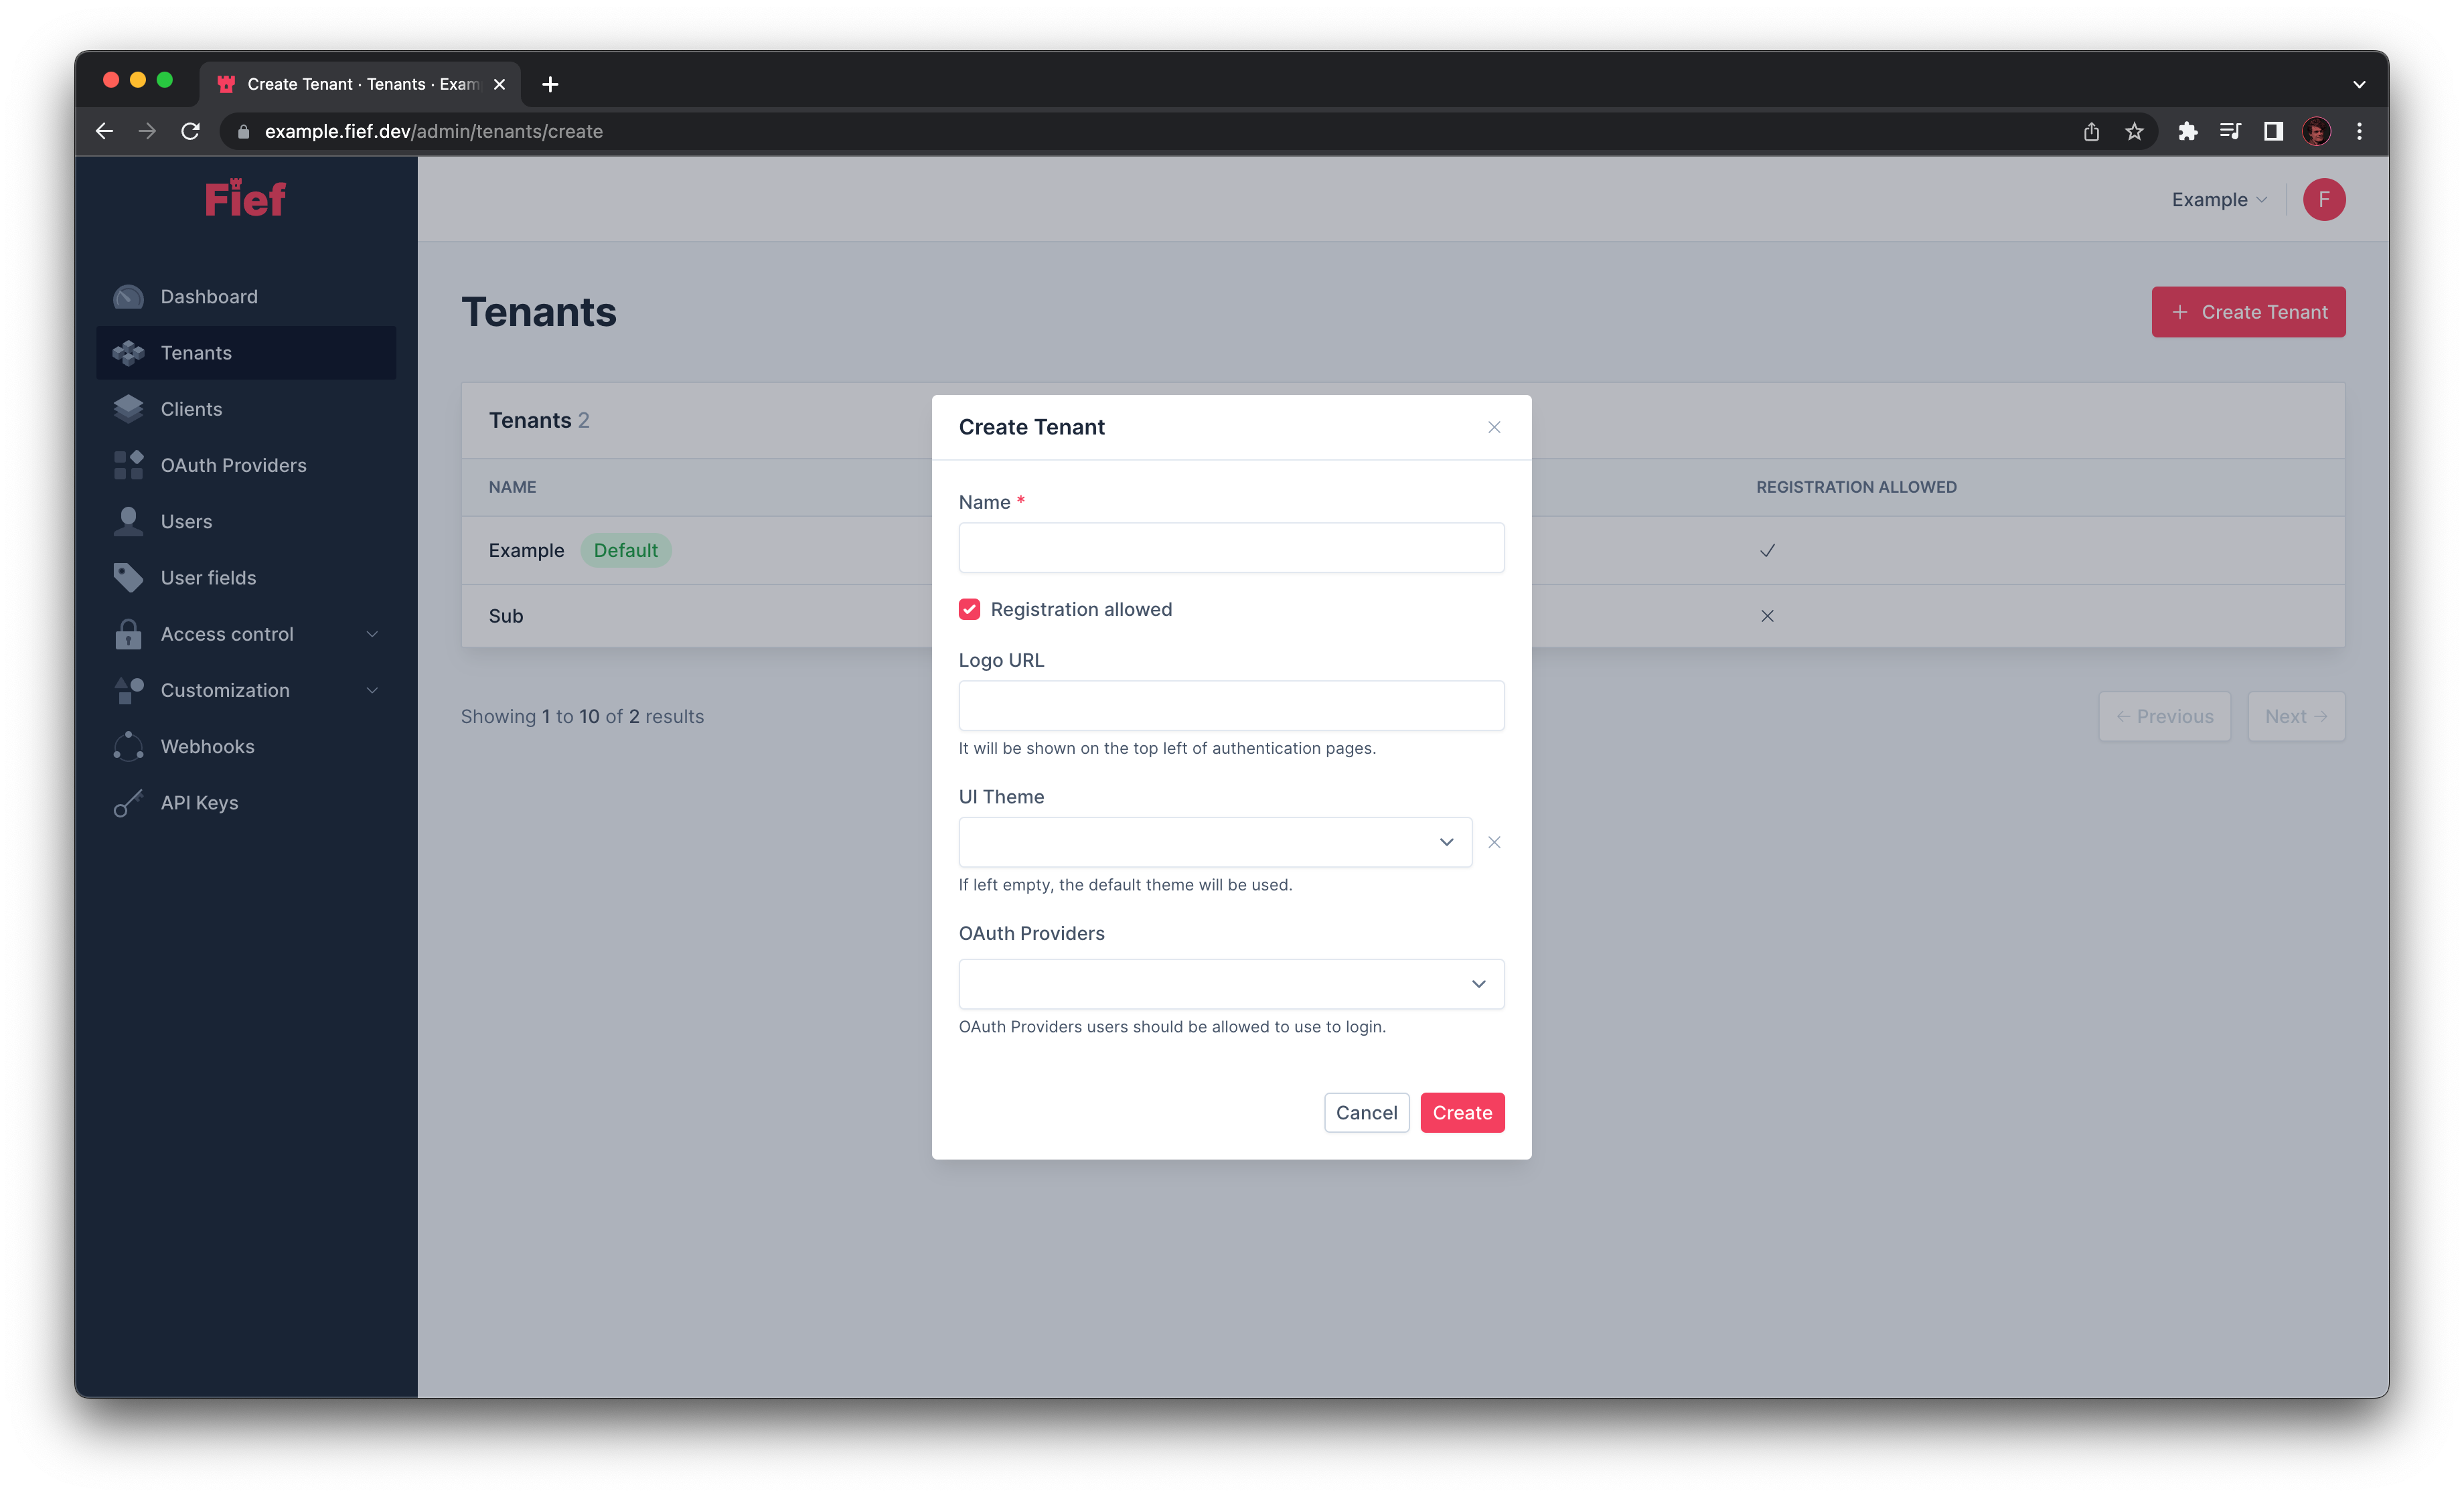
Create a new tenant
You can create a new tenant by clicking the Create Tenant button. A modal will open where you'll be able to input:
- Its name.
- If user registration is allowed.
The base URL is automatically generated from the name.
Optionally, you can also set:
- A logo URL that will be shown on the top-left of authentication pages.
- Your application URL. It's used to show a link going back to your application on the user dashboard.
- A UI theme to use when users authenticate with this tenant. If left empty, the theme set as default is used.
- The list of OAuth Providers allowed to be used on this tenant.
Edit an existing tenant
If you click on one of the tenant in the list, you'll see its details on the right.
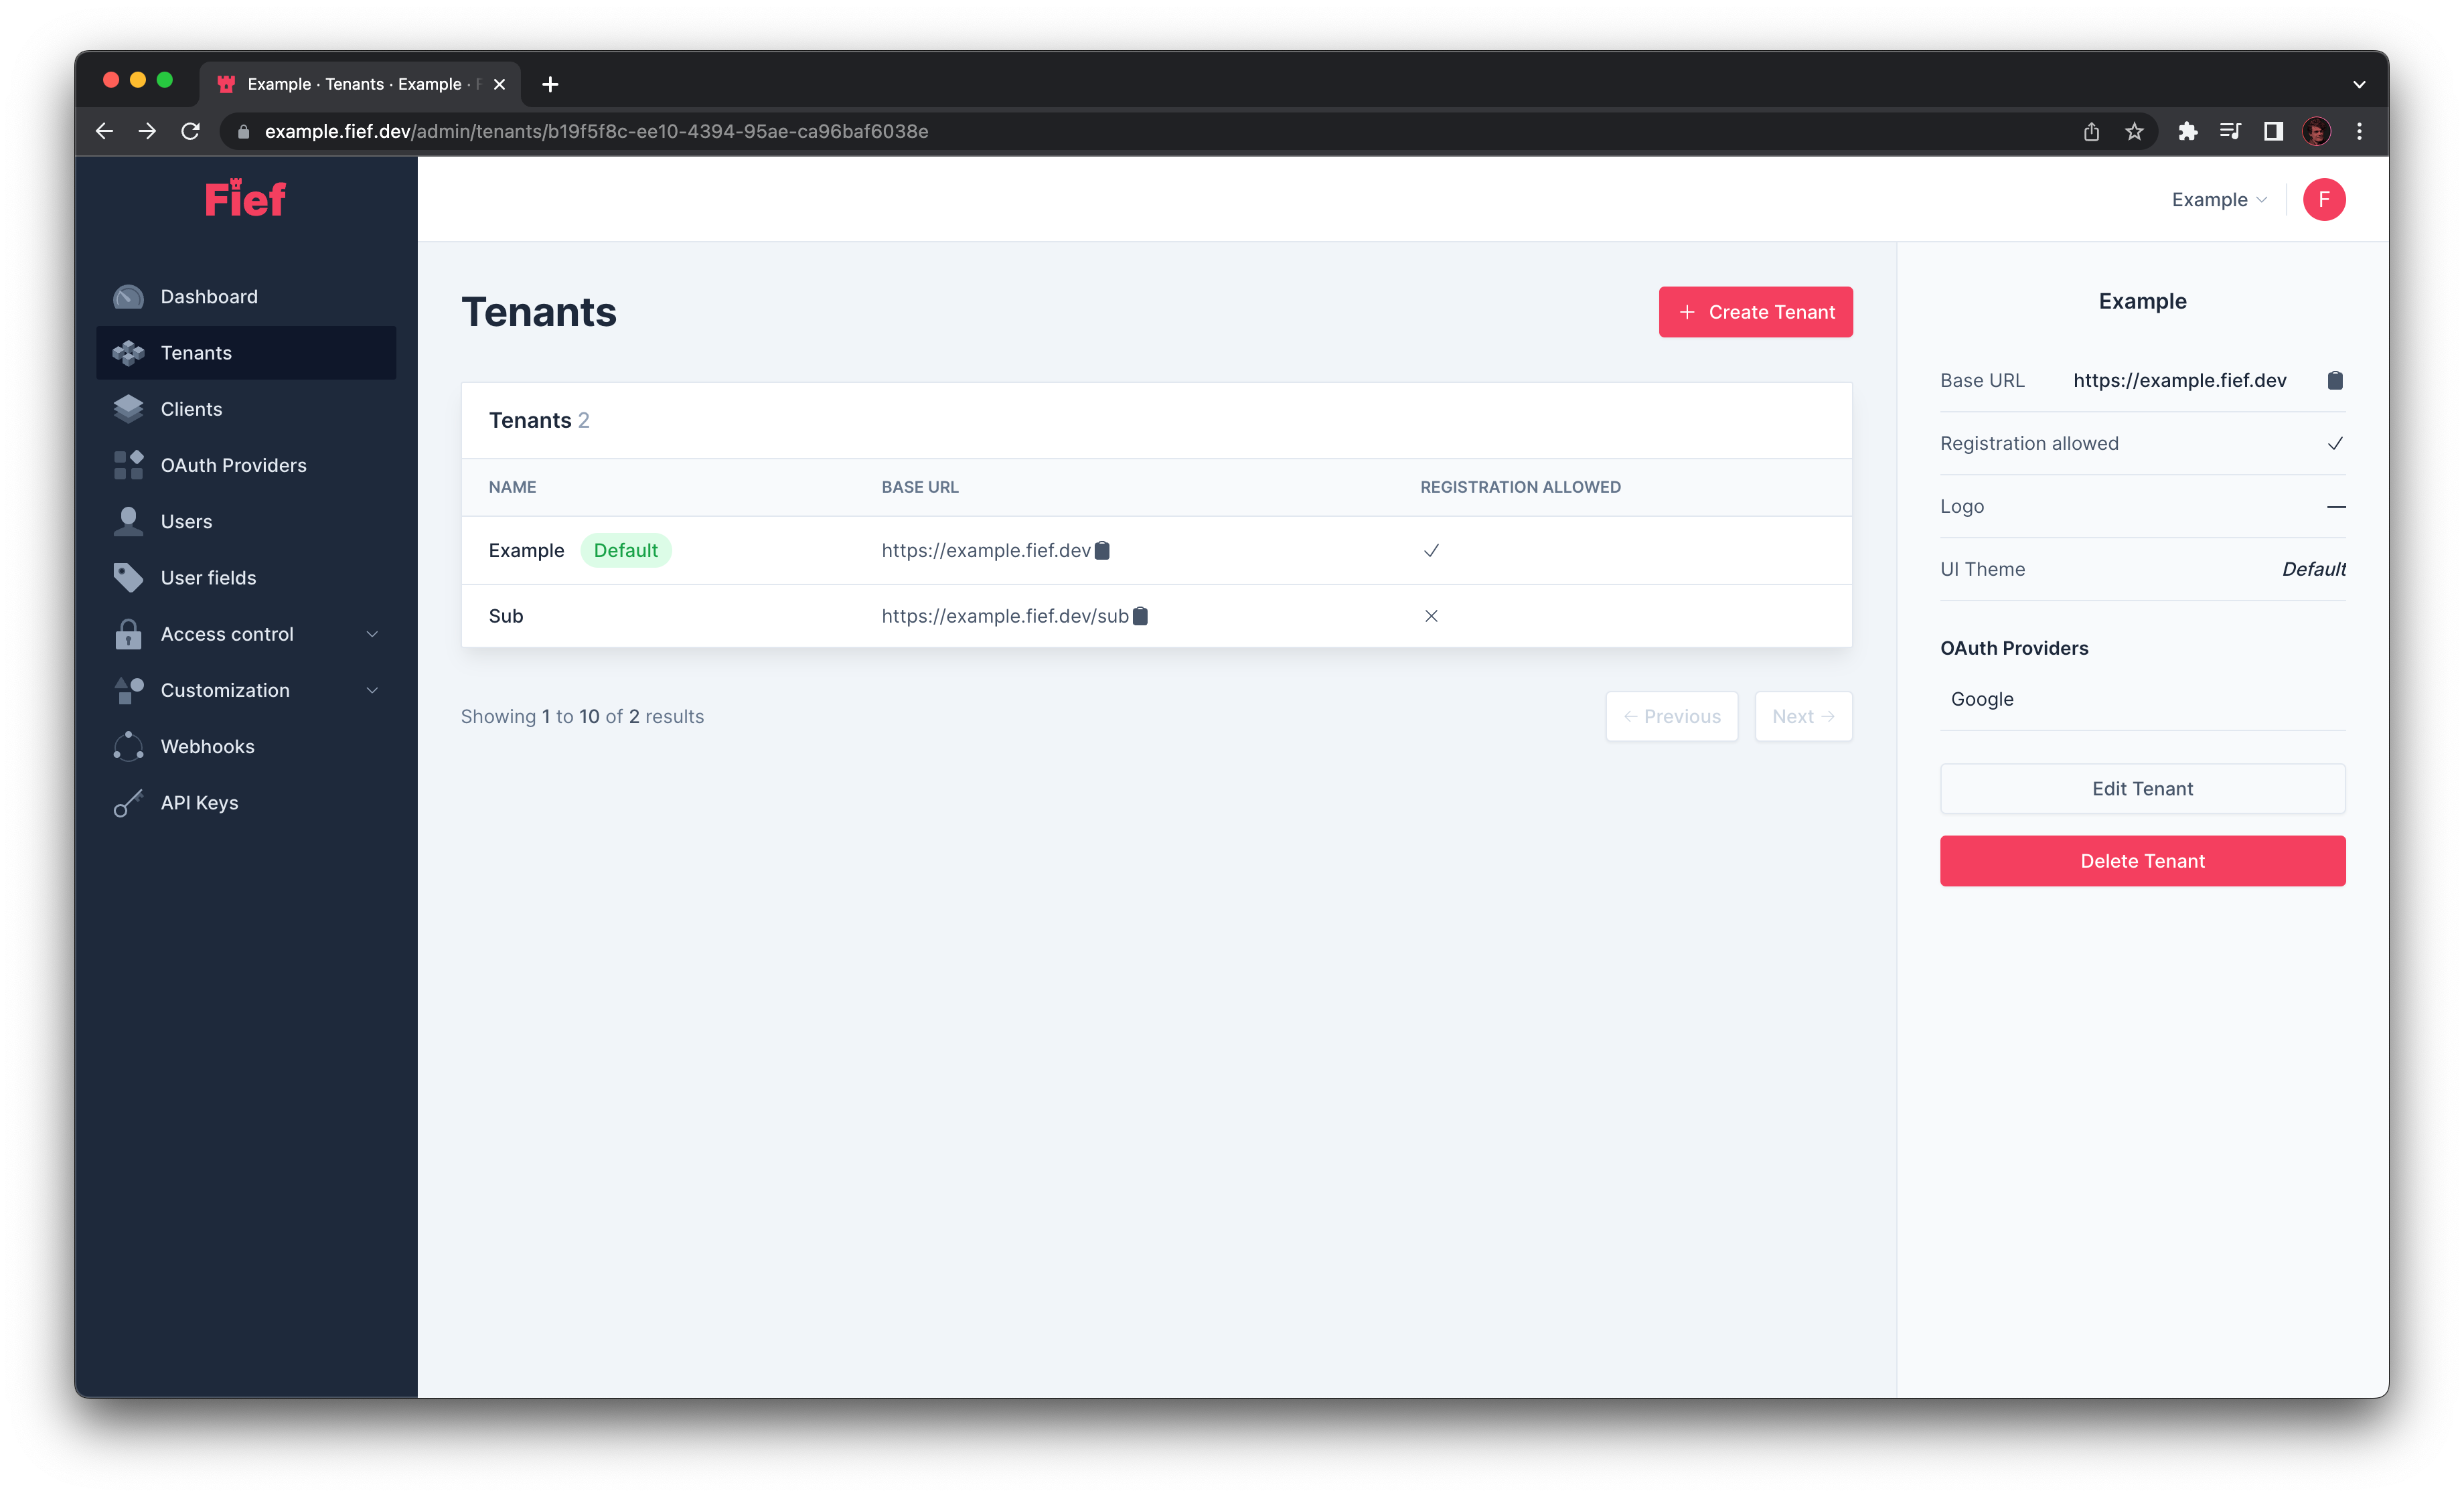
If you click on the Edit Tenant button, you'll be able to update its properties.
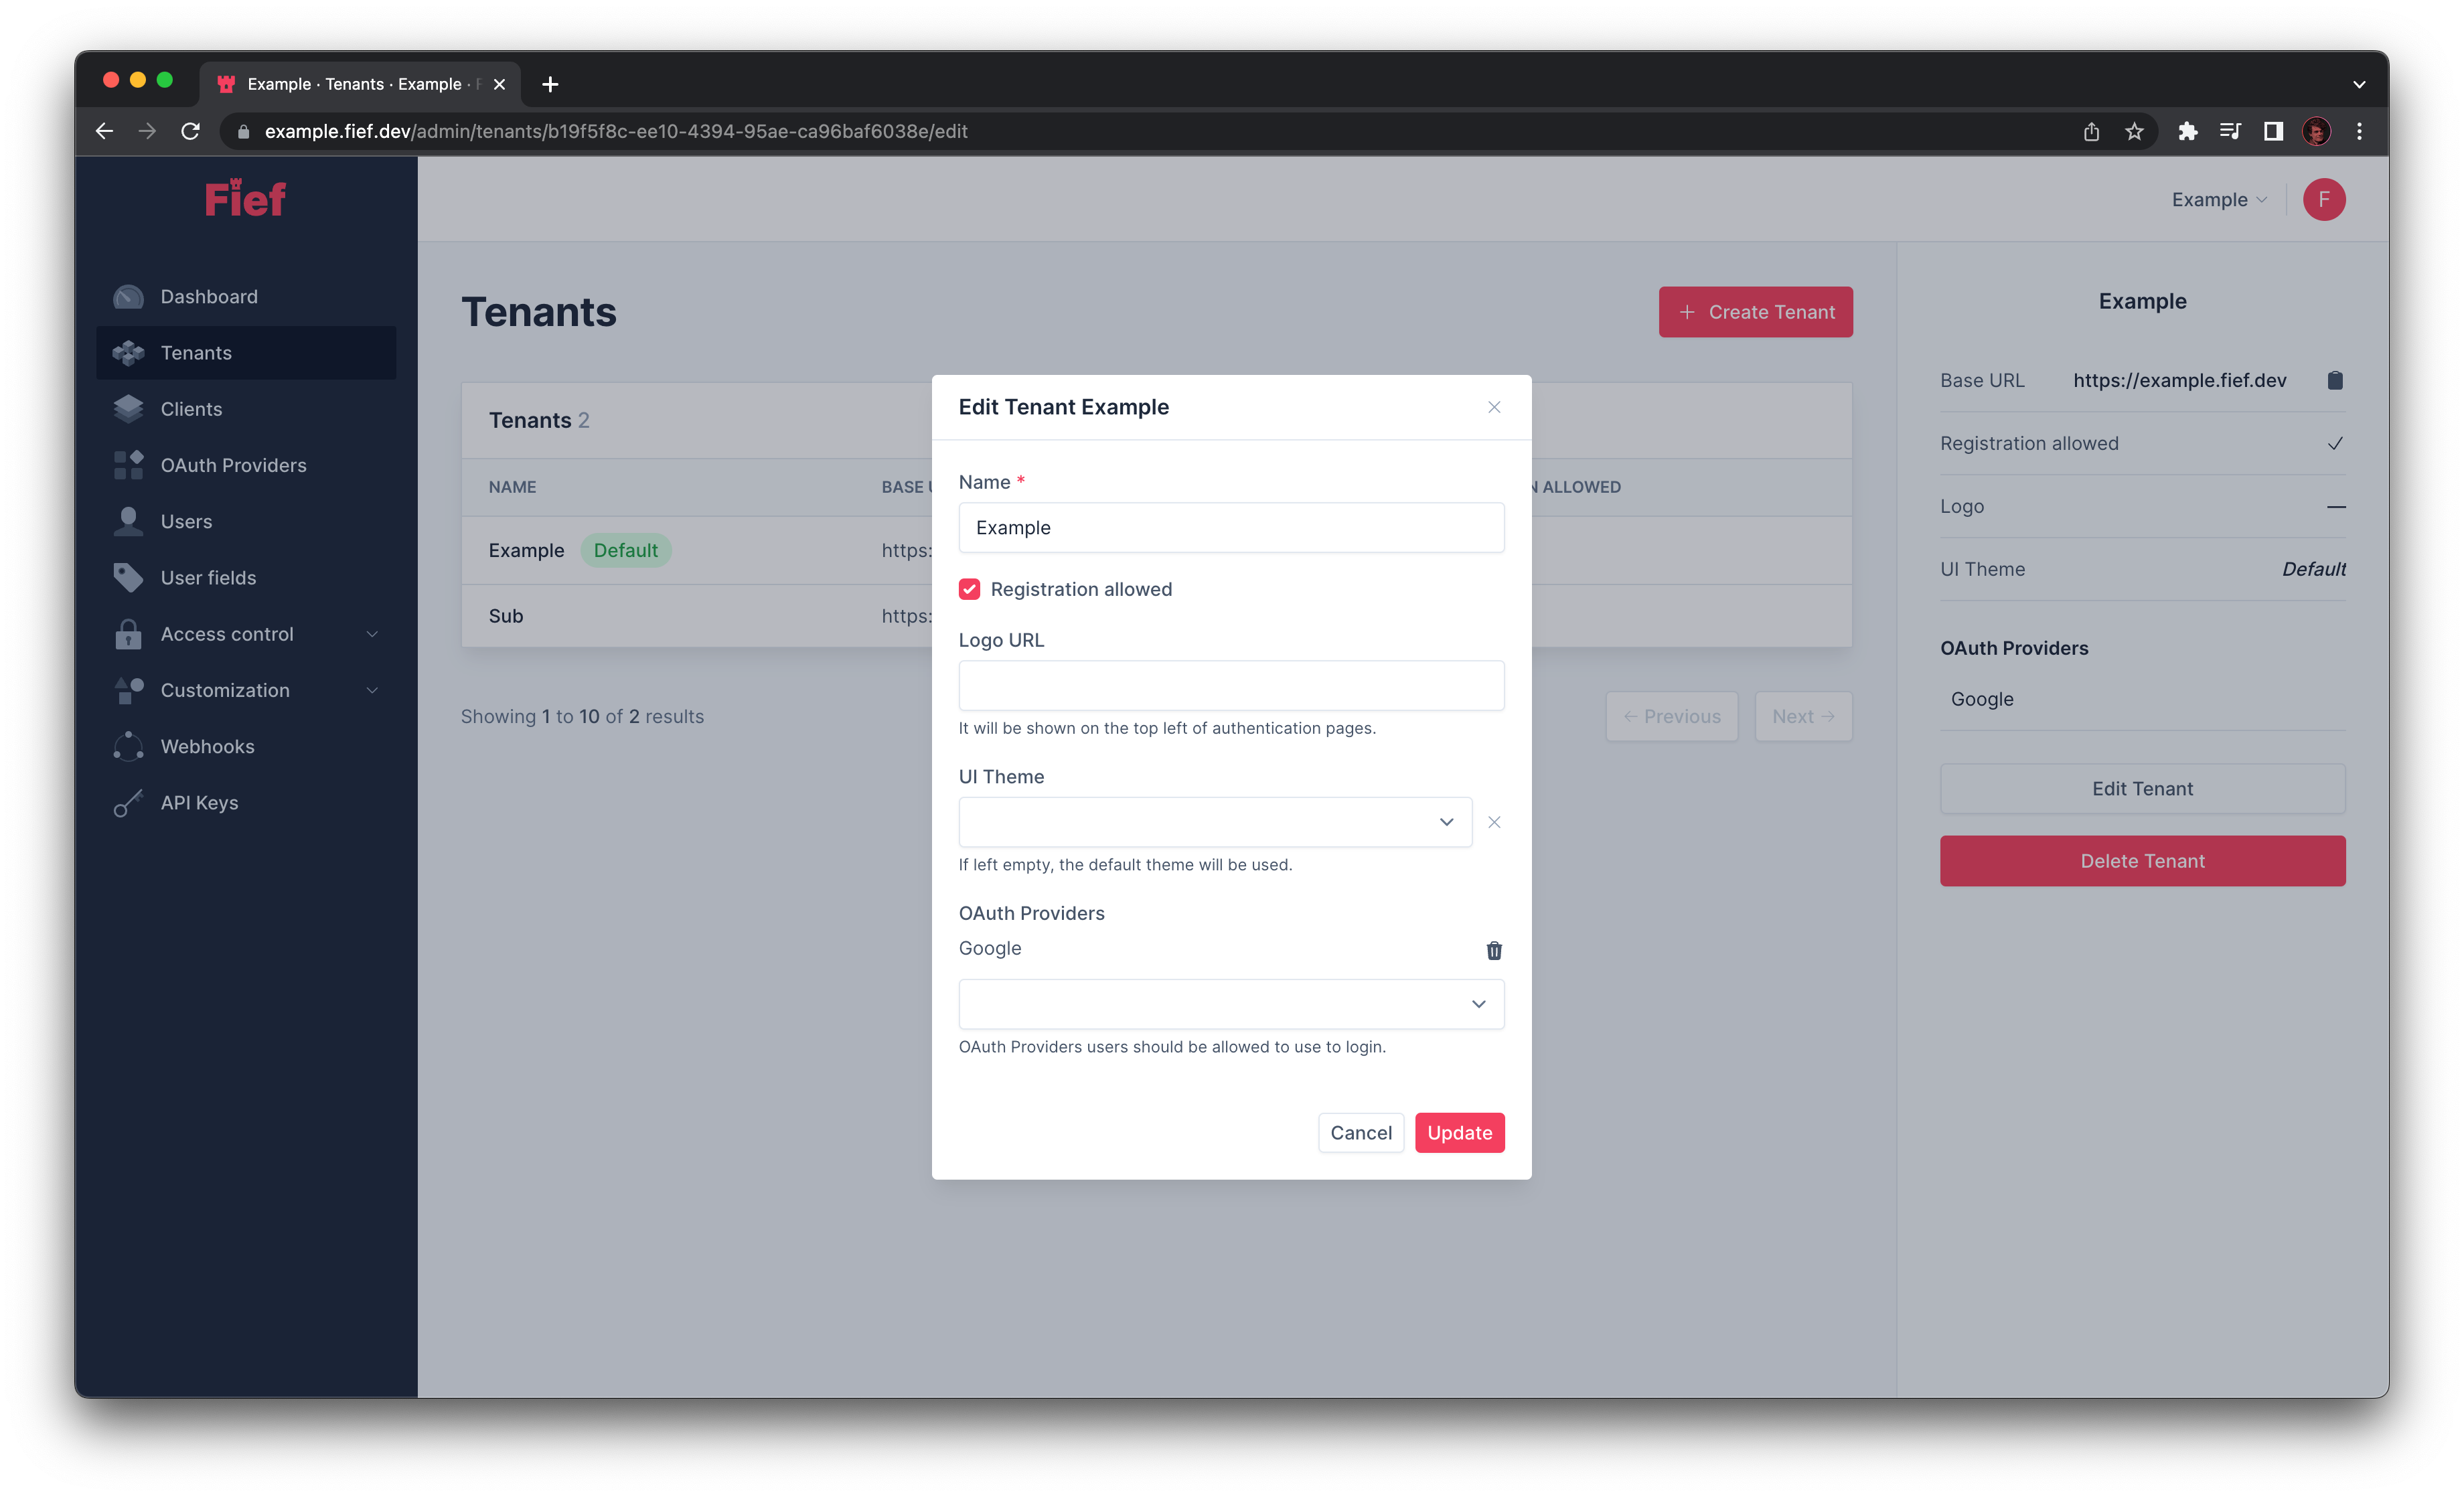
Disable user registration
You can choose to disable user registration on a tenant. To do this, you have to uncheck the Registration allowed checkbox in the tenant details.
When registration is disabled, users can't access the registration page and create a new account on this tenant.
Delete a tenant
If one your tenant is not useful anymore, you can delete it by clicking on it on the list and click on the Delete button on the right.
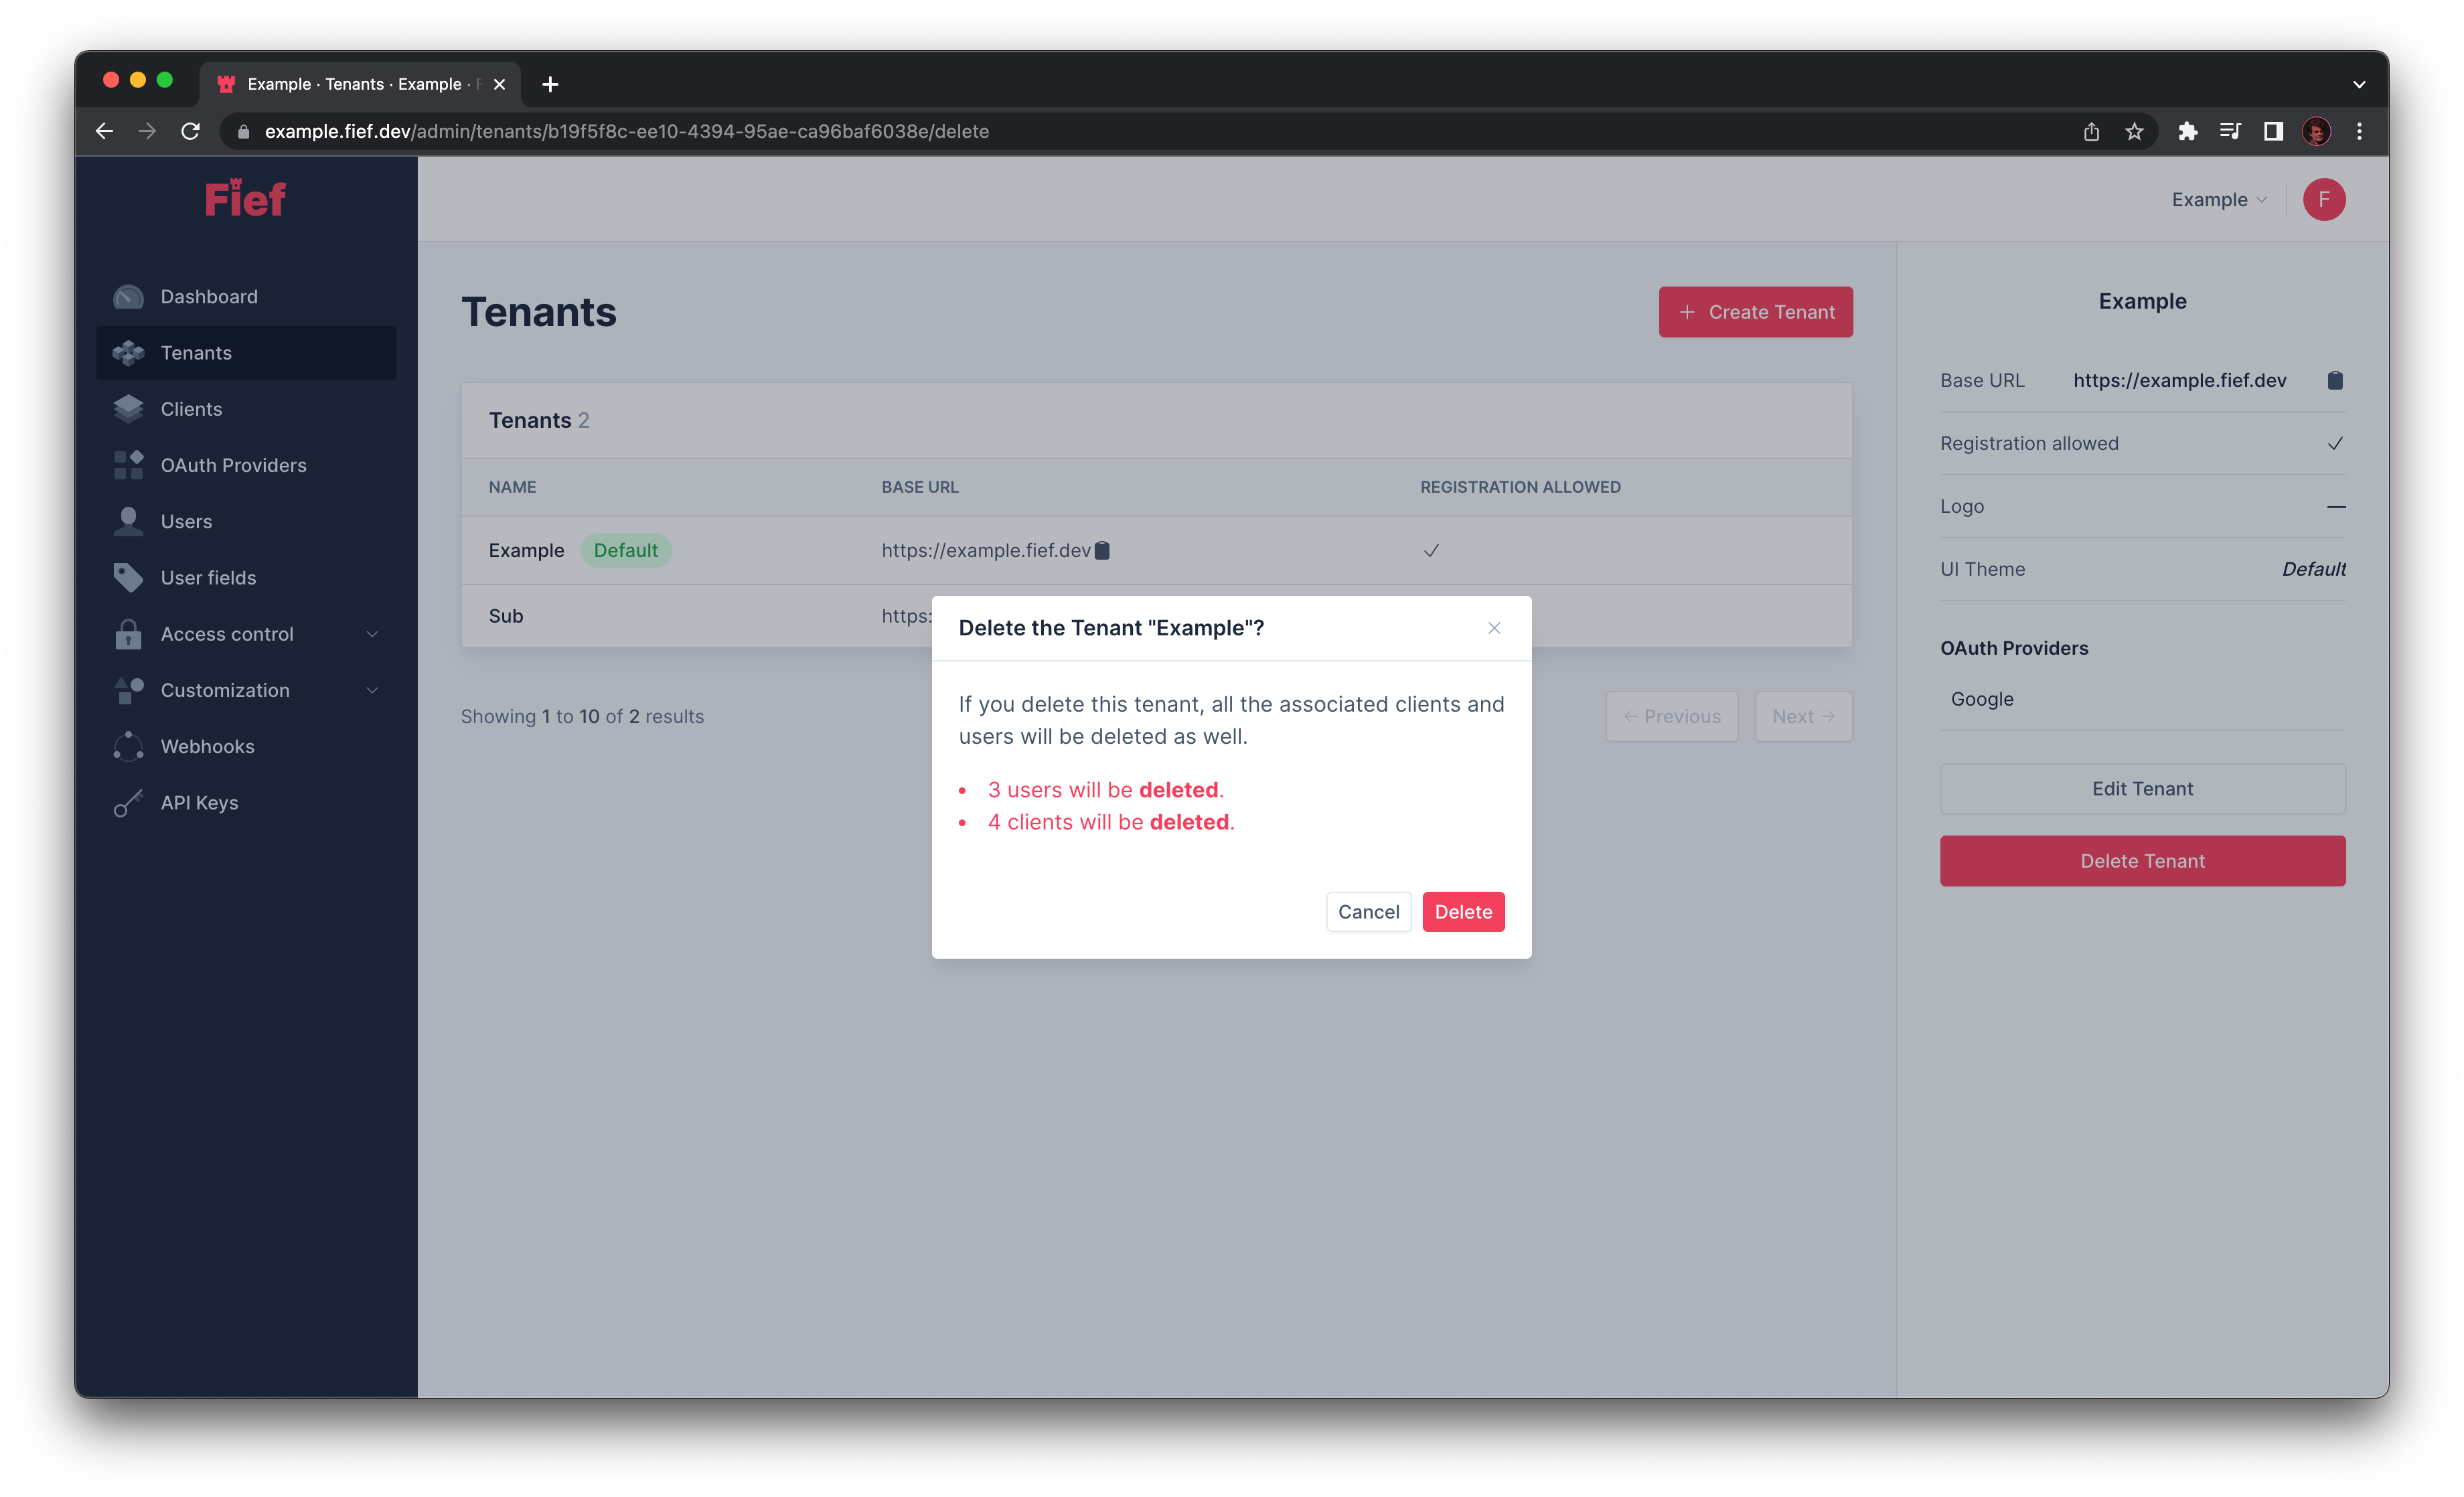
Users and clients will be removed as well
When you delete a tenant, all its associated users and clients will be deleted as well. The data won't be recoverable. Be sure of what you're doing!
Transactional emails
Quite often, Fief needs to send emails to your users, like welcome email or forgot password emails. The layout and content of those emails can be customized, as explained in the Email templates section.
Of course, those emails need to be sent by a specific email address and name, the From part of an email. By default, they will be sent by the address defined globally on your instance.
You can however customize per tenant this in the Email tab of a tenant. Fill the From name and From email with a valid name and email address and click on Update.

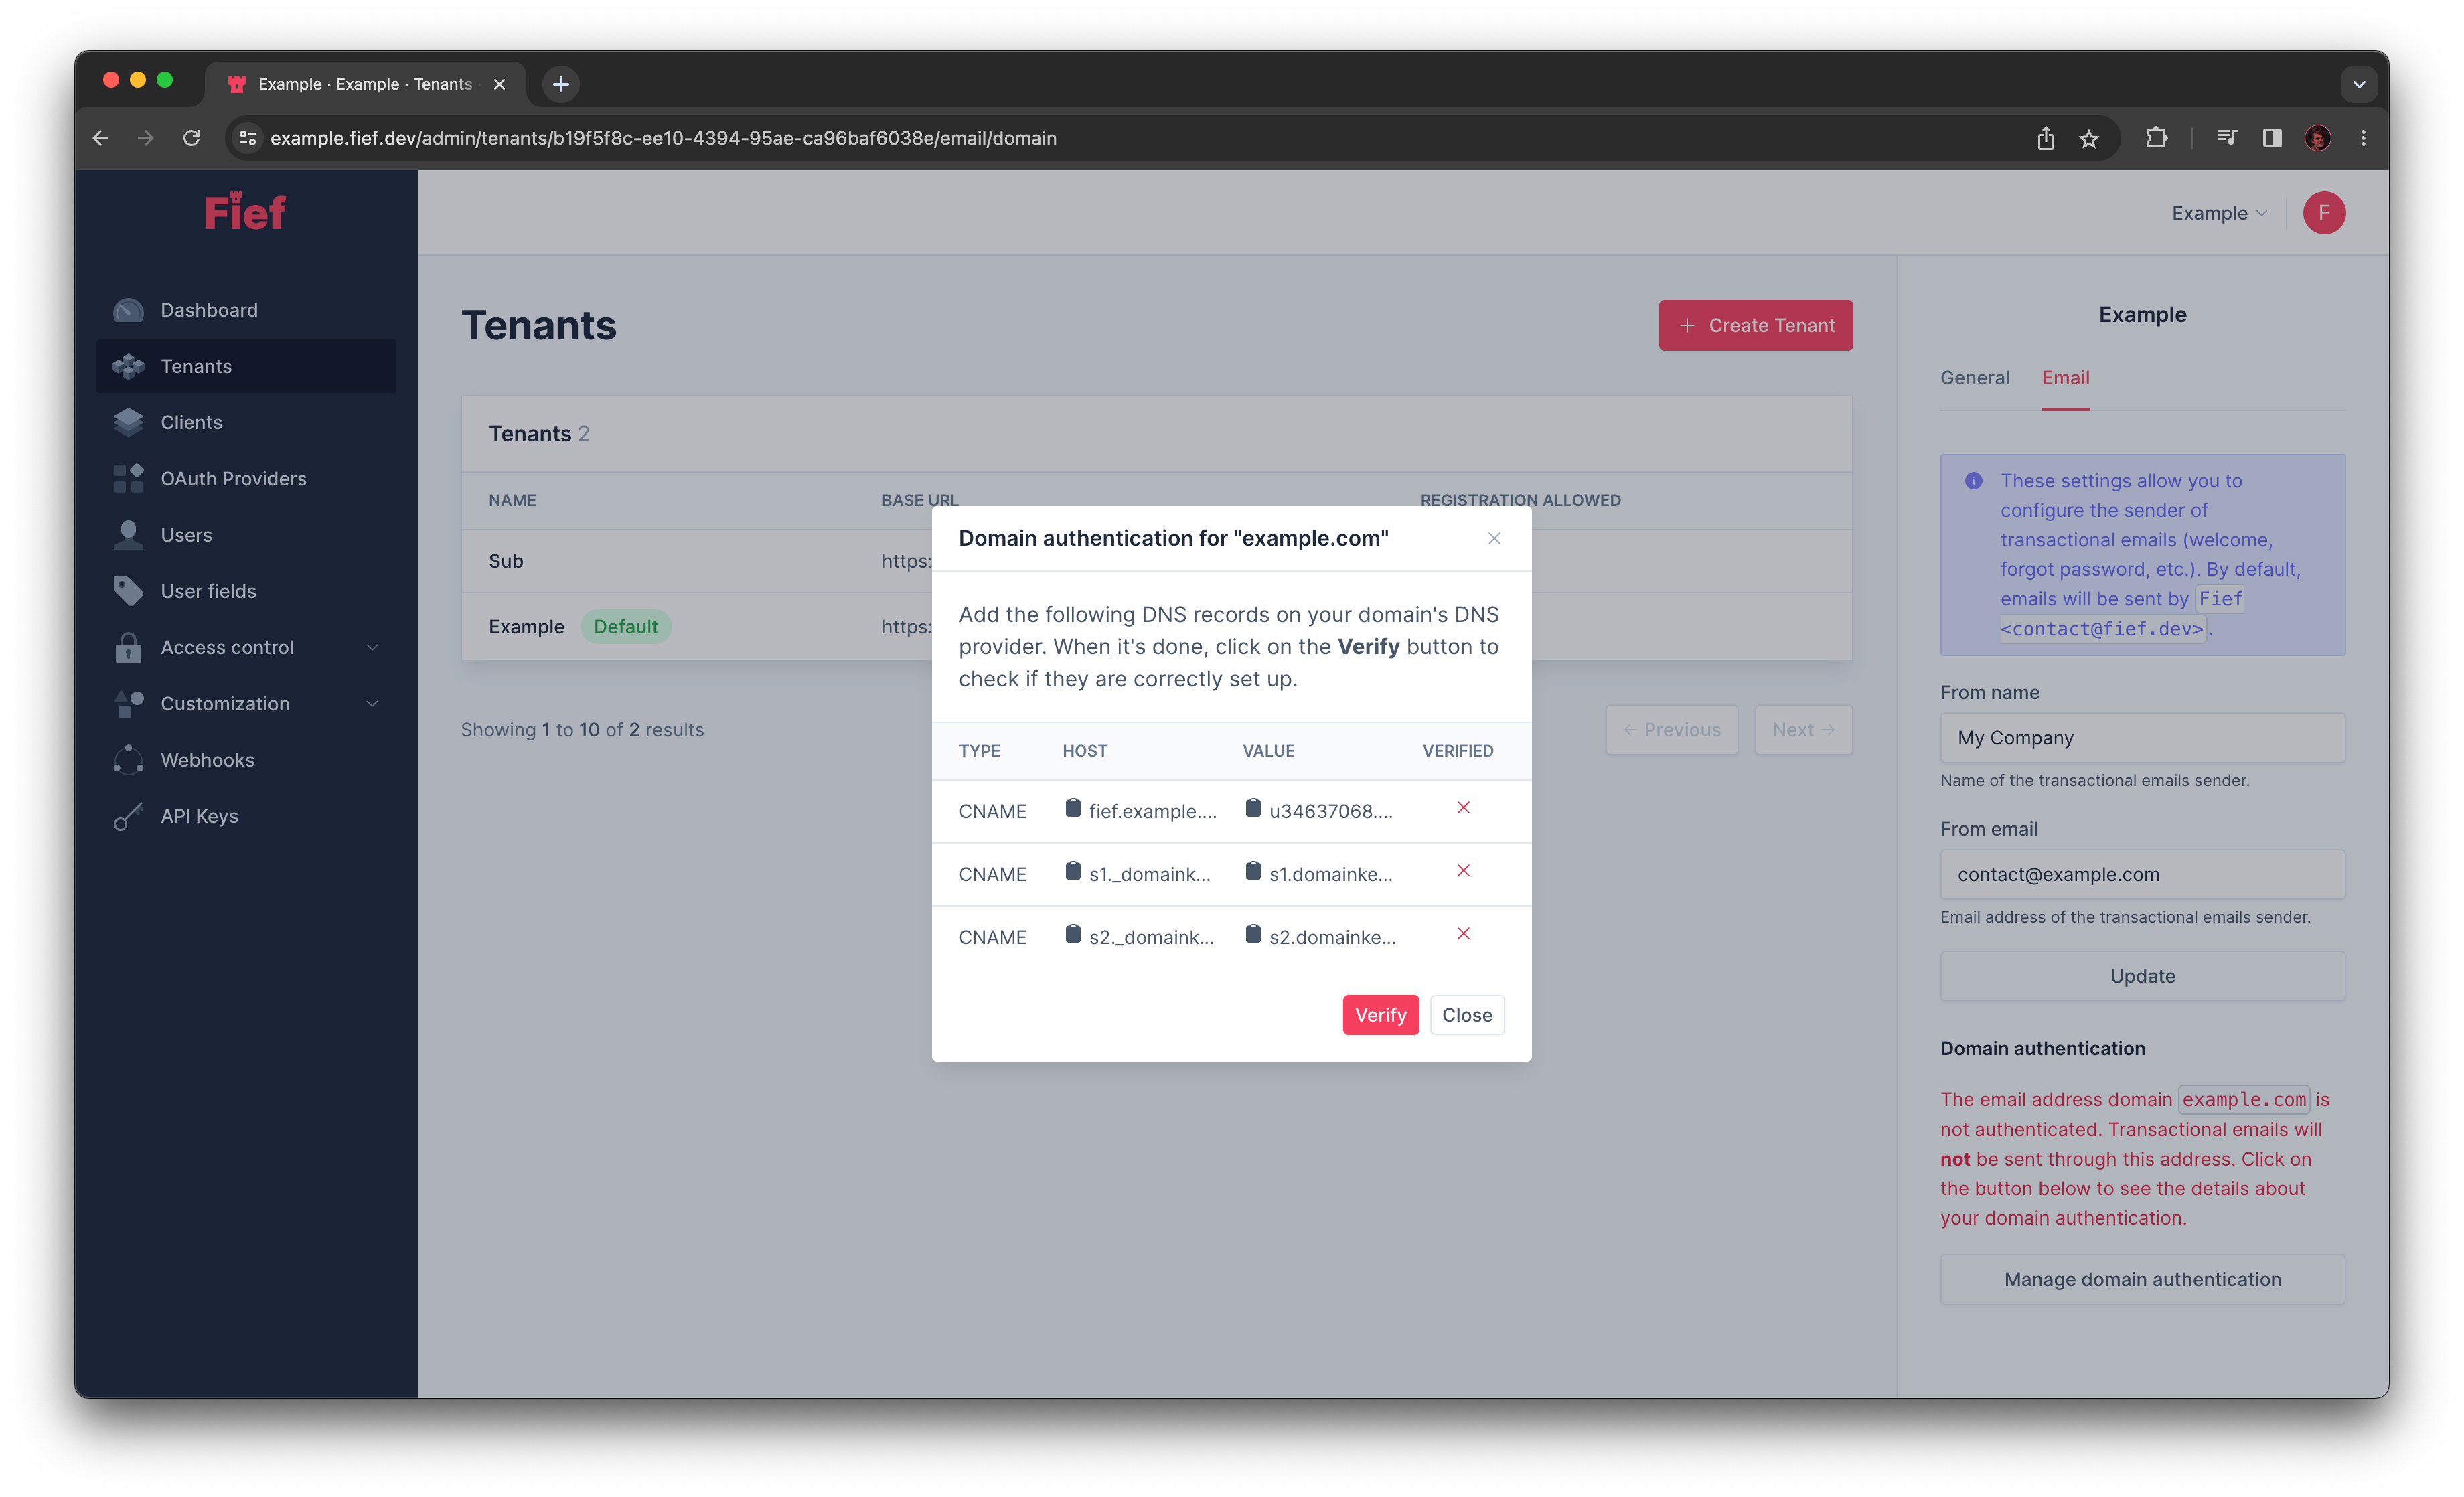
Domain authentication
To allow the Fief server to send emails on your behalf, you need to authenticate your email domain. For this, you'll have to set some DNS records on your domain registrar.
Click on Manage domain authentication to see the list of DNS records you need to set. Once done, click on the Verify button to validate that you correctly set the DNS records.
This feature is only supported with SendGrid
If you self-host your Fief server, please note that only the SendGrid provider supports domain authentication from the admin dashboard. If you use SMTP or Postmark, you should manually authenticate your domain.