3. Try OAuth2 on your instance
The following exercise is very interesting to see and practice all the aspects of OAuth2 with Fief.
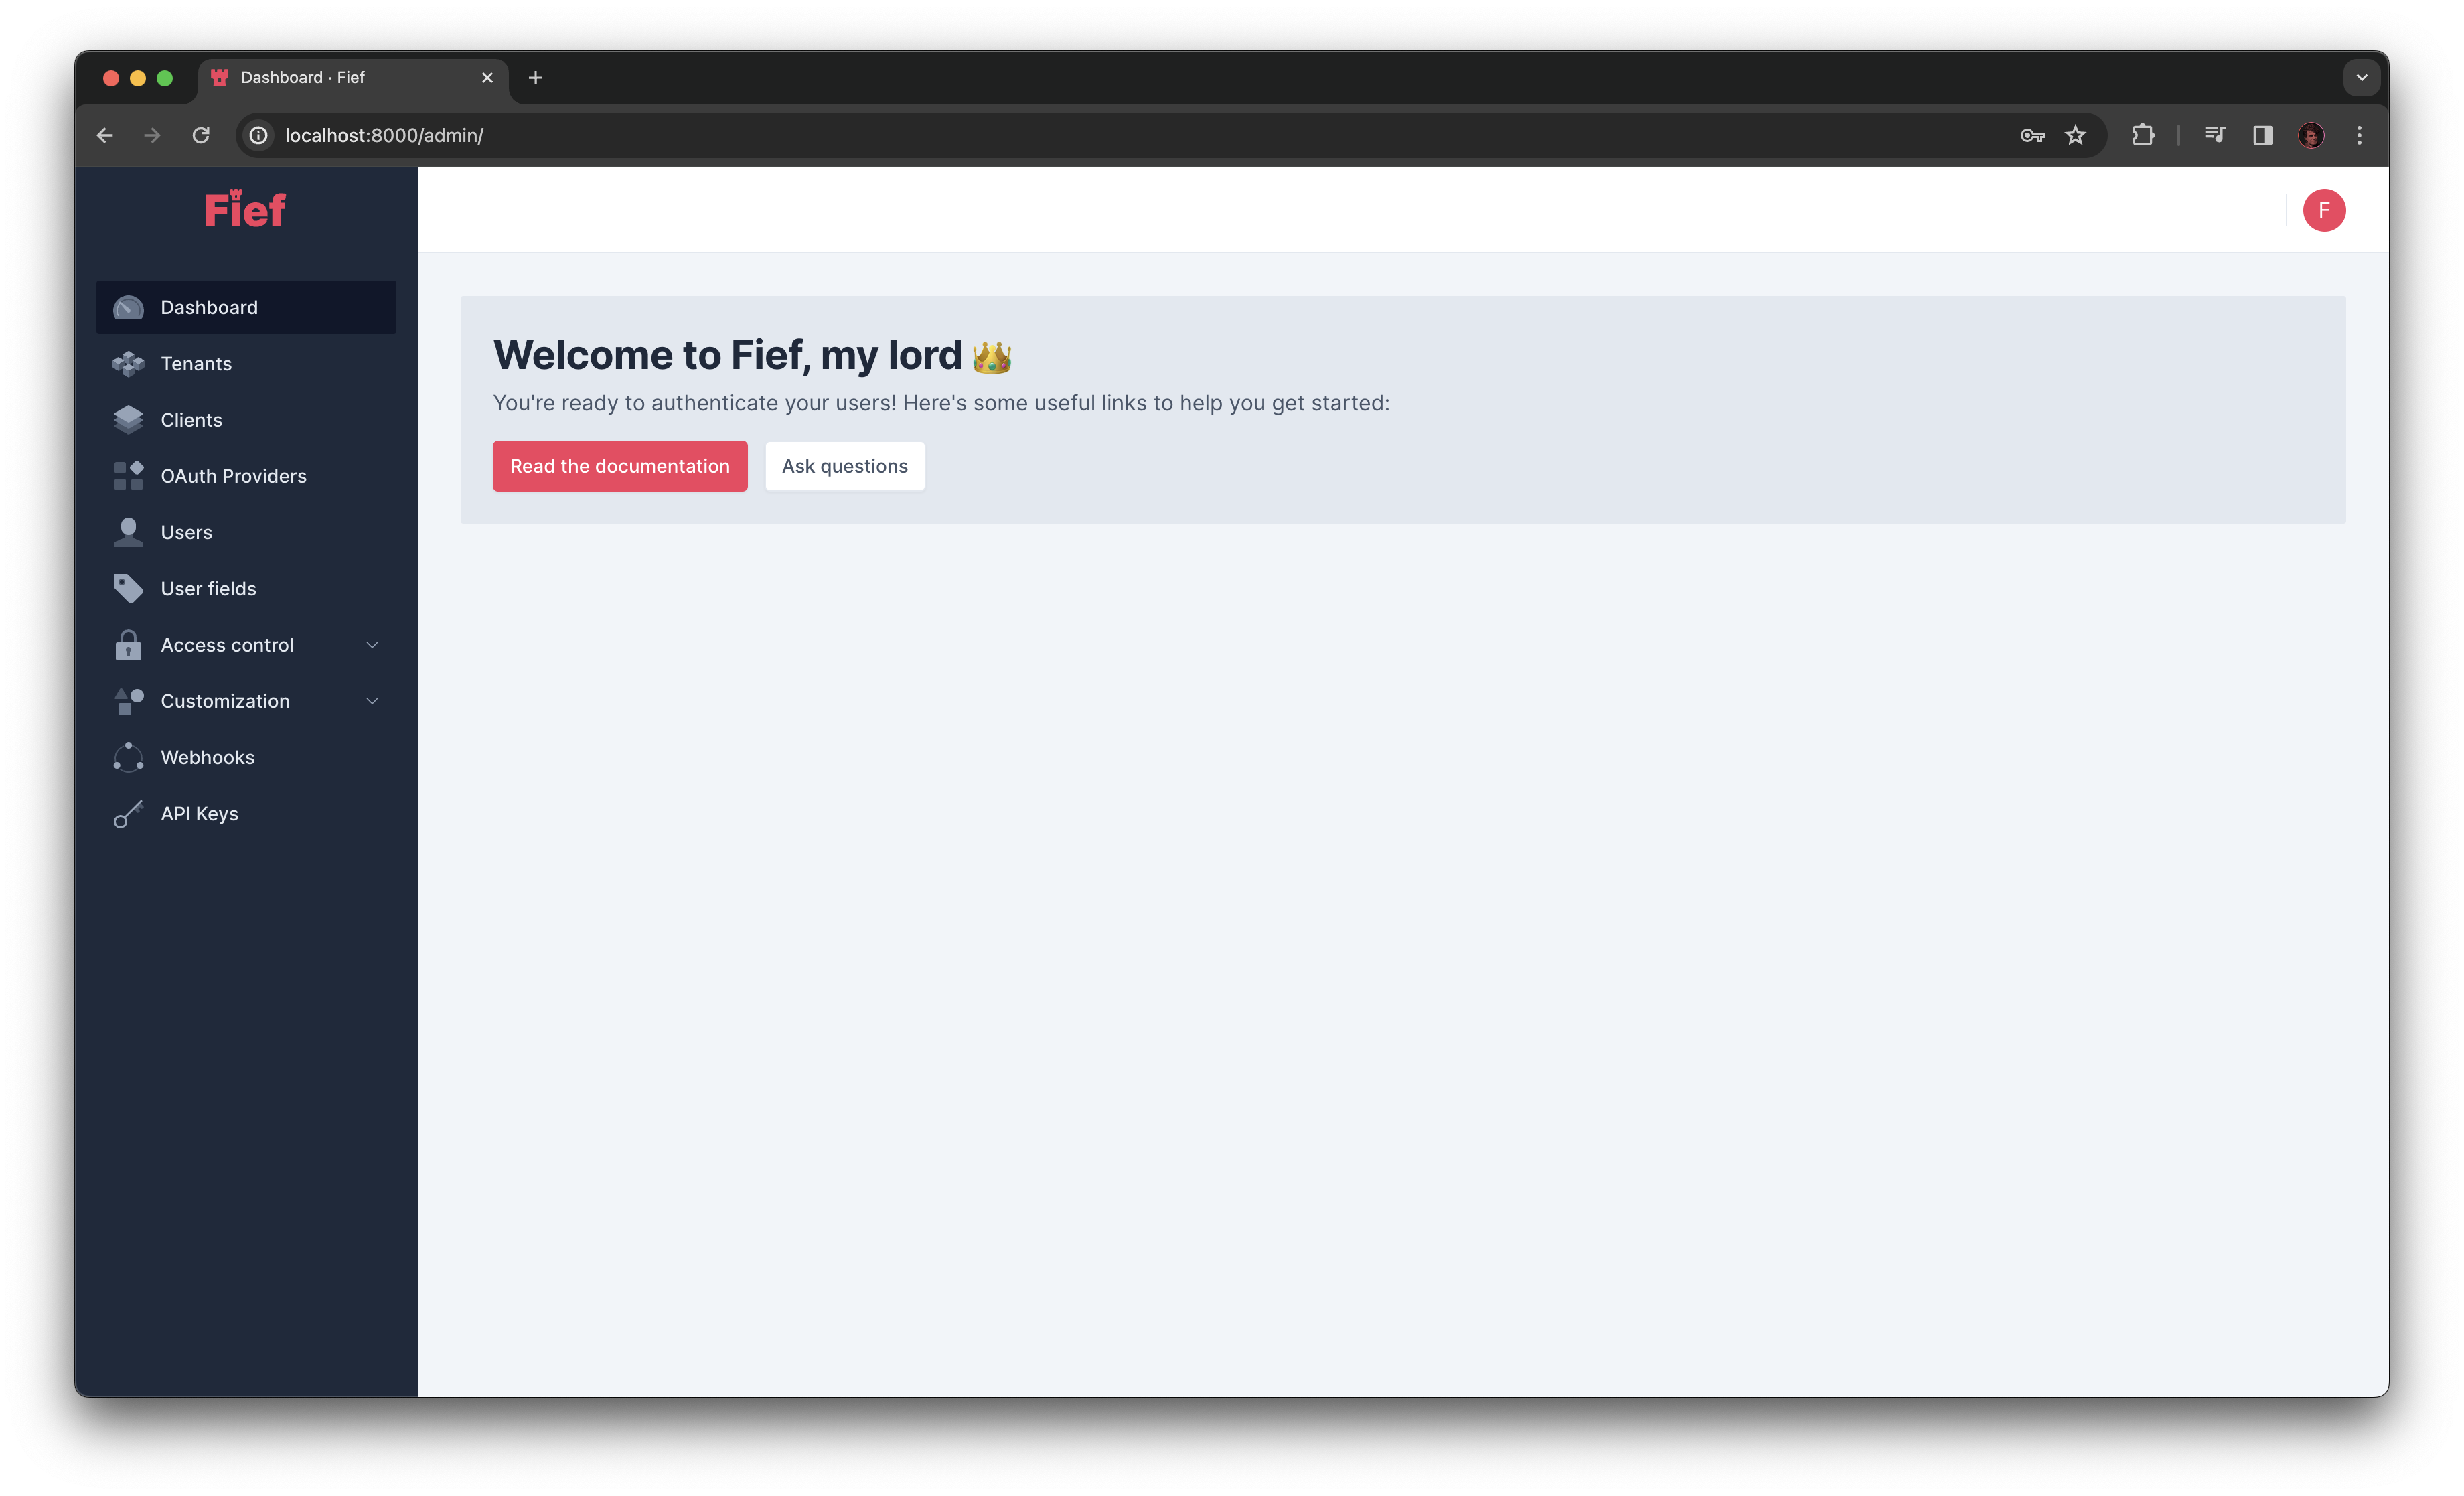
First of all, go to your admin dashboard.
1. Check Redirect URI on a Client
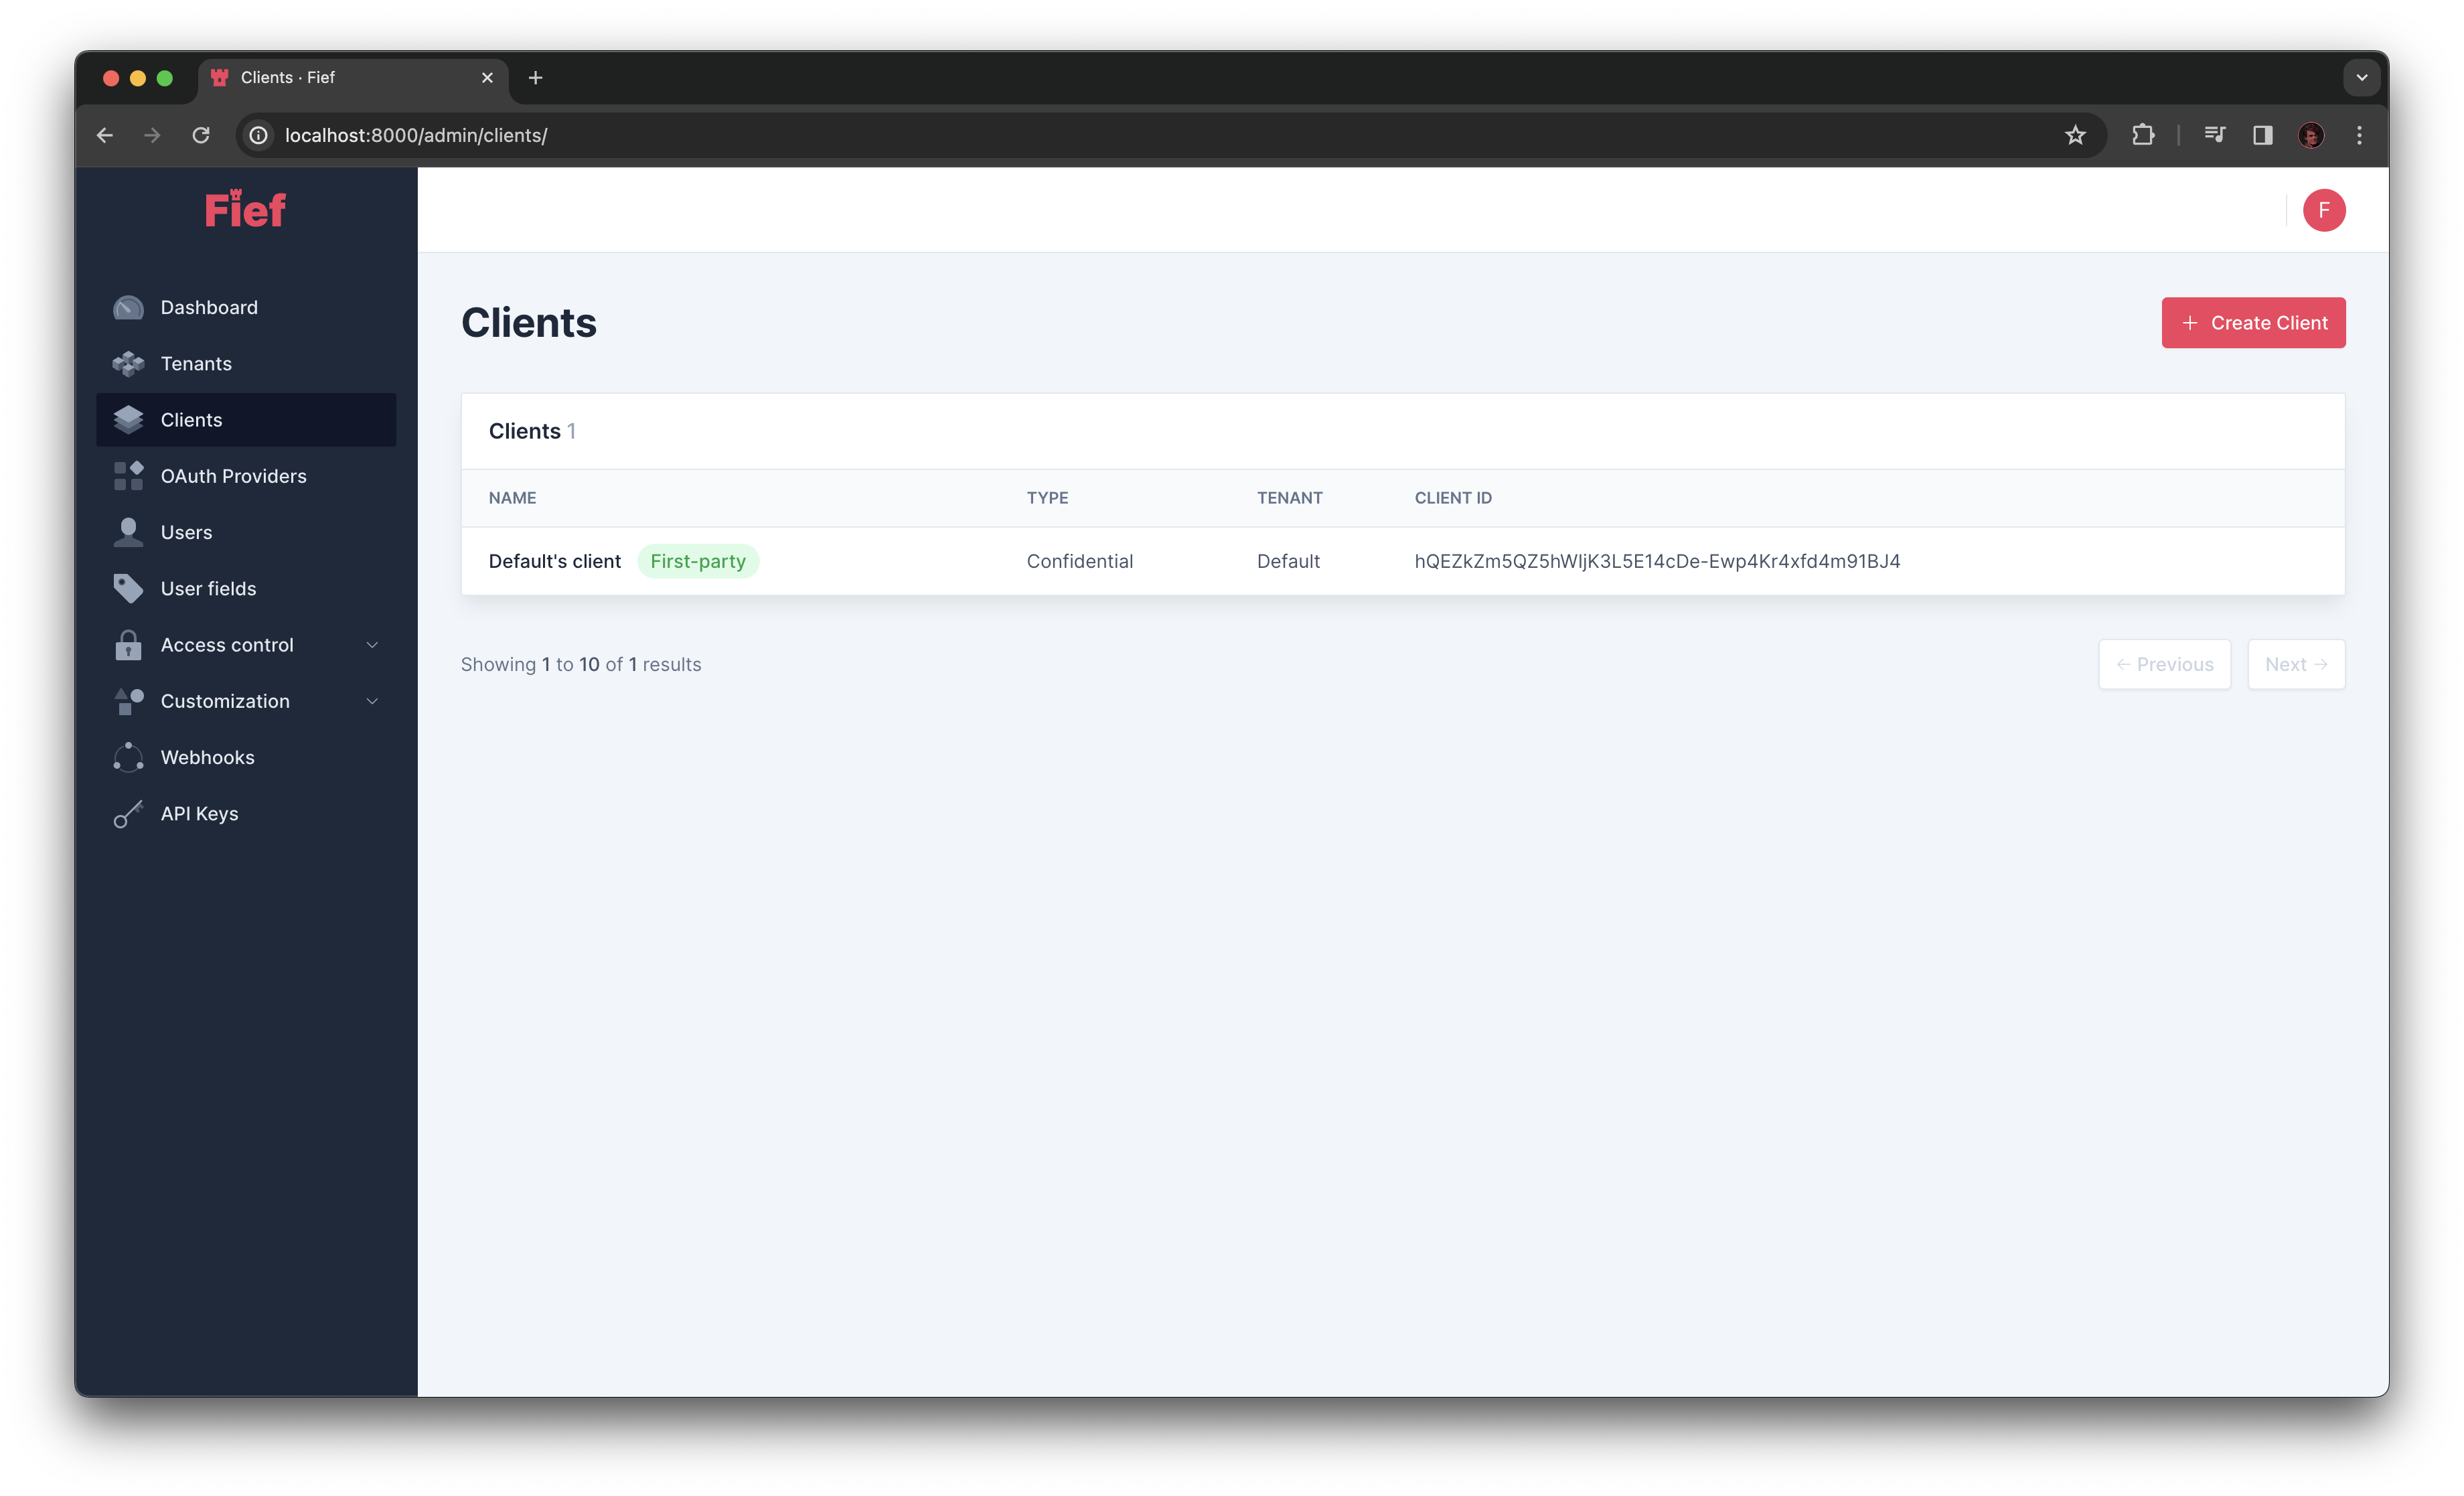
On the left menu, click on Clients. You'll see here the list of OAuth2 clients defined on your instance. When getting started, you will have one default client created for you.
What is a client?
A client is a central part of the OAuth2 protocol. It's the definition of an application authorized to request for access tokens and user information on Fief. In other words, your application will need one of those client to be able to authenticate users from your Fief instance.
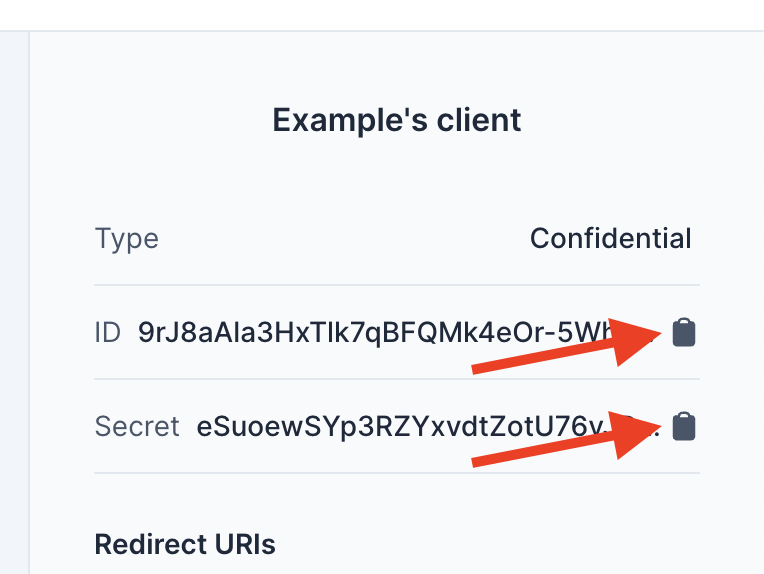
Each client has a Client ID and a Client Secret. Those values are used during OAuth2 authentification to recognize the client.
Each instance comes with one client, tied to the default tenant.
Click on your default client in the list. You'll see its details on the right. Click on the Edit Client button. A modal will open where you'll be able to change some of the properties of this client.
In the Redirect URIs part, you'll see that the client has already a list of predefined Redirect URI.
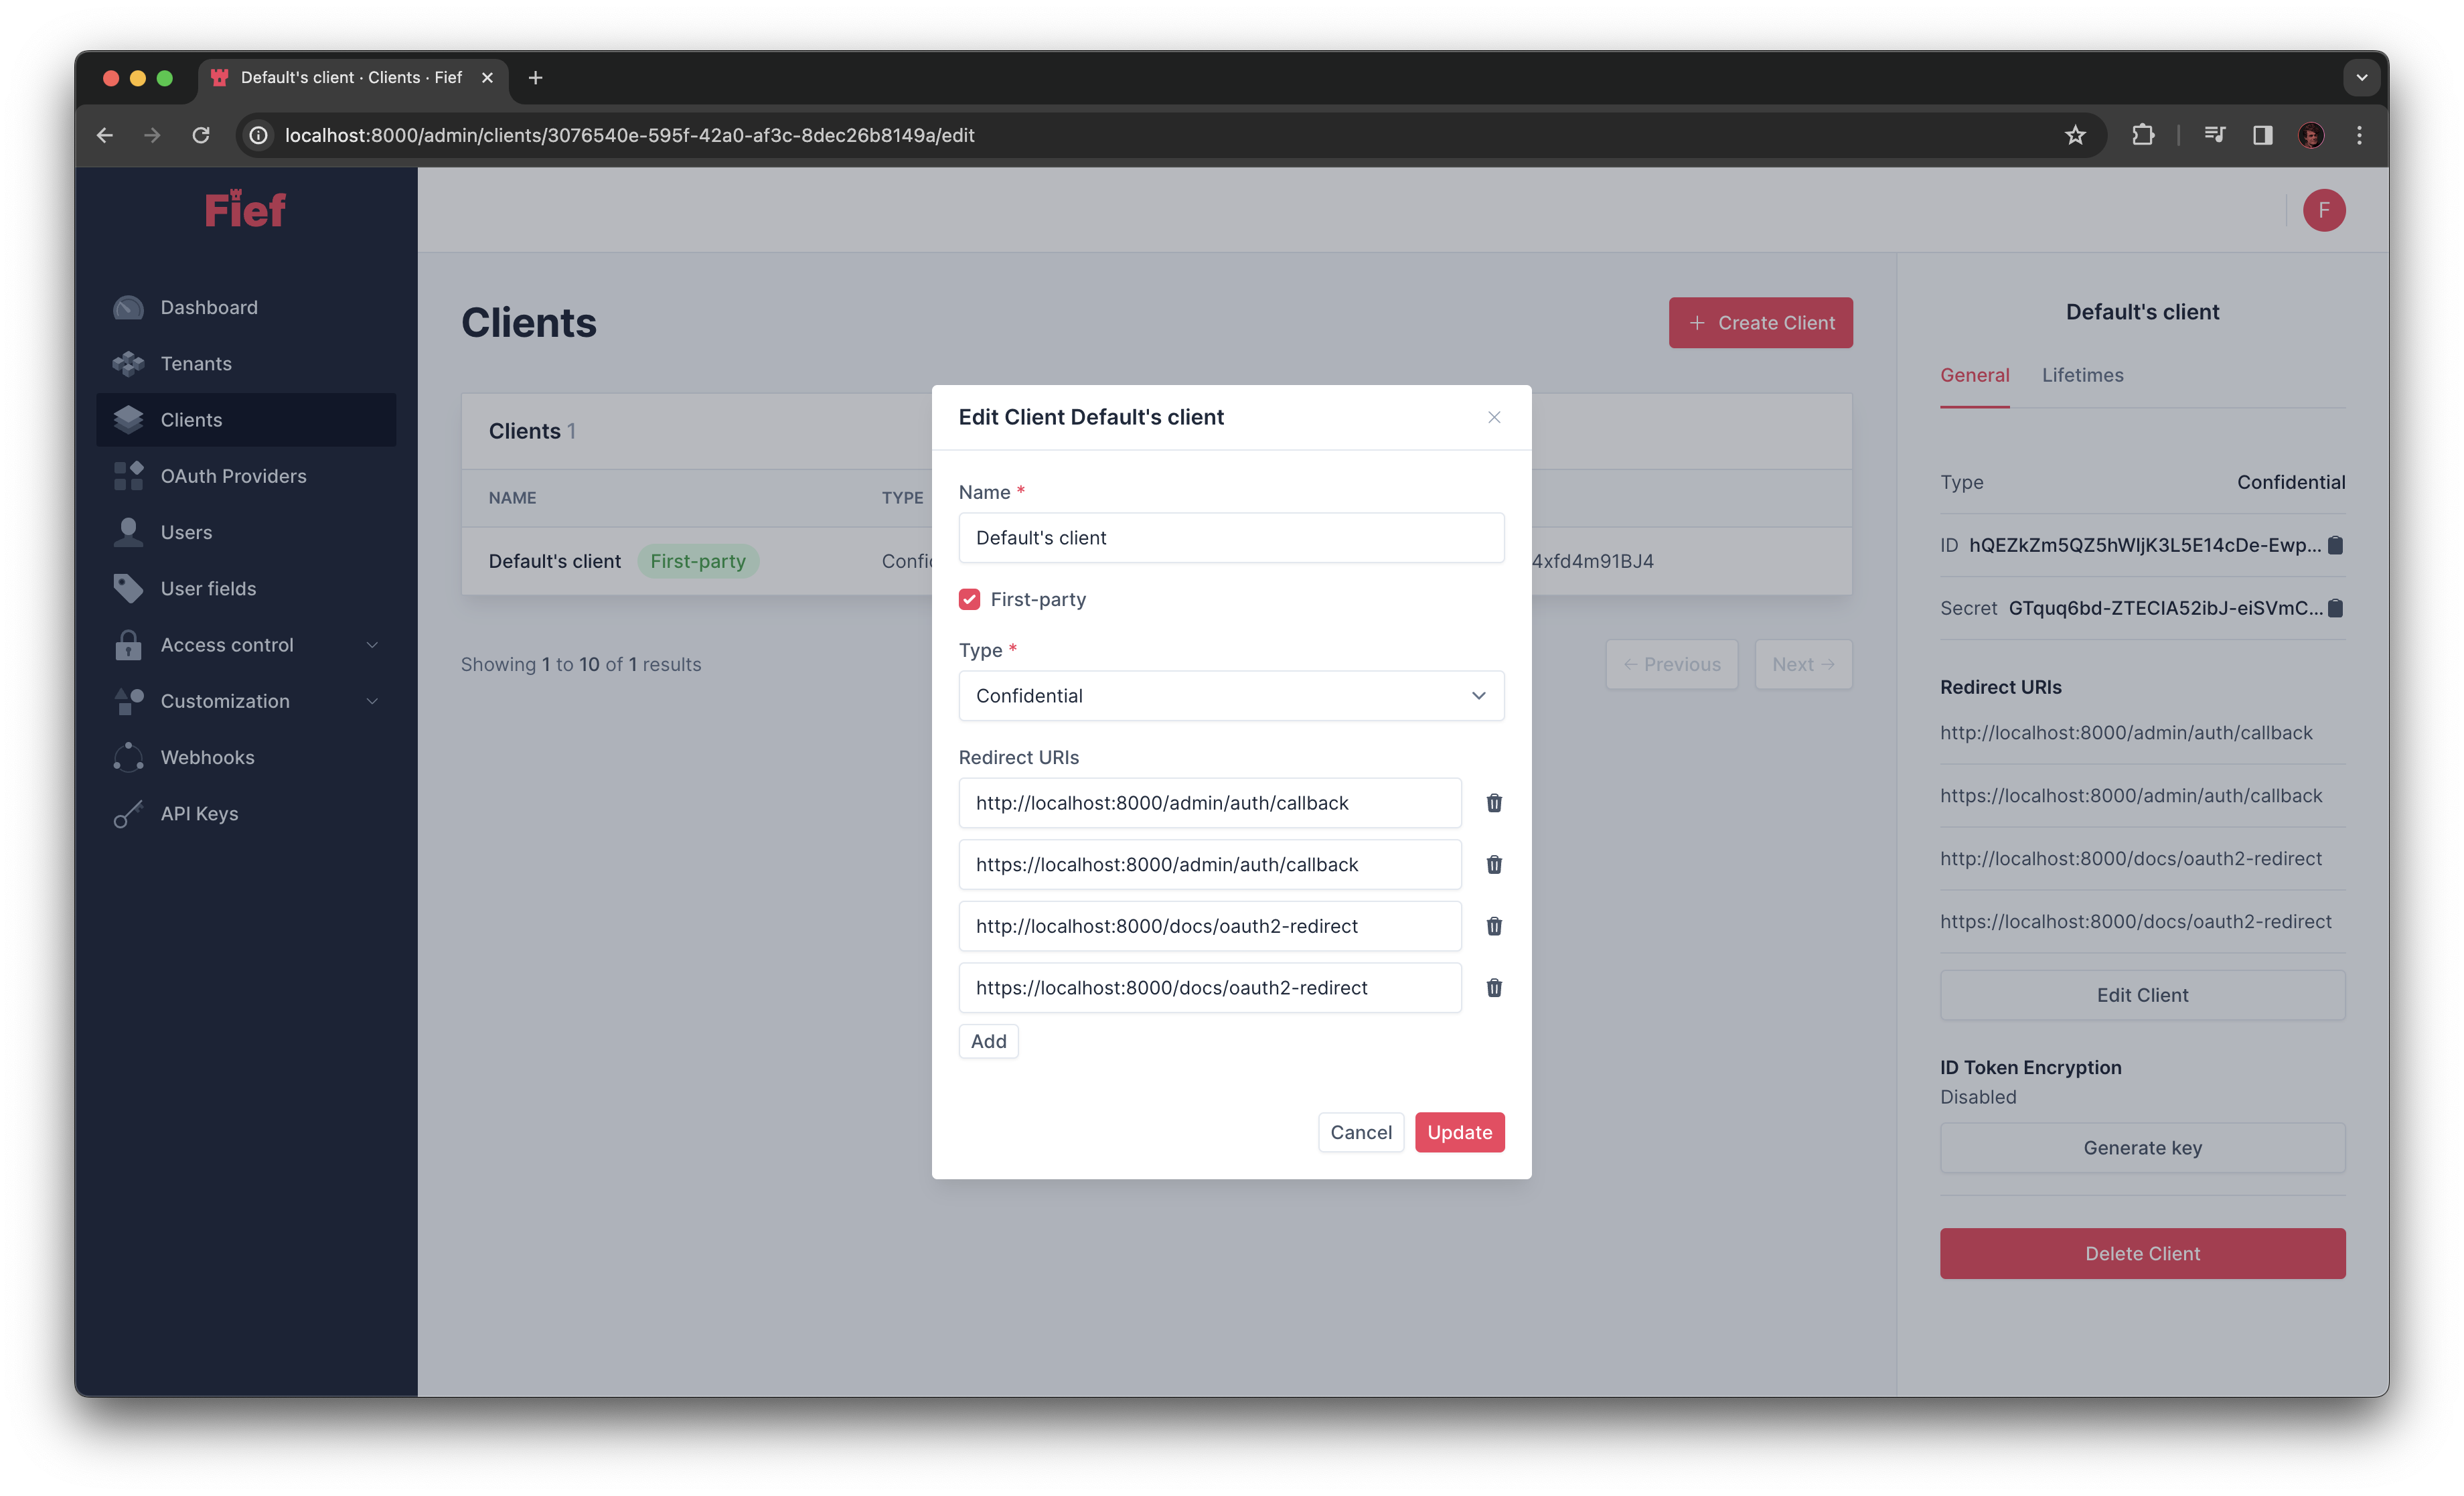
When integrating your own application, you'll need to add the corresponding Redirect URI here. For now, we have the ones we need for the current example.
Keep this tab open
You can keep this tab open in your browser, we'll need it right after.
2. Open the interactive documentation
Fief comes with an interactive documentation allowing you to easily test its API. Open it in a new window: http://localhost:8000/docs
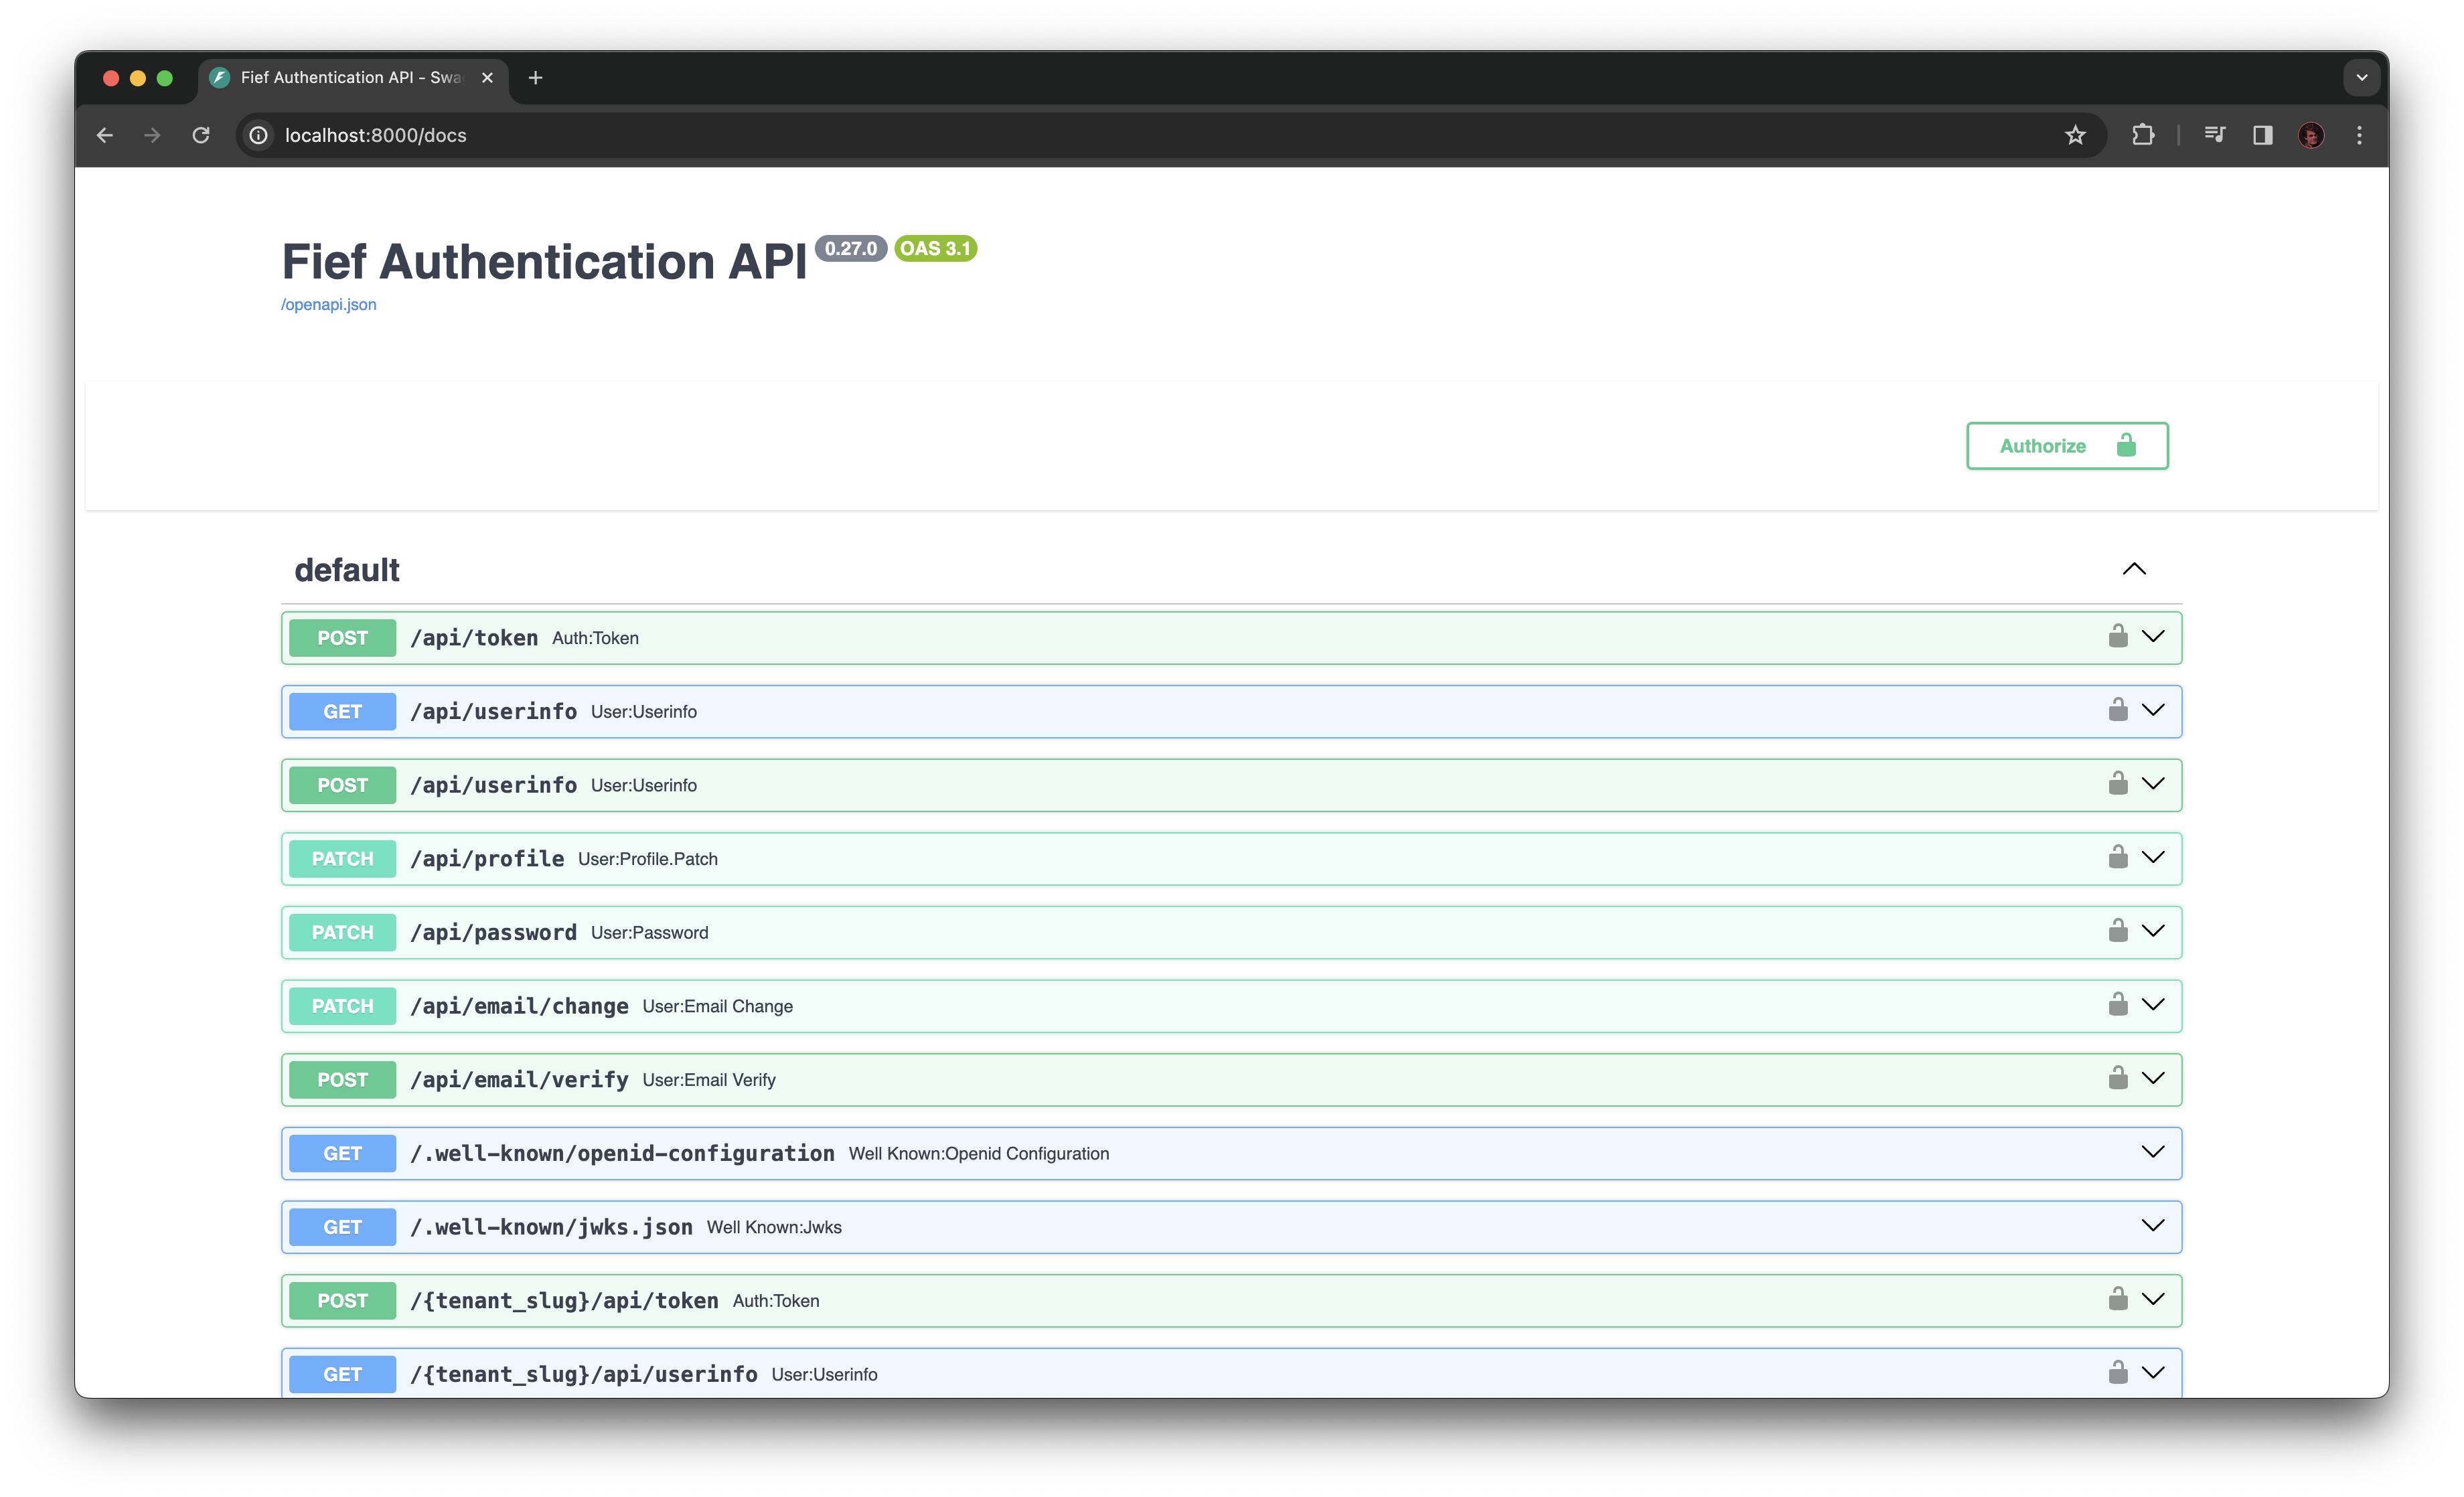
You see there the list of available API endpoints. We'll be able to call them when we'll be properly authenticated.
3. Authenticate in the interactive documentation
Click on the Authorize button. A modal will open showing you the available methods for authenticating. The one we're interested in is at the bottom of this window and called OAuth2AuthorizationCodeBearer.
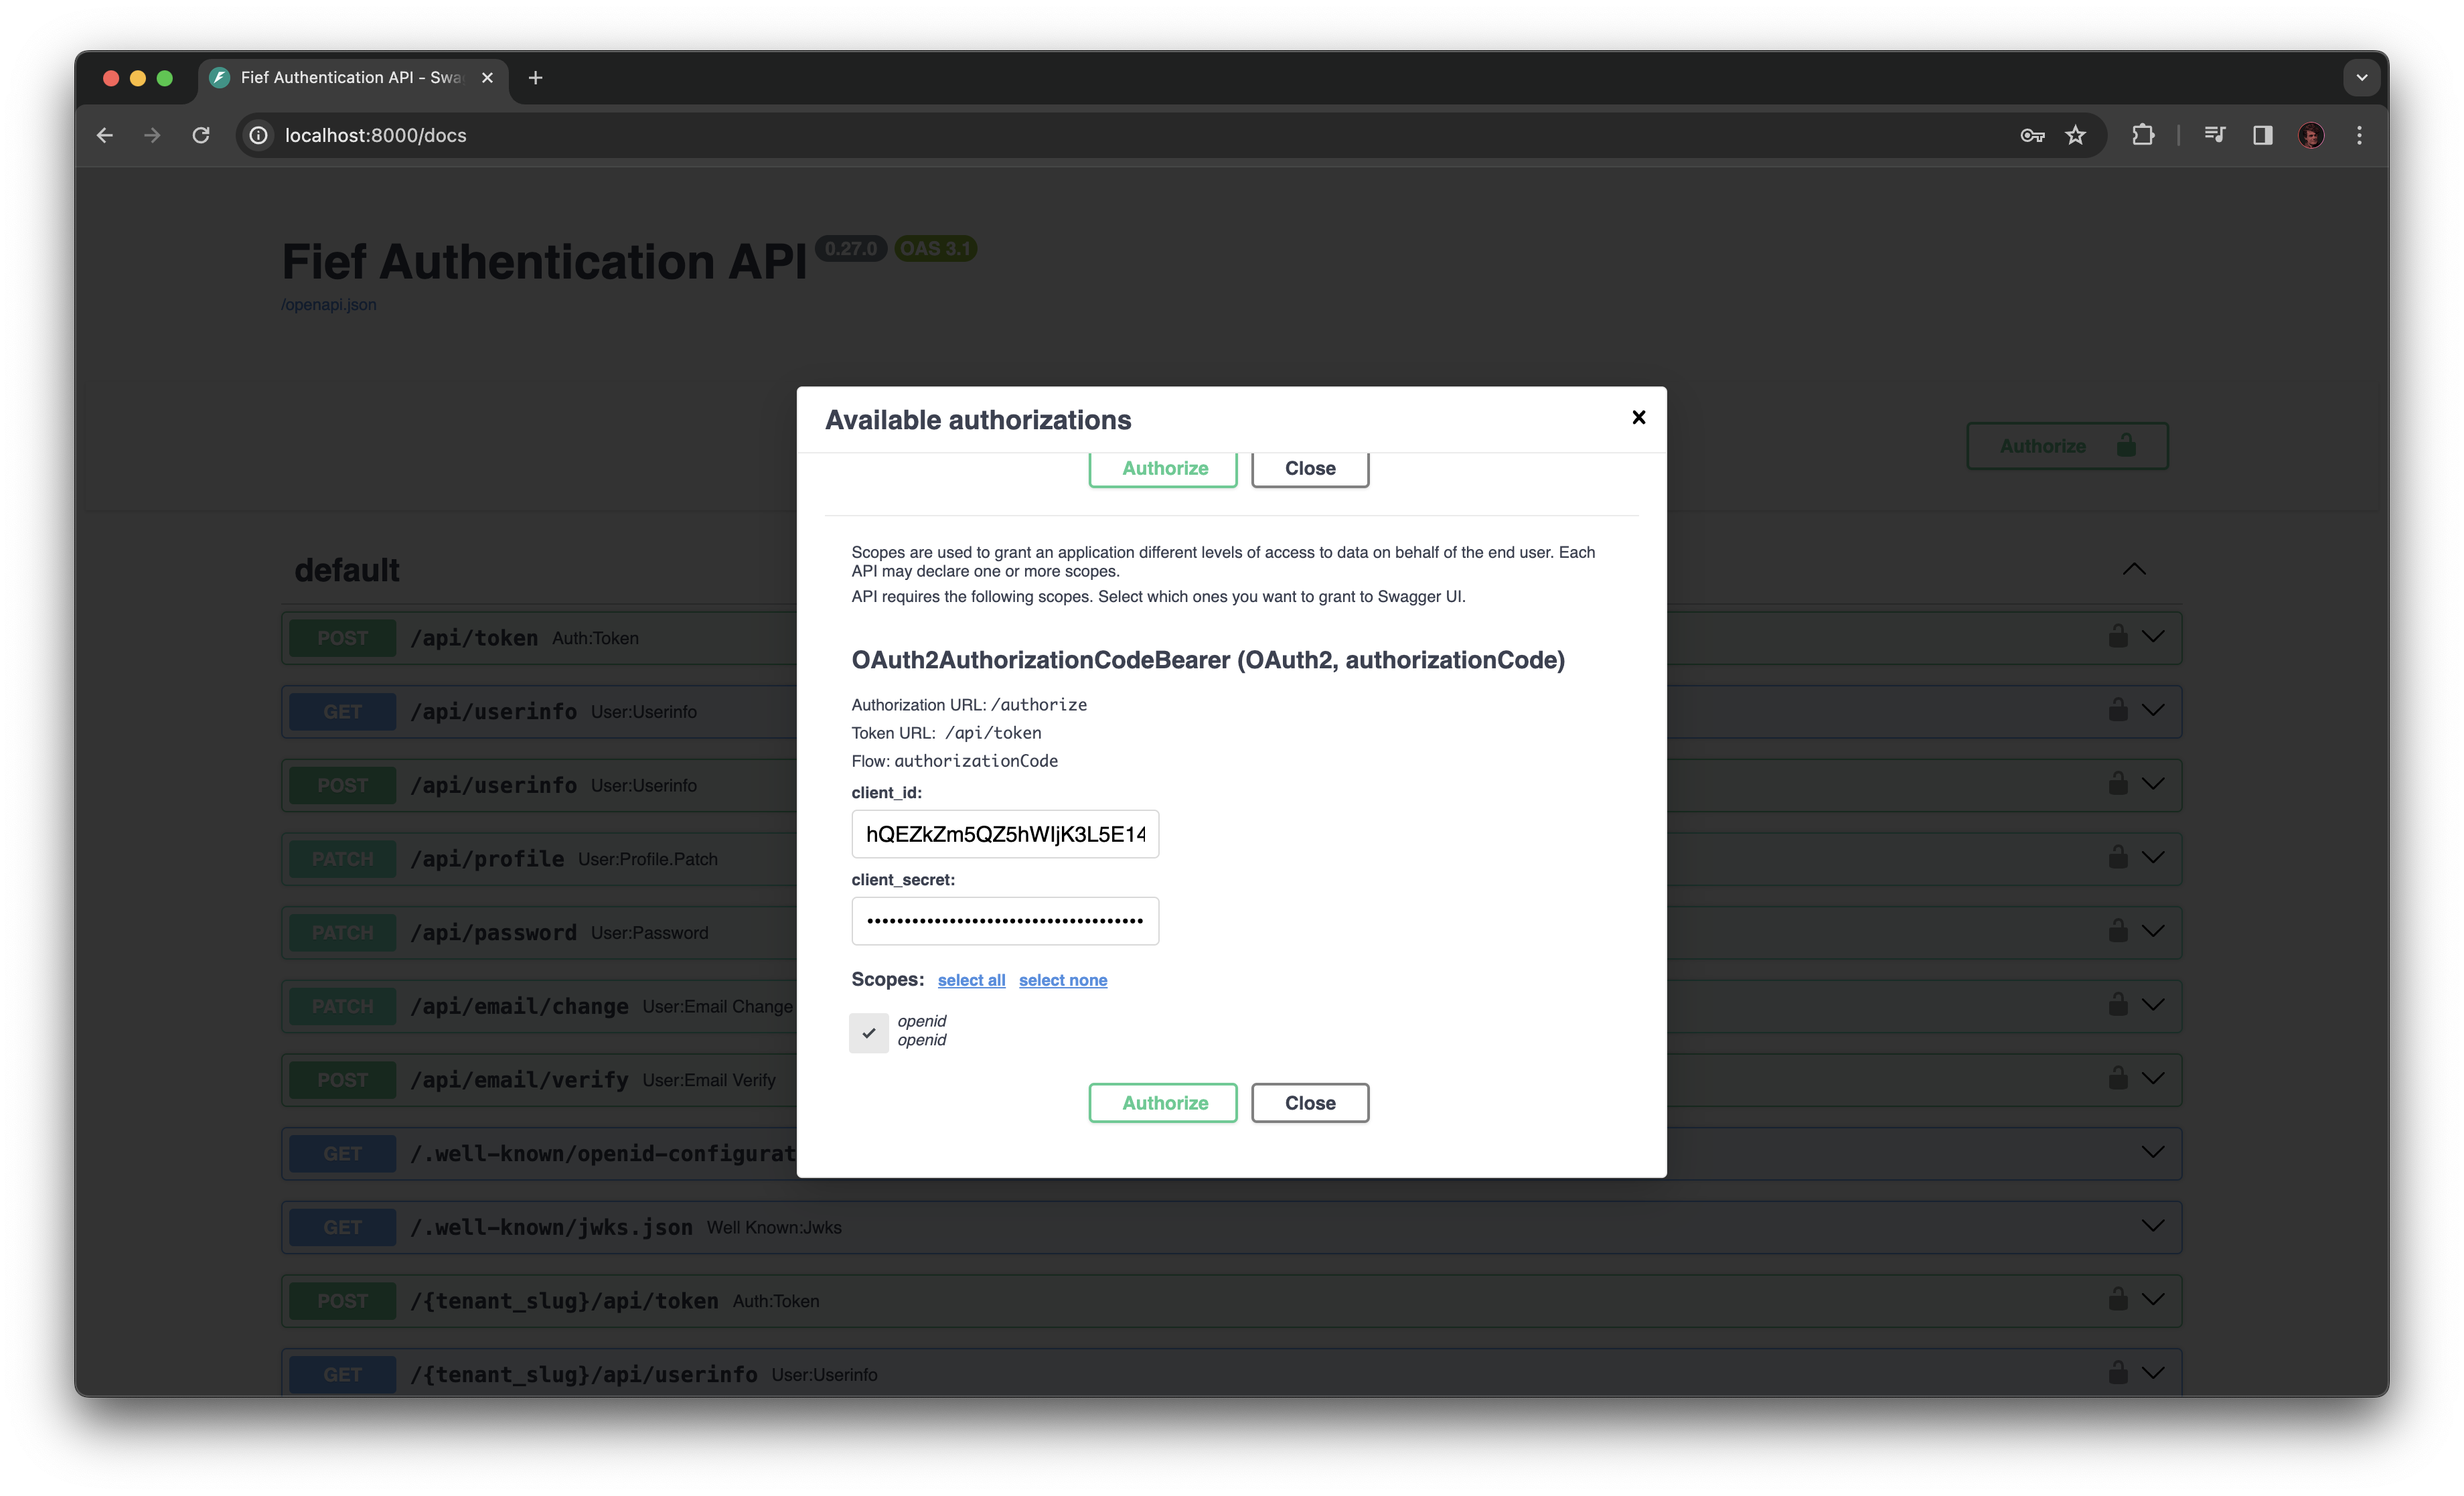
You see a form expecting two things: the Client ID and Client Secret. Get back to the admin dashboard window and copy and paste them from the client information.
Don't forget also to check the openid checkbox (that's the scope we ask for!). Finally, click on the Authorize button. You'll be taken to a Fief login page!
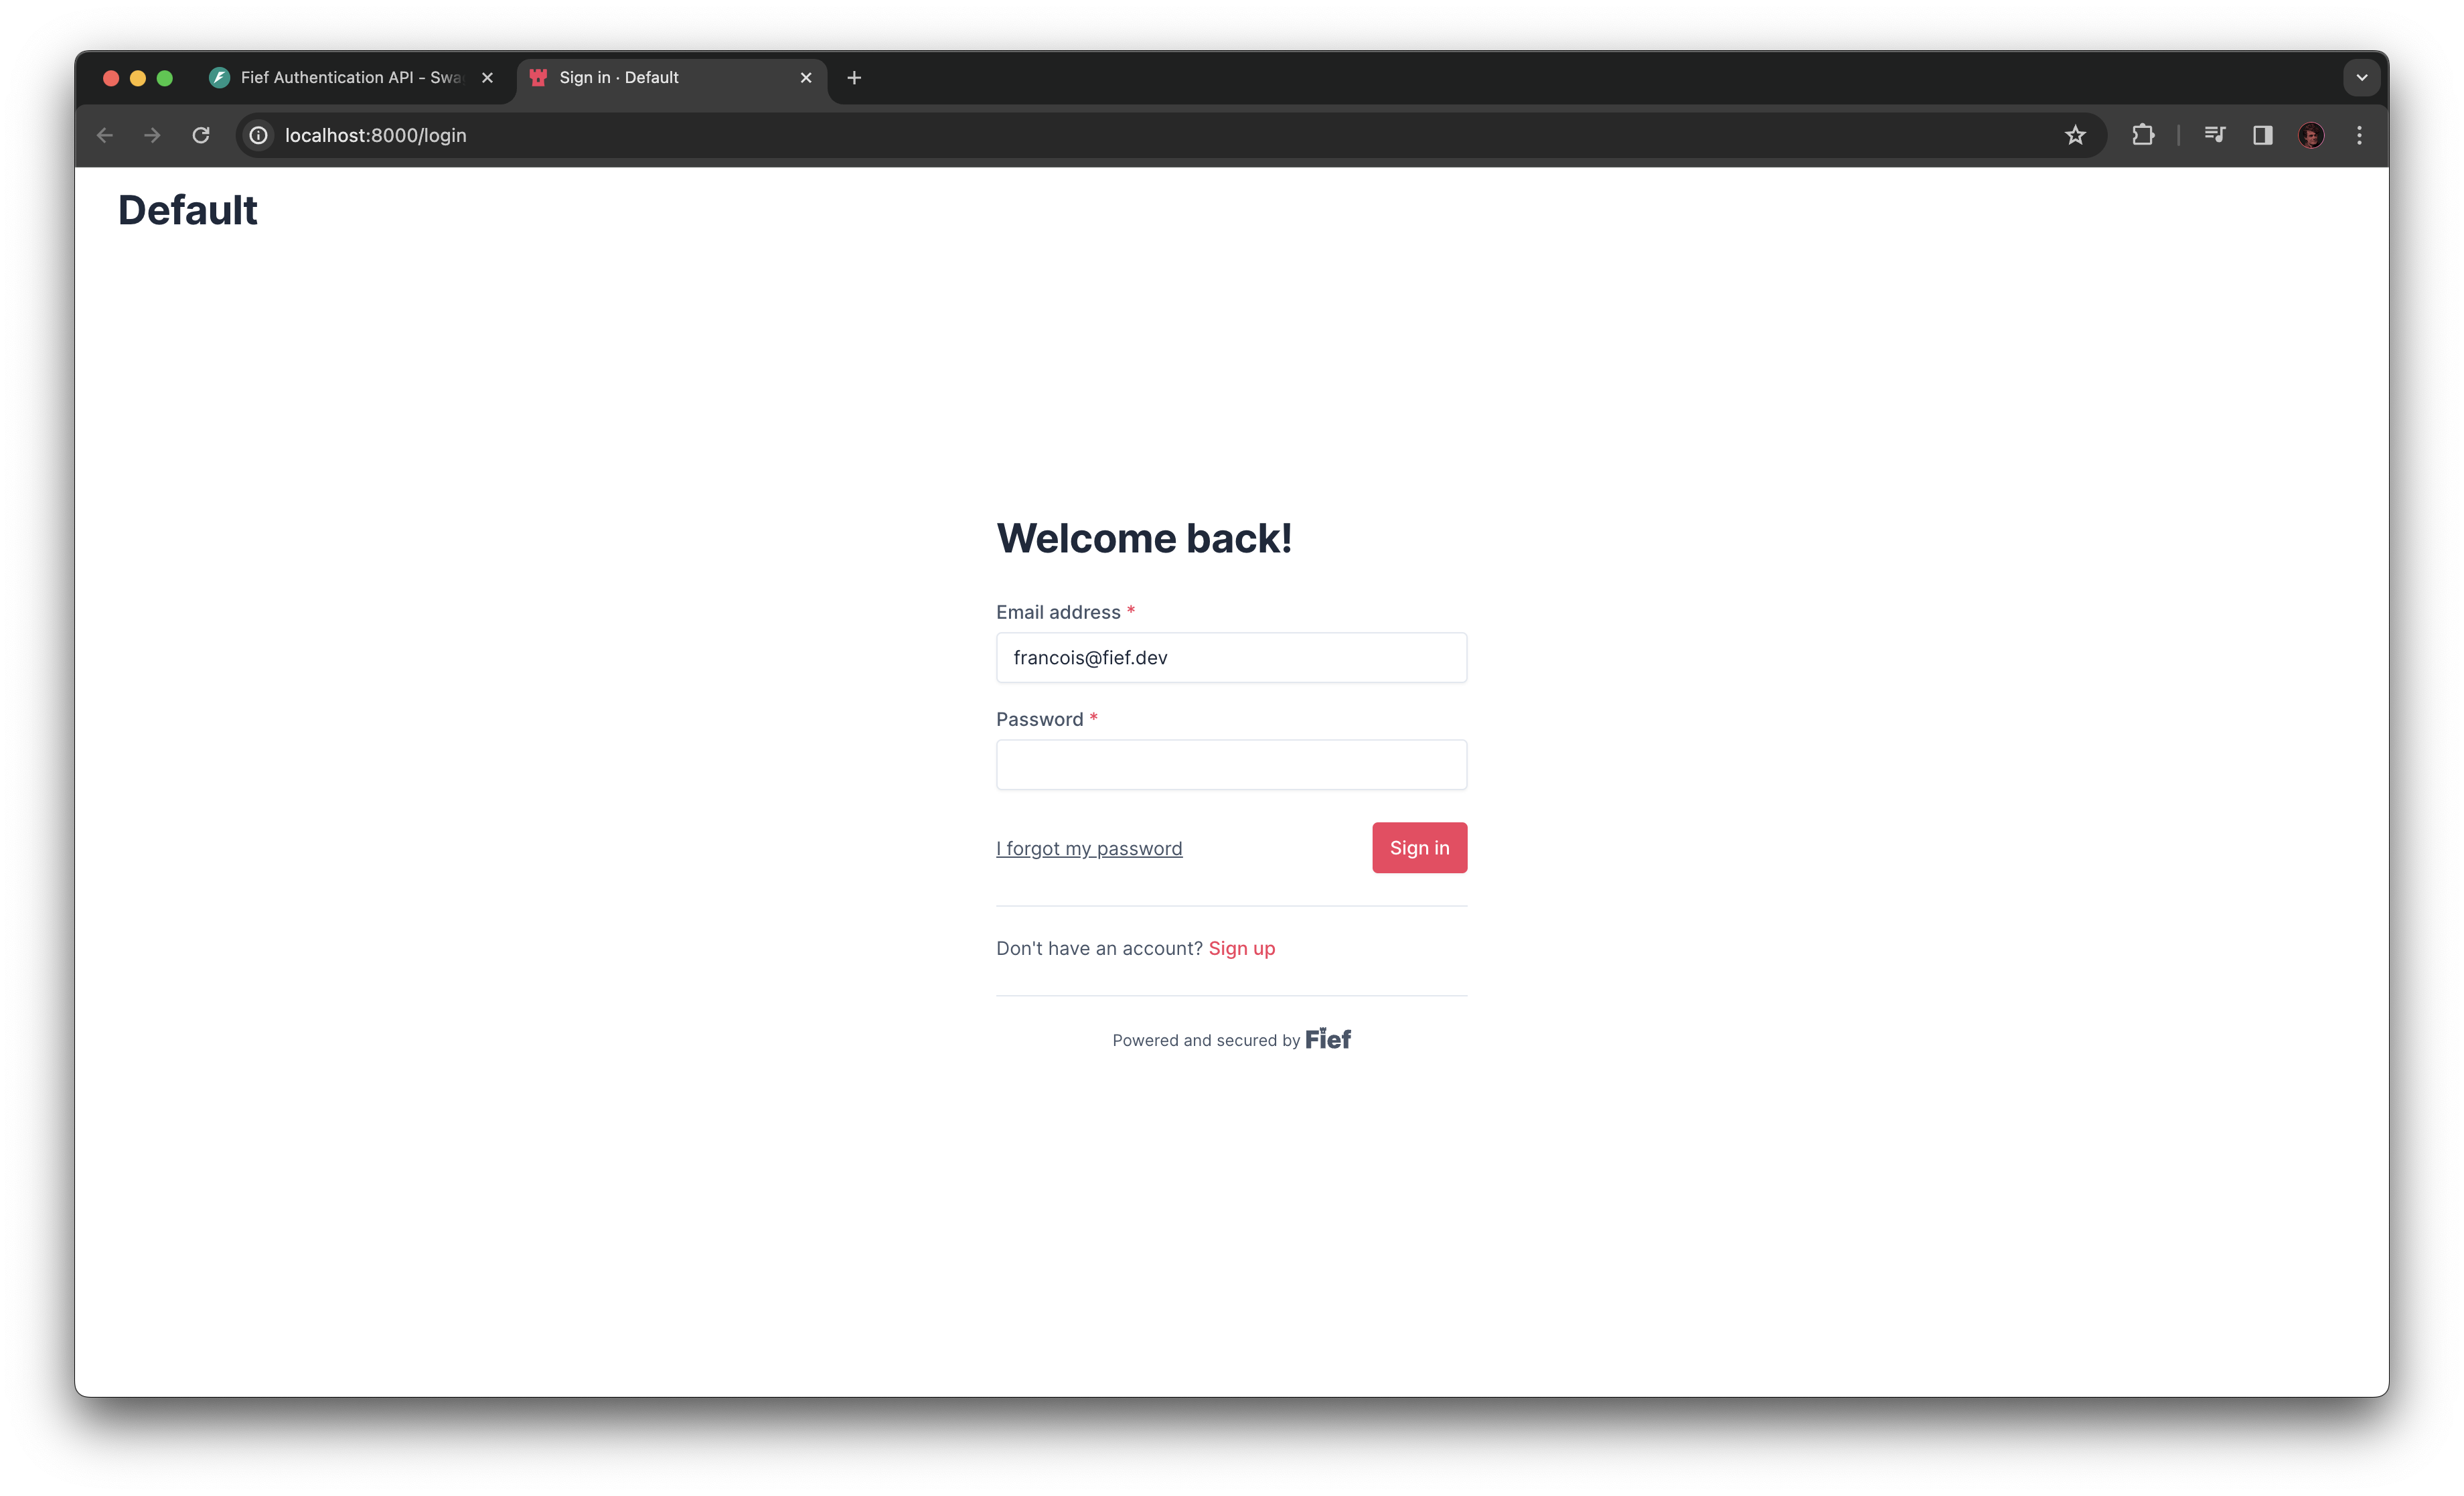
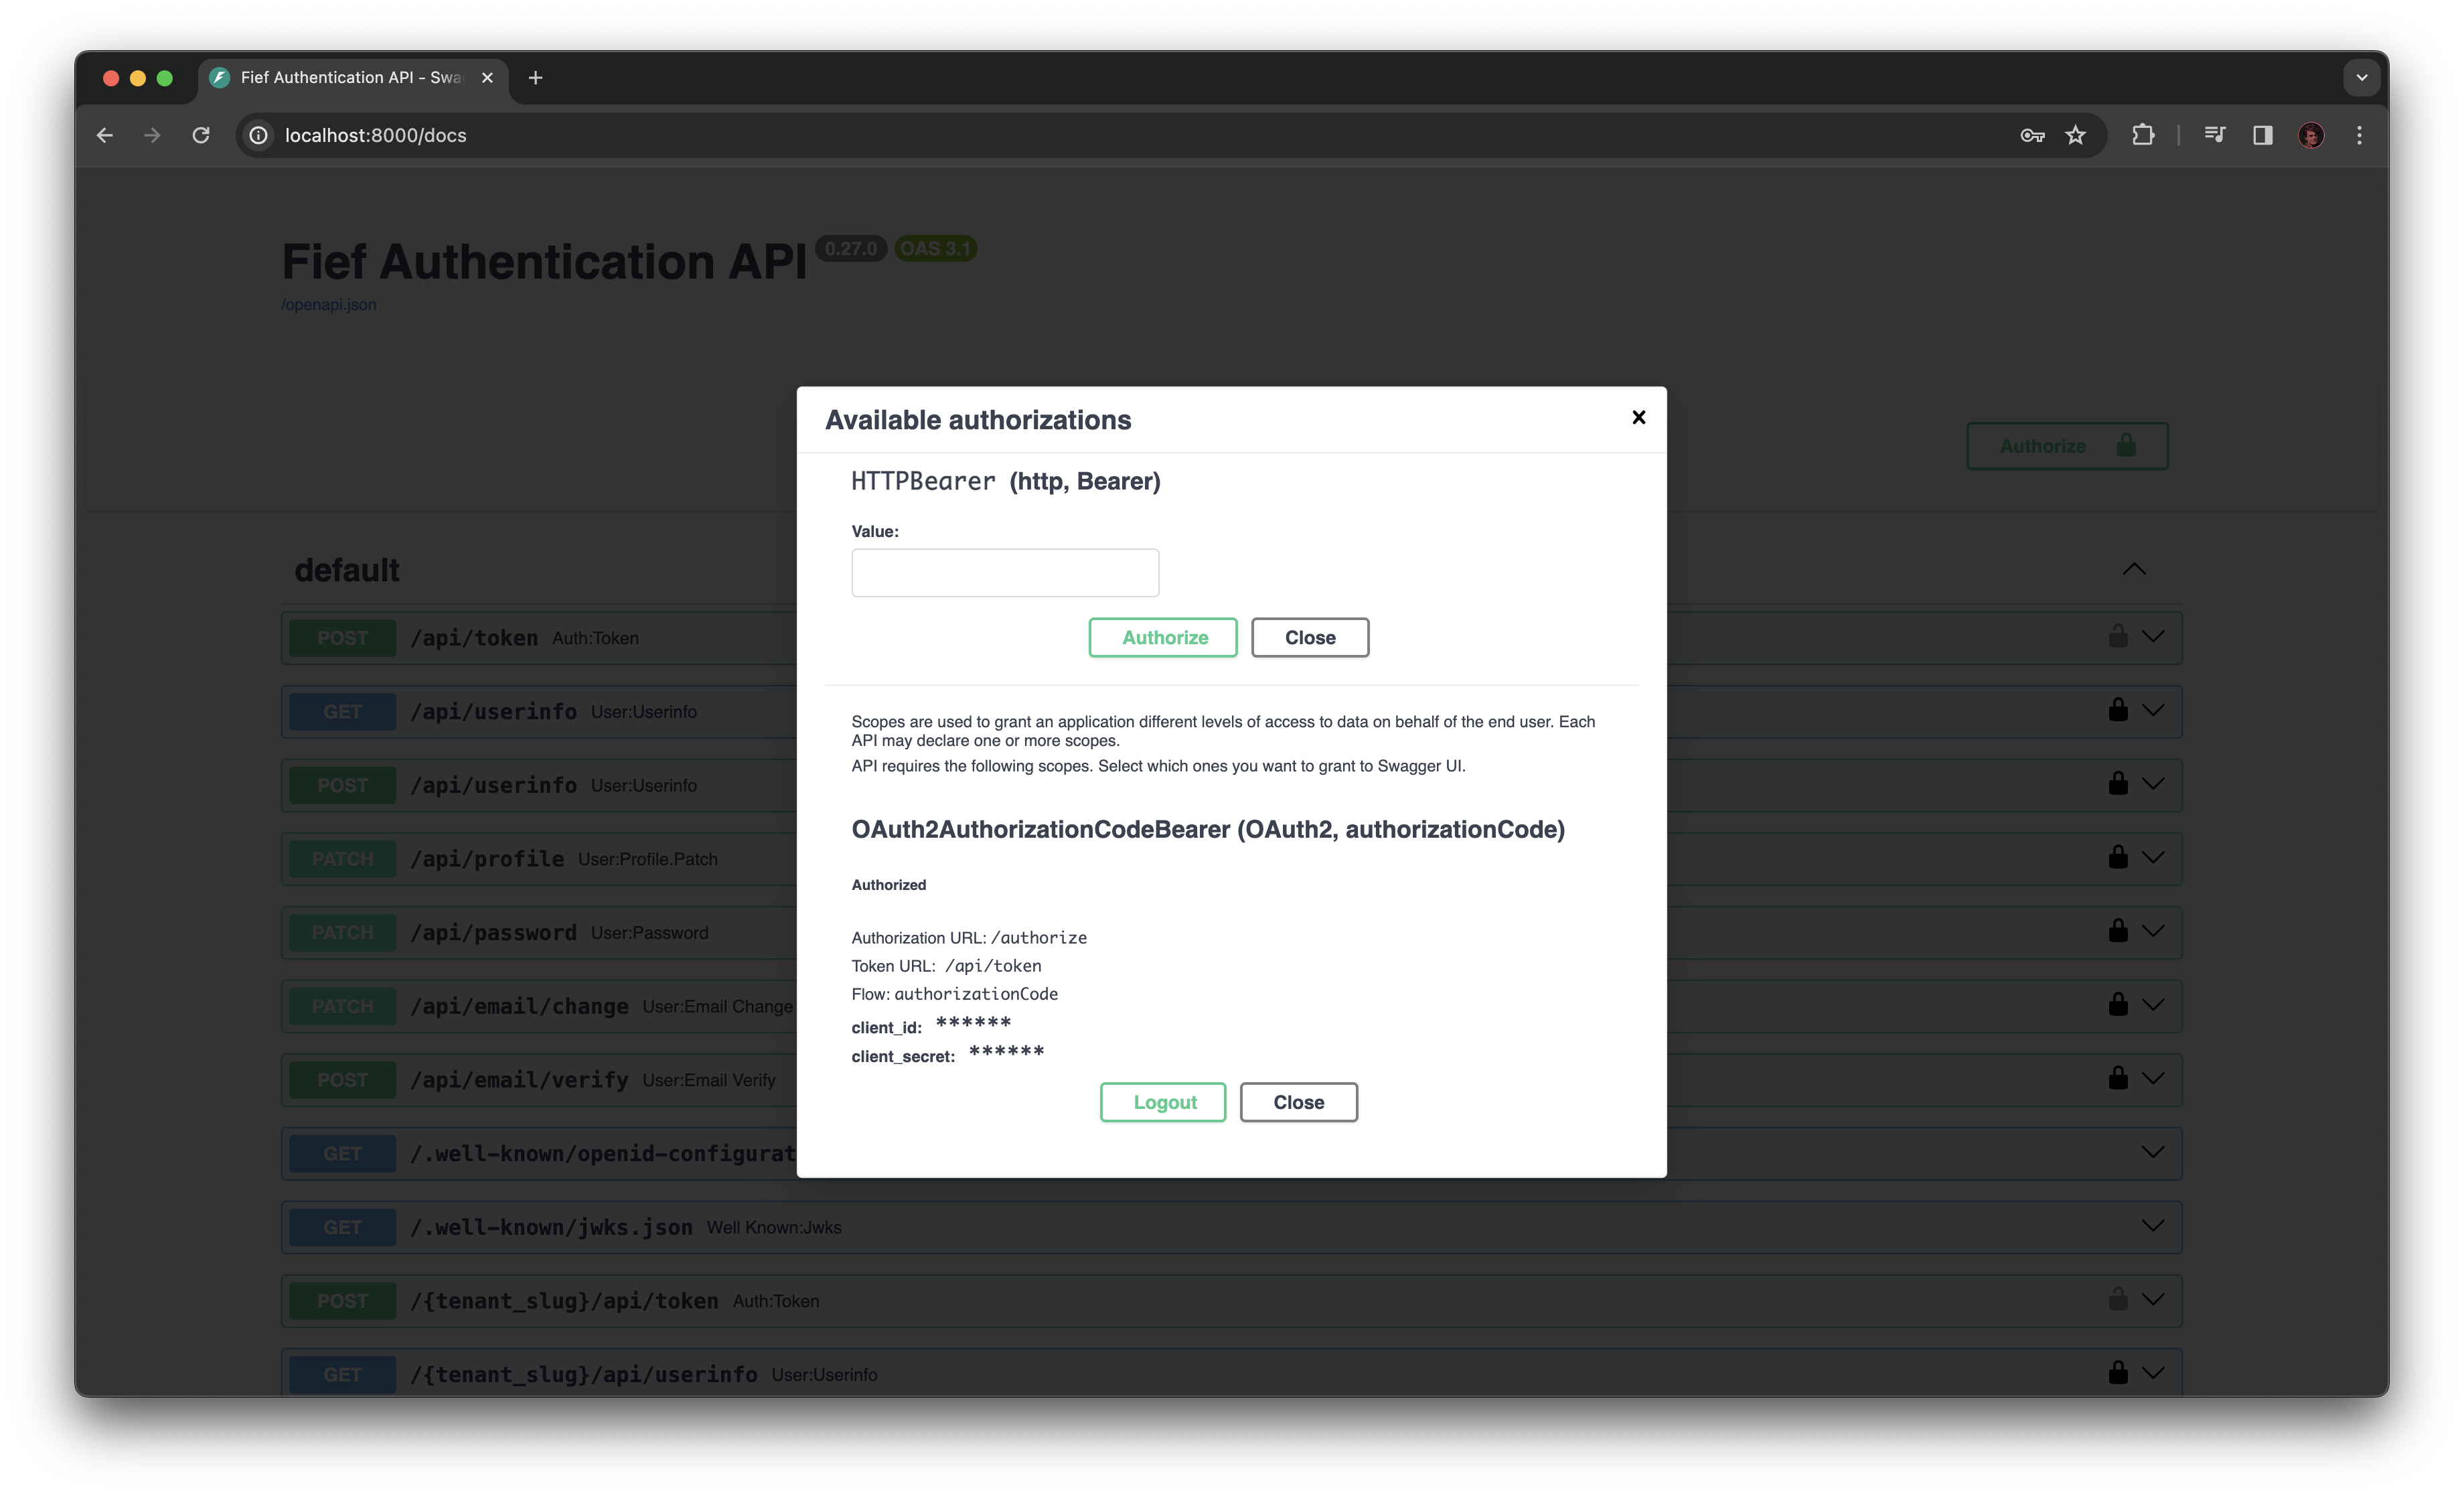
Just go through the authentication process. If everything goes well, you'll be taken back to the interactive documentation. The authorize window now shows you that you are correctly authenticated: we successfully got an access token 🎉
4. Call an API
We can now call one of the API! In particular, we'll try the /api/userinfo endpoint: it'll show the information about the current user (you!). Open the one called GET /api/userinfo, click on the Try it out button and then Execute. You'll see an API response showing the information about your user object:
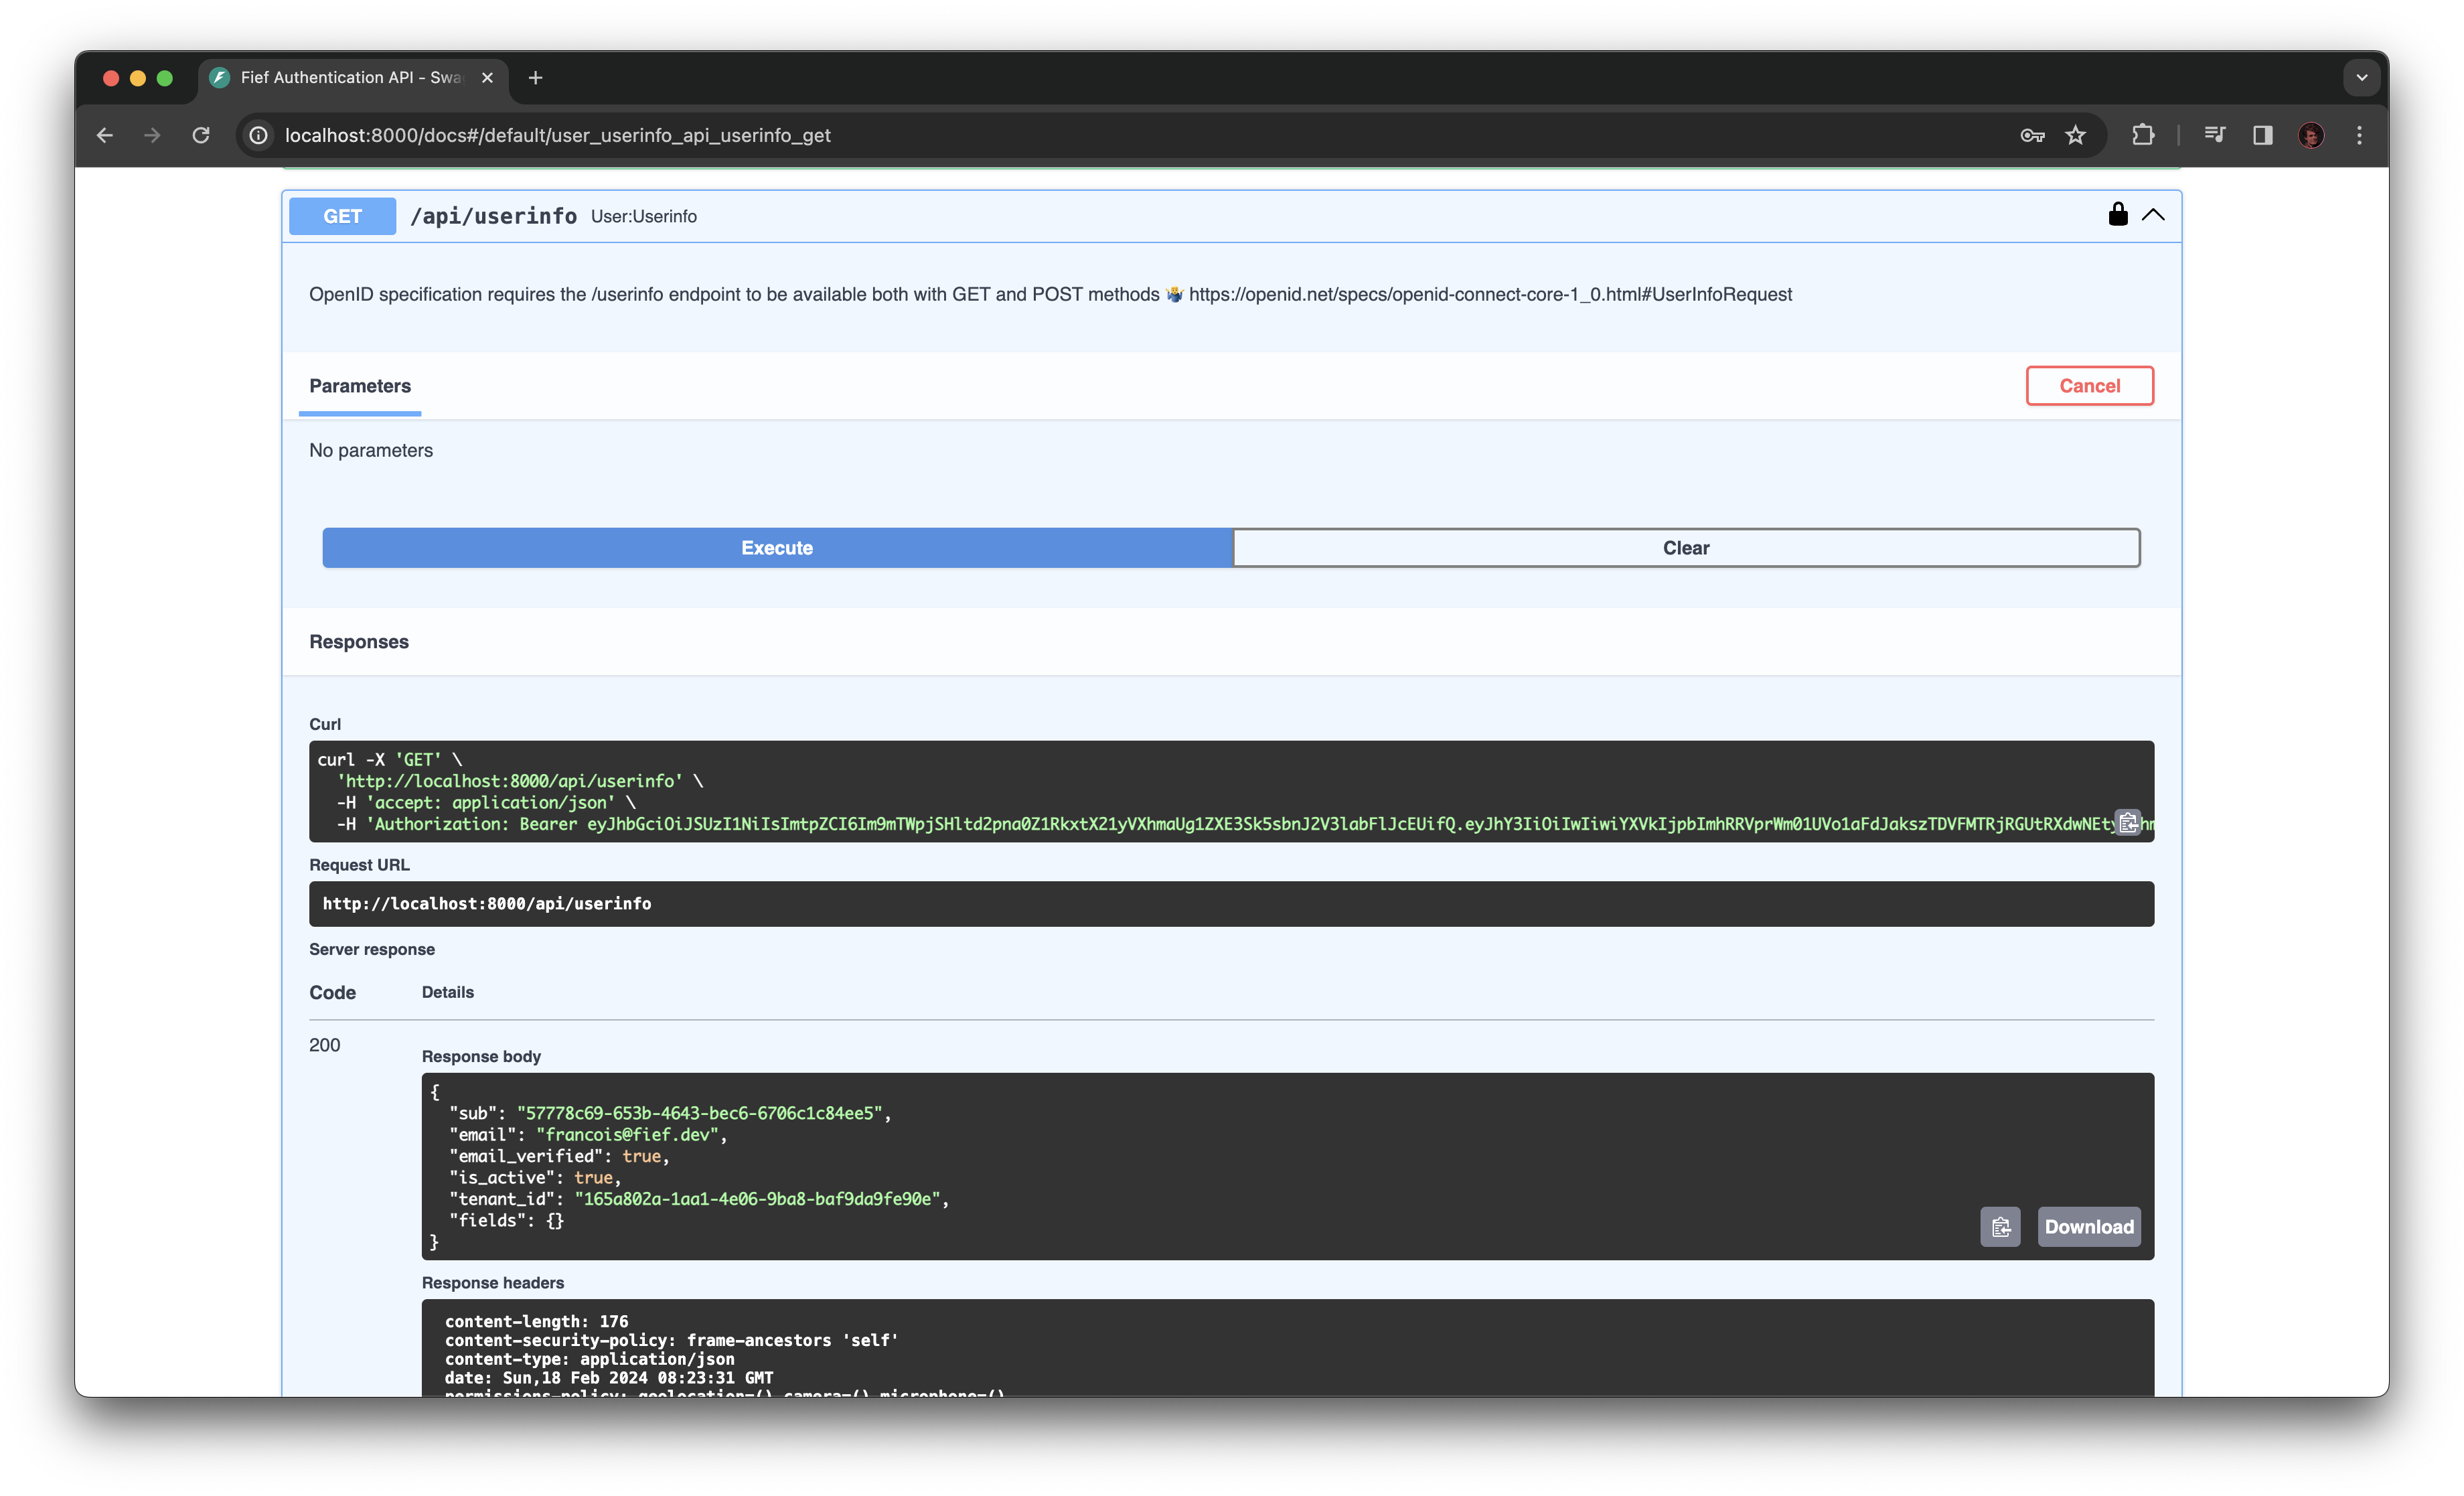
Notice how the interactive documentation automatically added the Authorization header with the token!
You're now an OAuth2 master 👏
Congratulations! You've performed a full OAuth2 authentication from A to Z. Those concepts are important to have in mind because they'll be at the core of Fief integration in your app. The key things to remember are:
- You need a Client to make authentication requests, using its ID and Secret.
- You need to allow the Redirect URL on the Client so Fief can redirect to your application.
- You need to request an access token and store it somewhere to authenticate requests.
What now?
You can now proceed to integrate Fief in your application! We provide libraries and guides for the following languages:
Also, be sure to get familiar with all the features of Fief by going through the admin dashboard documentation.