Browser
It's possible to manage authentication with Fief entirely within the browser, using a bit of JavaScript.
To help you in this task, the Fief JavaScript client provides tools dedicated to the browser environment. Let's see how to use them!
Install the client
The recommended way to install the client is to use npm:
However, if you don't use a JavaScript bundler, like Webpack, you can include the package directly in a browser script, thanks to UNPKG CDN:
<script src="https://unpkg.com/@fief/fief/build/index.umd.js"></script> <!-- (1)! -->
<script>
    console.log(fief); // Module is available globally under the `fief` variable
</script>
-
This will always load the latest version
You should pin the version to avoid problems when we update the client and improve the loading time.
For example, to load the version
0.10.1:
Application example
This is for you if...
- You want to handle all the OAuth authentication in the browser.
Prerequisites
- Make sure your Fief Client is Public.
- Allow the following Redirect URI on your Fief Client:
http://localhost:8080/callback.html - Install http-server, a simple Node.js HTTP server:
npm i --global http-server
In this example, we'll show you a very simple HTML and JavaScript application to perform the OAuth2 authentication. We'll define two pages:
index.html: it'll show if the user is logged in or not, and display a Login button.callback.html: the page Fief will redirect the user to after a successful login to complete the OAuth authentication.
Let's see the first one:
<!DOCTYPE html>
<html>
  <head>
    <title>Fief JavaScript Browser example</title>
  </head>
  <body>
    <div id="logged-out" style="display: none"> <!-- (1)! -->
      <h1>You are not logged in</h1>
      <button type="button" id="login-button">Login</button>
    </div>
    <div id="logged-in" style="display: none"> <!-- (2)! -->
      <h1>Hello <span id="user-email"></span> 👋</h1>
      <button type="button" id="logout-button">Logout</button>
    </div>
    <script src="https://unpkg.com/@fief/fief/build/index.umd.js"></script>
    <script>
      const initialize = () => {
        const fiefClient = new fief.Fief({  // (3)!
          baseURL: 'https://fief.mydomain.com',
          clientId: 'YOUR_CLIENT_ID',
        });
        const fiefAuth = new fief.browser.FiefAuth(fiefClient);  // (4)!

        document.getElementById('login-button').addEventListener('click', () => {
          fiefAuth.redirectToLogin('http://localhost:8080/callback.html');  // (5)!
        });

        document.getElementById('logout-button').addEventListener('click', () => {
          fiefAuth.logout('http://localhost:8080');  // (6)!
        });

        const userinfo = fiefAuth.getUserinfo();  // (7)!

        if (userinfo !== null) {  // (8)!
          document.getElementById('logged-in').style.display = 'block';
          document.getElementById('logged-out').style.display = 'none';

          document.getElementById('user-email').textContent = userinfo.email;
        } else {  // (9)!
          document.getElementById('logged-in').style.display = 'none';
          document.getElementById('logged-out').style.display = 'block';
        }
      };

      document.addEventListener('DOMContentLoaded', initialize, false);
    </script>
  </body>
</html>
-
HTML block for when the user is not logged in
It simply contains a generic title and a login button.
-
HTML block for when the user is logged in
We greet the logged in user with their email address and show them a logout button.
-
Fief client instantiation
As we showed in the JavaScript section, we instantiate here a Fief client here with the base tenant URL and client credentials.
Notice here that we omit the Client Secret. Indeed, the secret can't be kept safe in the browser: the end-user can easily find it in the source code.
That's why we set the Fief Client as Public: we allow it to make authentication requests without the Client Secret.
-
Fief helper for the browser
This is the helper doing the tedious work for you in the browser. All it needs is an instance of the Fief client.
Under the hood,
FiefAuthwill store the user session data on the browser SessionStorage. This is how we'll maintain the logged-in state of the user during its visit. -
When the login button is clicked, redirect to Fief login page
We simply add an event listener on the button to start the authorization process when it's clicked.
We use the
FiefAuthhelper for this. All it needs is the redirect URL where the user will be redirected after a successful authentication on Fief: thecallback.htmlpage.Under the hood,
FiefAuthtakes care of generating a PKCE code challenge for maximum security! -
When the logout button is clicked, clear session and redirect to Fief logout page
We simply add an event listener on the button to logout the user.
The
FiefAuthhelper takes care of clearing the local session and redirect to the Fief logout page so that the session on Fief's side can also be cleared.All it needs is the redirect URL where the user will be redirected after a successful logout. Here, we go back to the
index.htmlpage. -
Get user information in session
The
getUserinfomethod ofFiefAuthallows to retrieve the user information stored in session, if any. -
User information is available
The user is logged in 👍 We can show the right HTML block and fill the user email to greet them properly.
-
User information is not available
The user is not logged in 😔 We can show the right HTML block with the login button.
As you can see, the JavaScript code is quite short! Most of the tedious work is done by the FiefAuth helper, which takes care of storing the session in the browser and authenticating the client with PKCE.
Let's now see the callback.html page:
<!DOCTYPE html>
<html>
  <head>
    <title>Fief JavaScript Browser example</title>
  </head>
  <body>
    <script src="https://unpkg.com/@fief/fief/build/index.umd.js"></script>
    <script>
      const initialize = () => {
        const fiefClient = new fief.Fief({
          baseURL: 'https://fief.mydomain.com',
          clientId: 'YOUR_CLIENT_ID',
        });
        const fiefAuth = new fief.browser.FiefAuth(fiefClient);  // (1)!

        fiefAuth.authCallback('http://localhost:8080/callback.html').then(  // (2)!
          () => {
            window.location.href = 'http://localhost:8080';
          }
        );
      };

      document.addEventListener('DOMContentLoaded', initialize, false);
    </script>
  </body>
</html>
-
This doesn't change
We once again instantiate a Fief client and the browser helper.
-
We call the
authCallbackmethodThis method takes care of everything: retrieving the authorization code in the query parameters, exchanging it with a fresh access token and save it in the browser session.
Once the promise is resolved, all we have to do is to redirect back to the
index.htmlpage.
That's it! Assuming you have both files in a directory named app-directory, you can run this application using http-server:
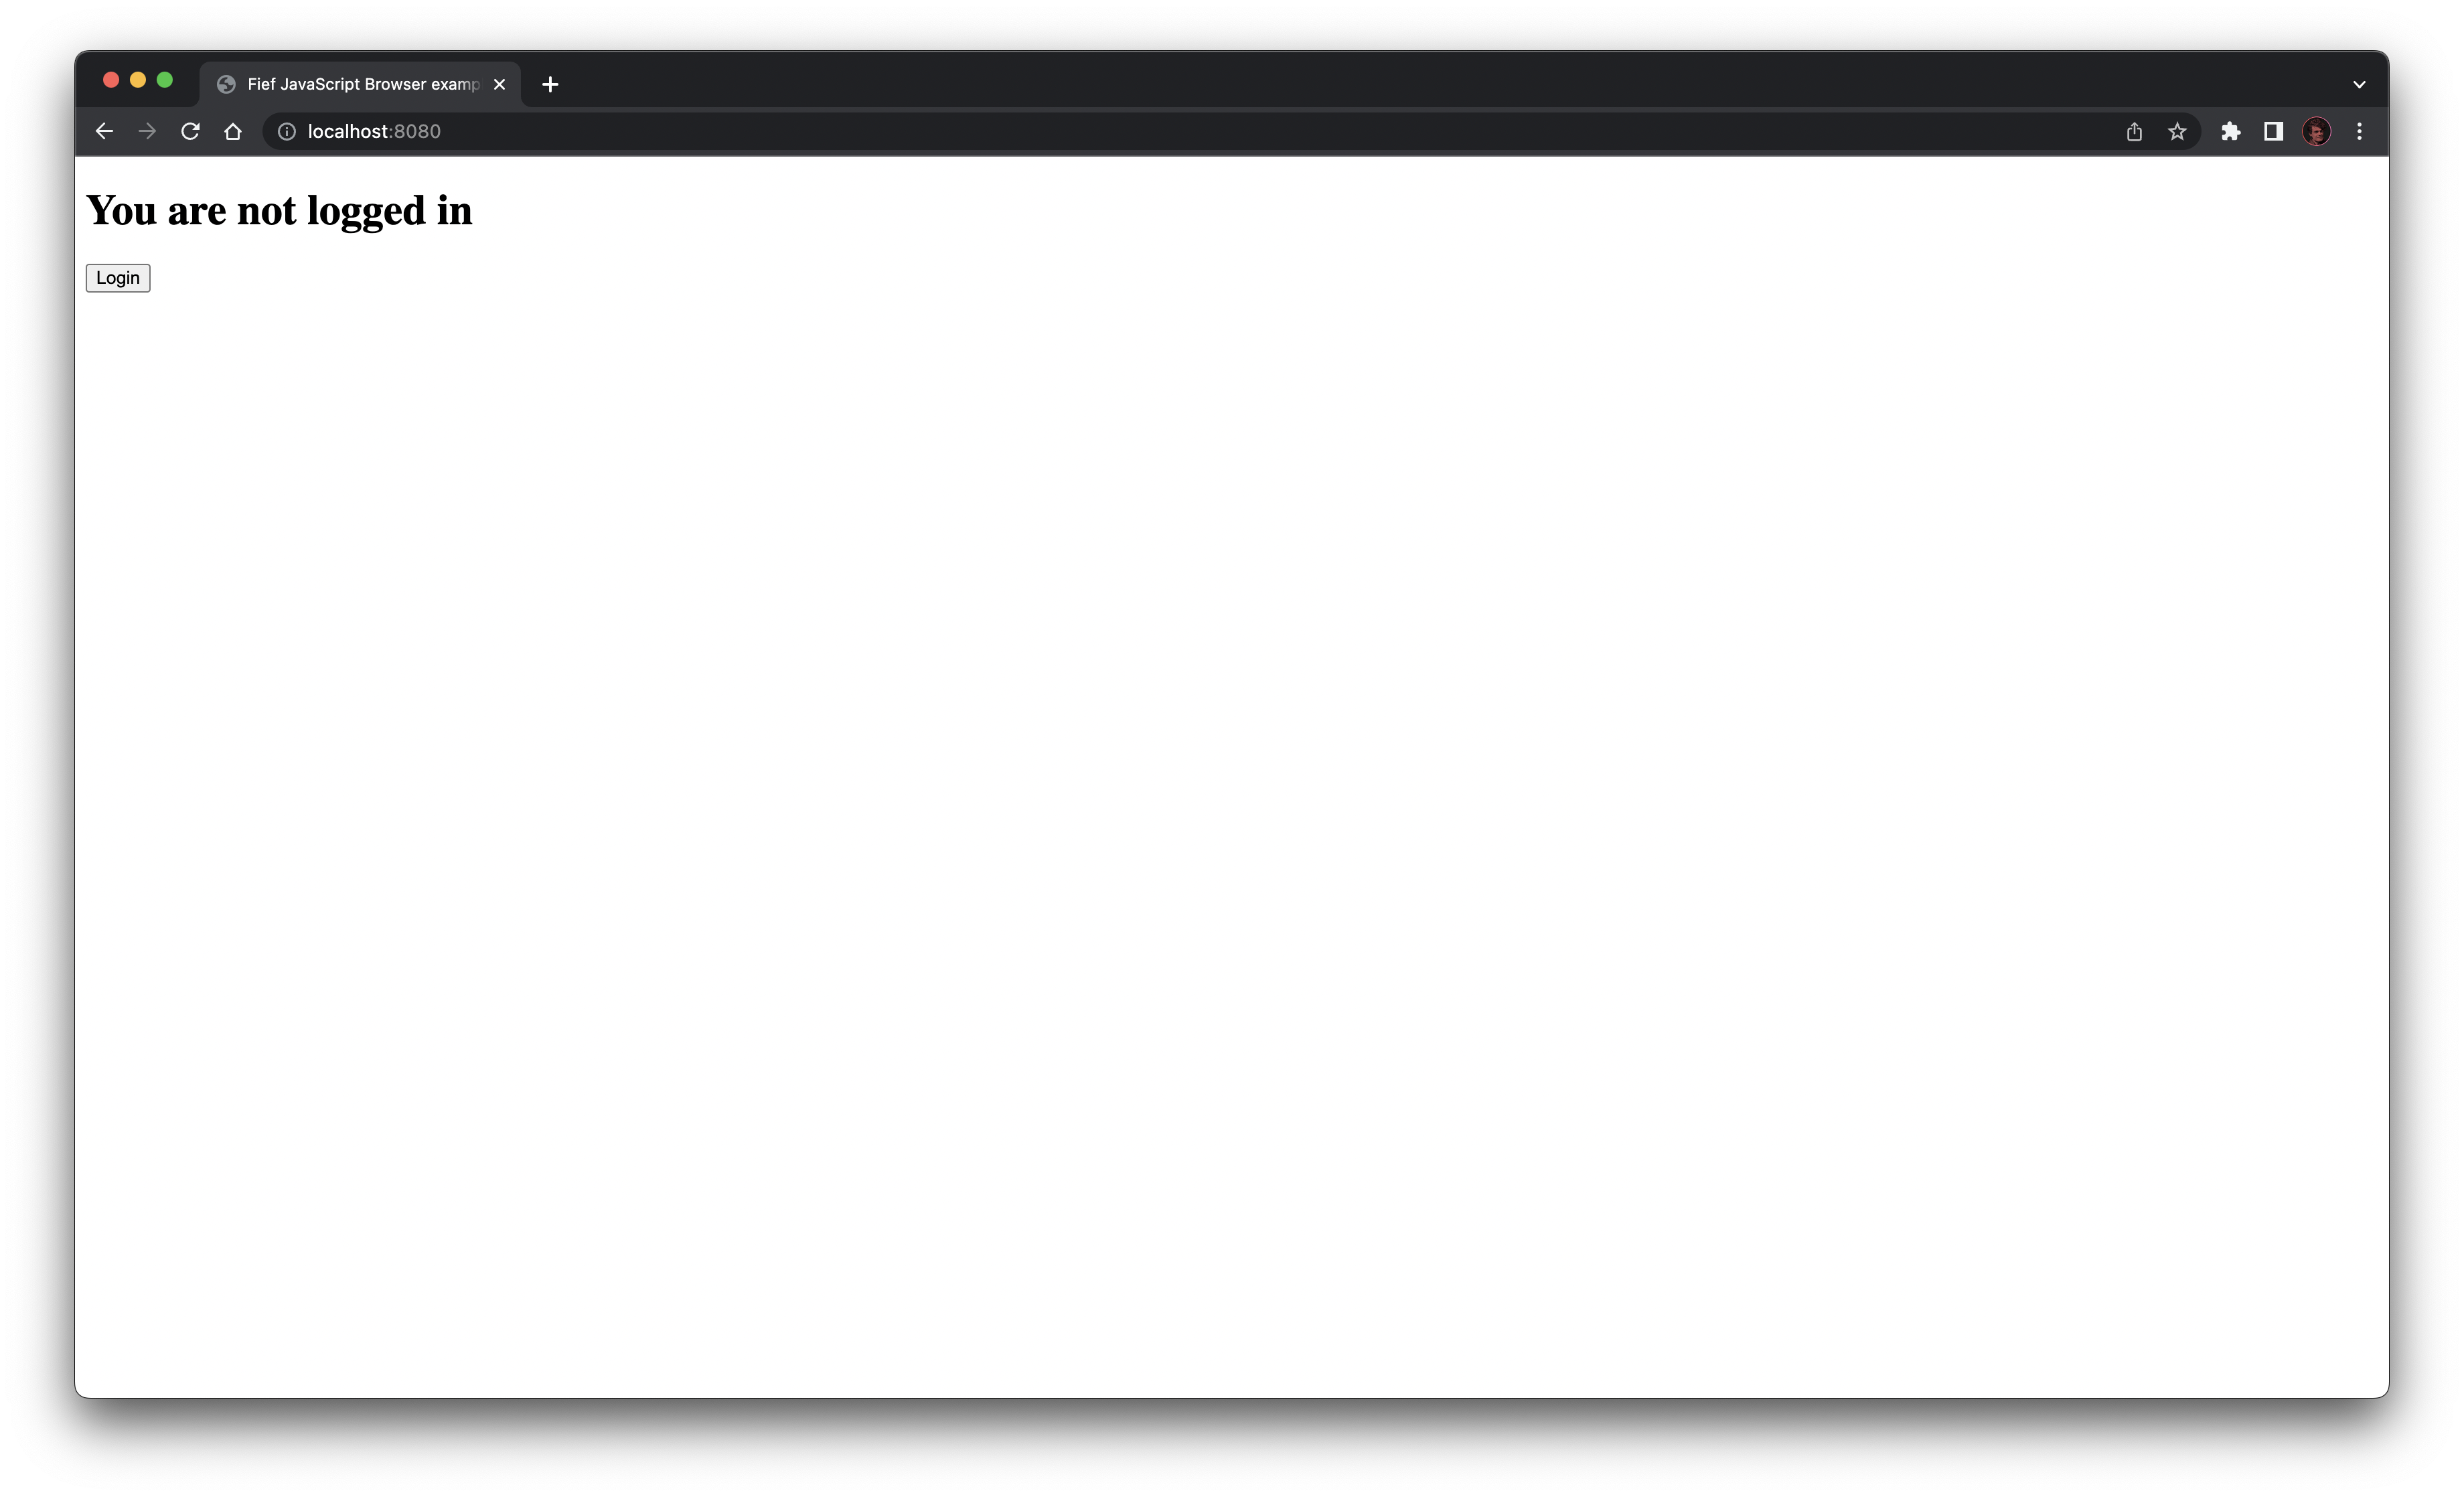
It'll make it available on http://localhost:8080. The first time you open it, you'll be logged out:
If you click on the Login button, you'll be redirected to Fief to authenticate. Once done, you'll be redirected to your application and should be properly logged in:
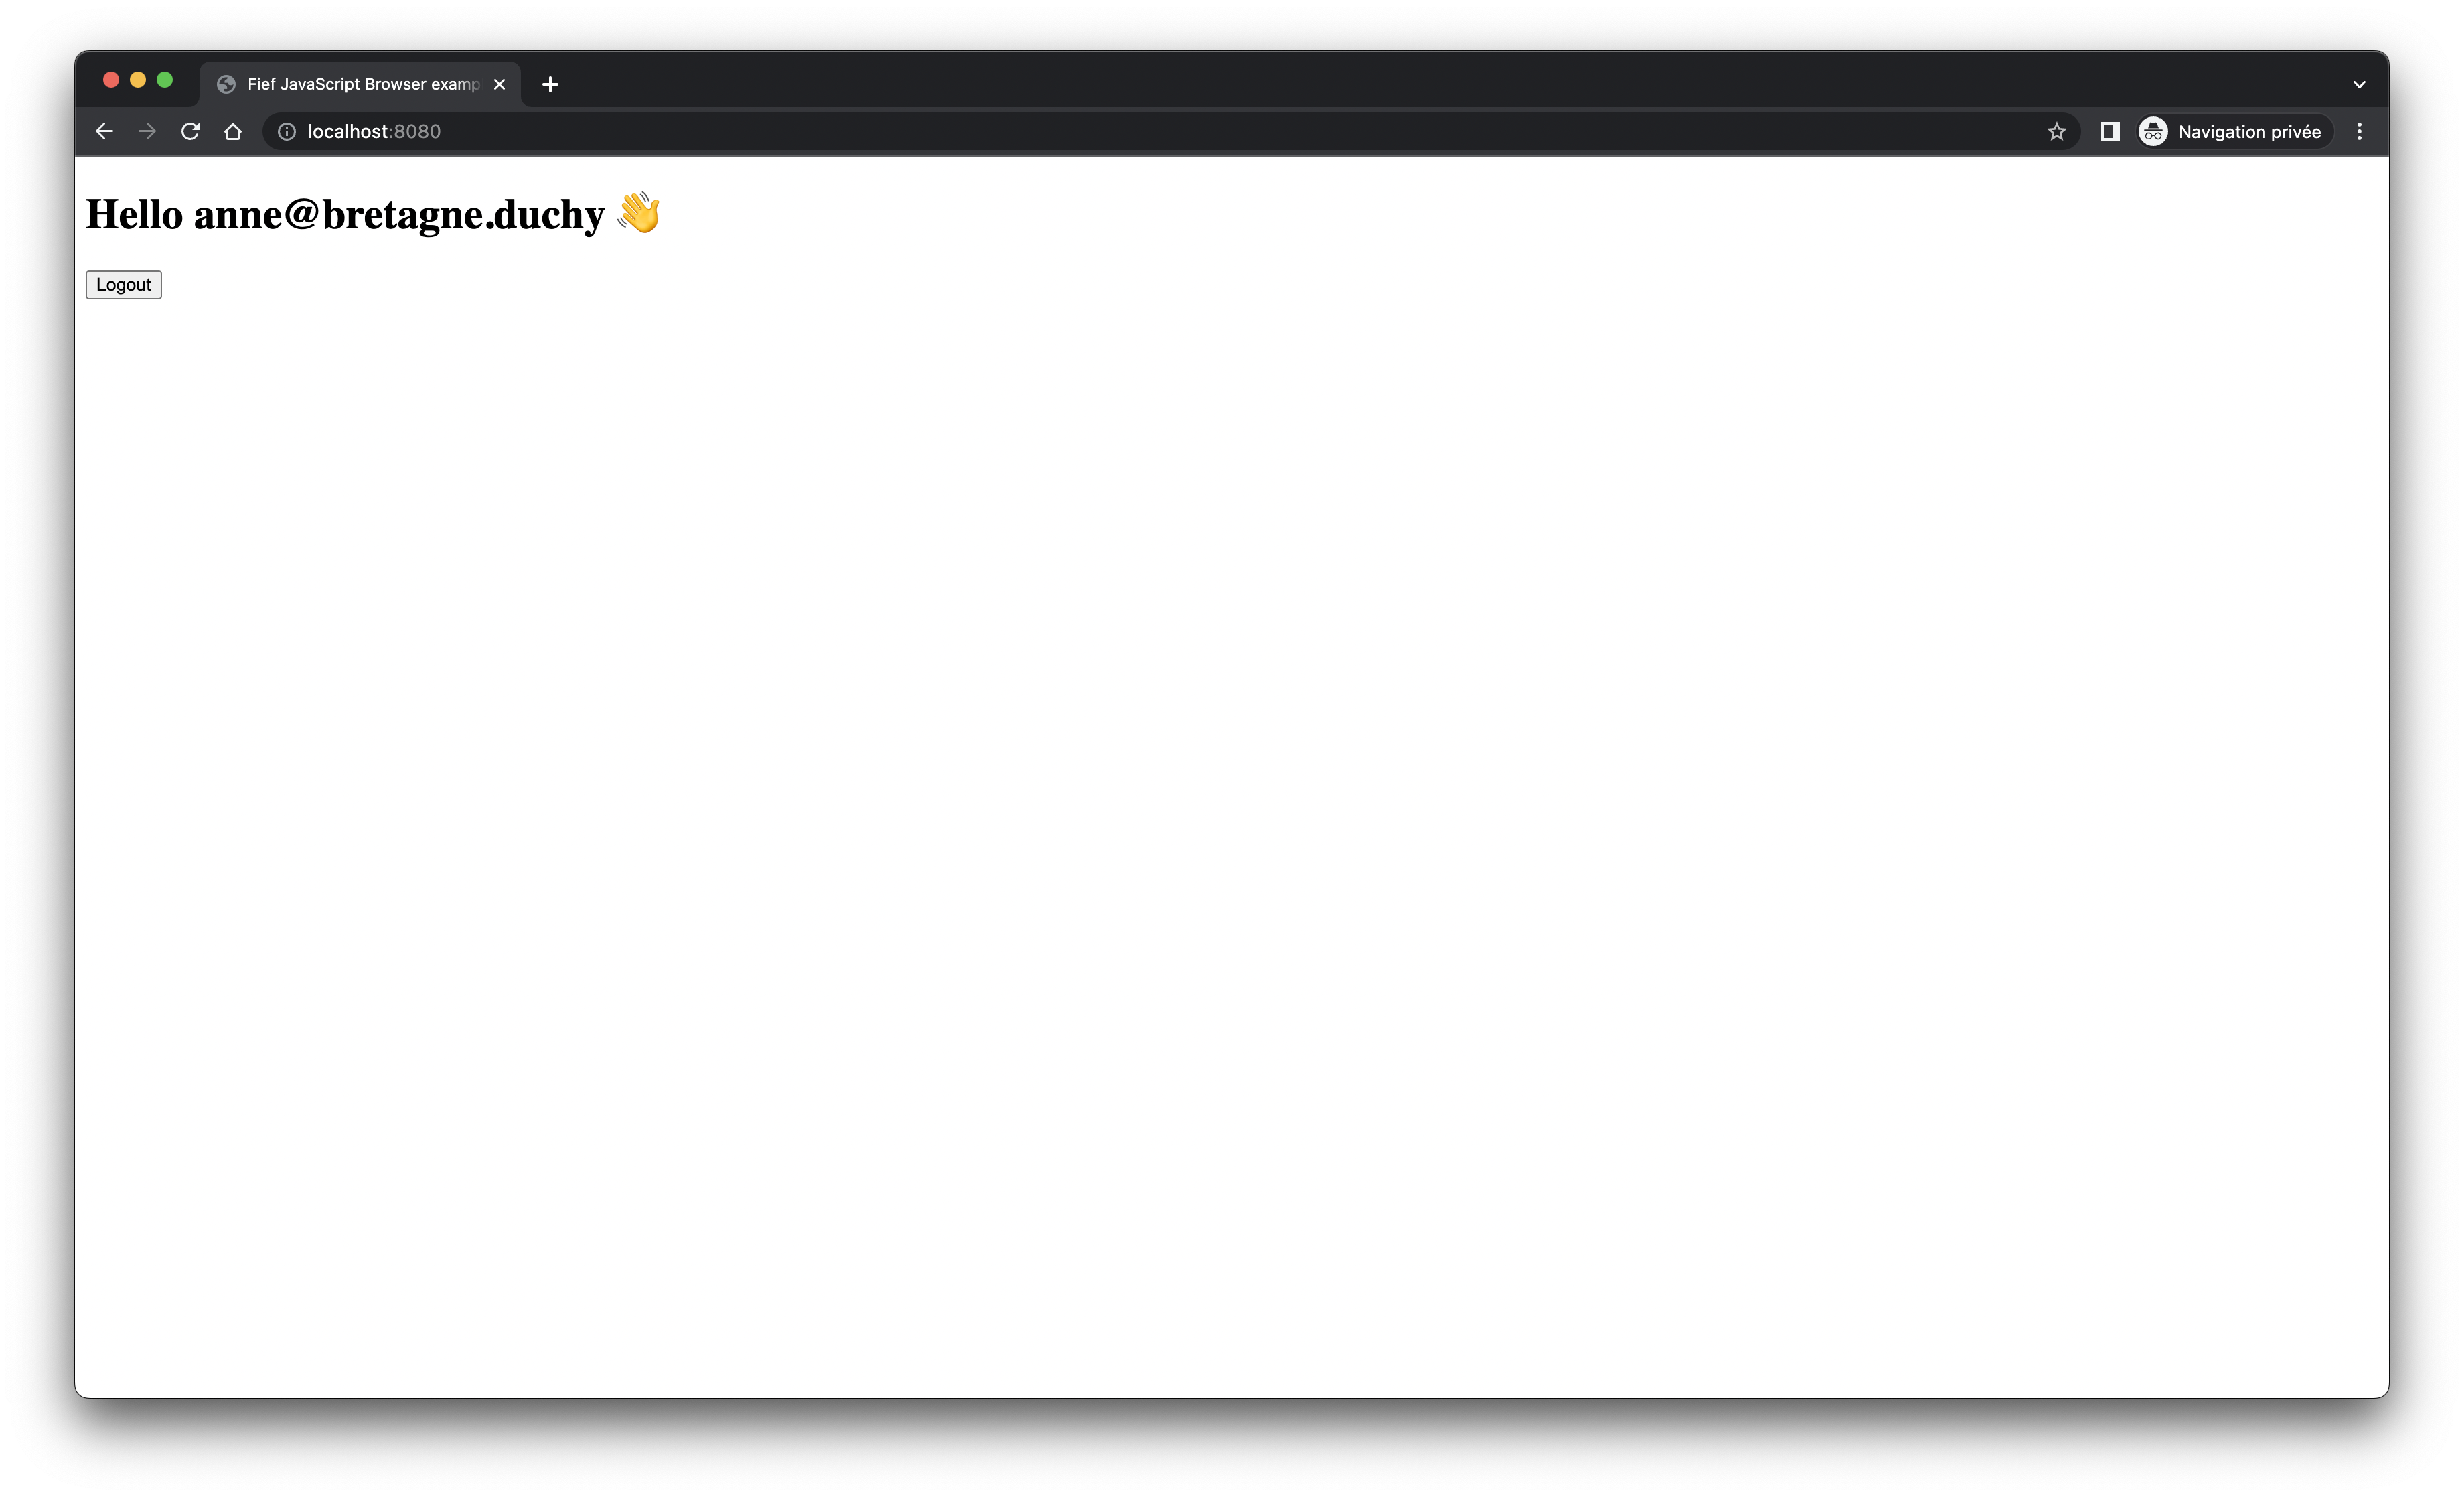
You can also try the Logout button to see how the session is cleared.
Call an API with an access token
In most cases, you'll have an API backend from which you can read or write data to display to the user in your web application.
To secure your API, you can make it require a valid Fief access token, so we are sure the call is made from an authenticated user. This is what we show for example in the FastAPI or Flask API examples.
From your browser application, you can perform XHR requests in JavaScript. All you need is to pass a valid access token in the Authorization header of your request.
When a user is authenticated, you can get the current access token using the fiefAuth.getTokenInfo method. We show below an example of an HTTP request made to your backend using fetch: