Users
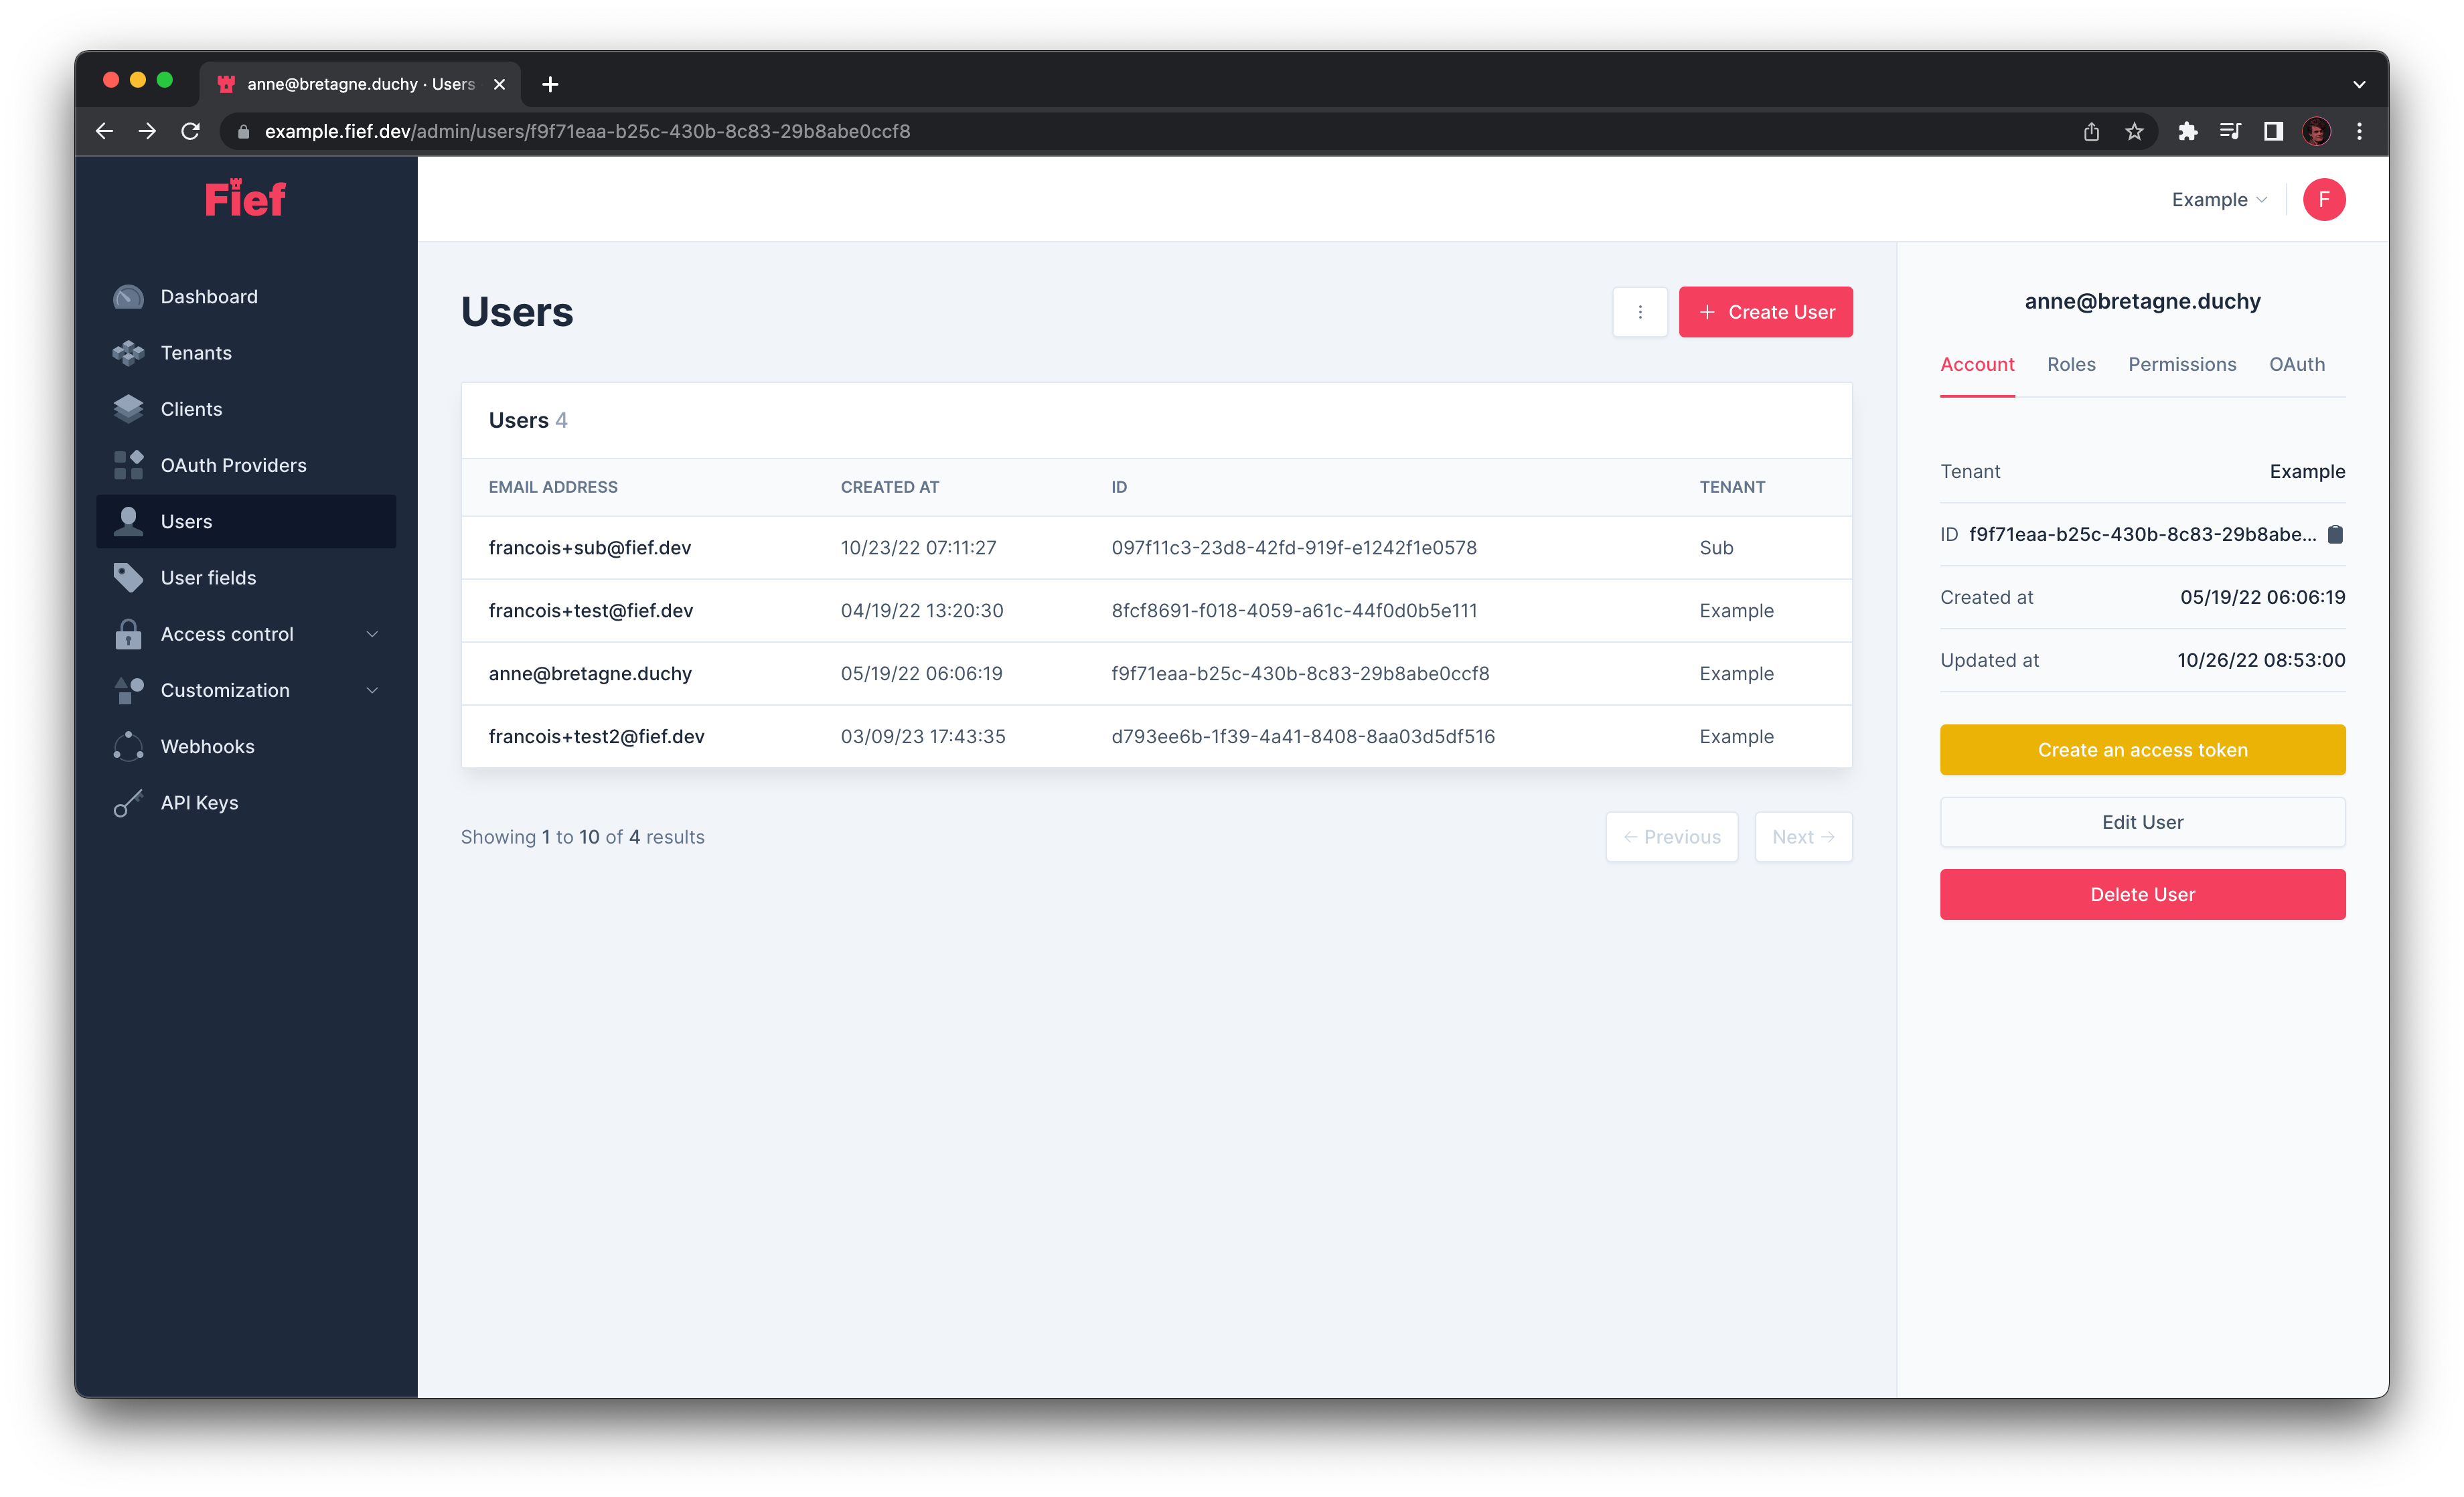
This is where you'll see and manage the users of your instance.
What is a user?
A user is the fundamental part of your Fief instance: it represents the actual user that'll have access to your application!
We store basic information about the user, like its email address and hashed password and take care of verifying its credentials upon login.
Every user is tied to a tenant. It means that an individual can have several user accounts on your instance, with the same email address, but tied to a different tenant.

Create a new user
In some circumstances, you might need to create a user manually from the admin dashboard. You can do so by clicking on the Create User button. A modal will open where you'll be able to input its email address, password and associated tenant.
You'll also be able to fill the values for your custom user fields.

Info
User created that way will receive the welcome email, as if they registered themselves.
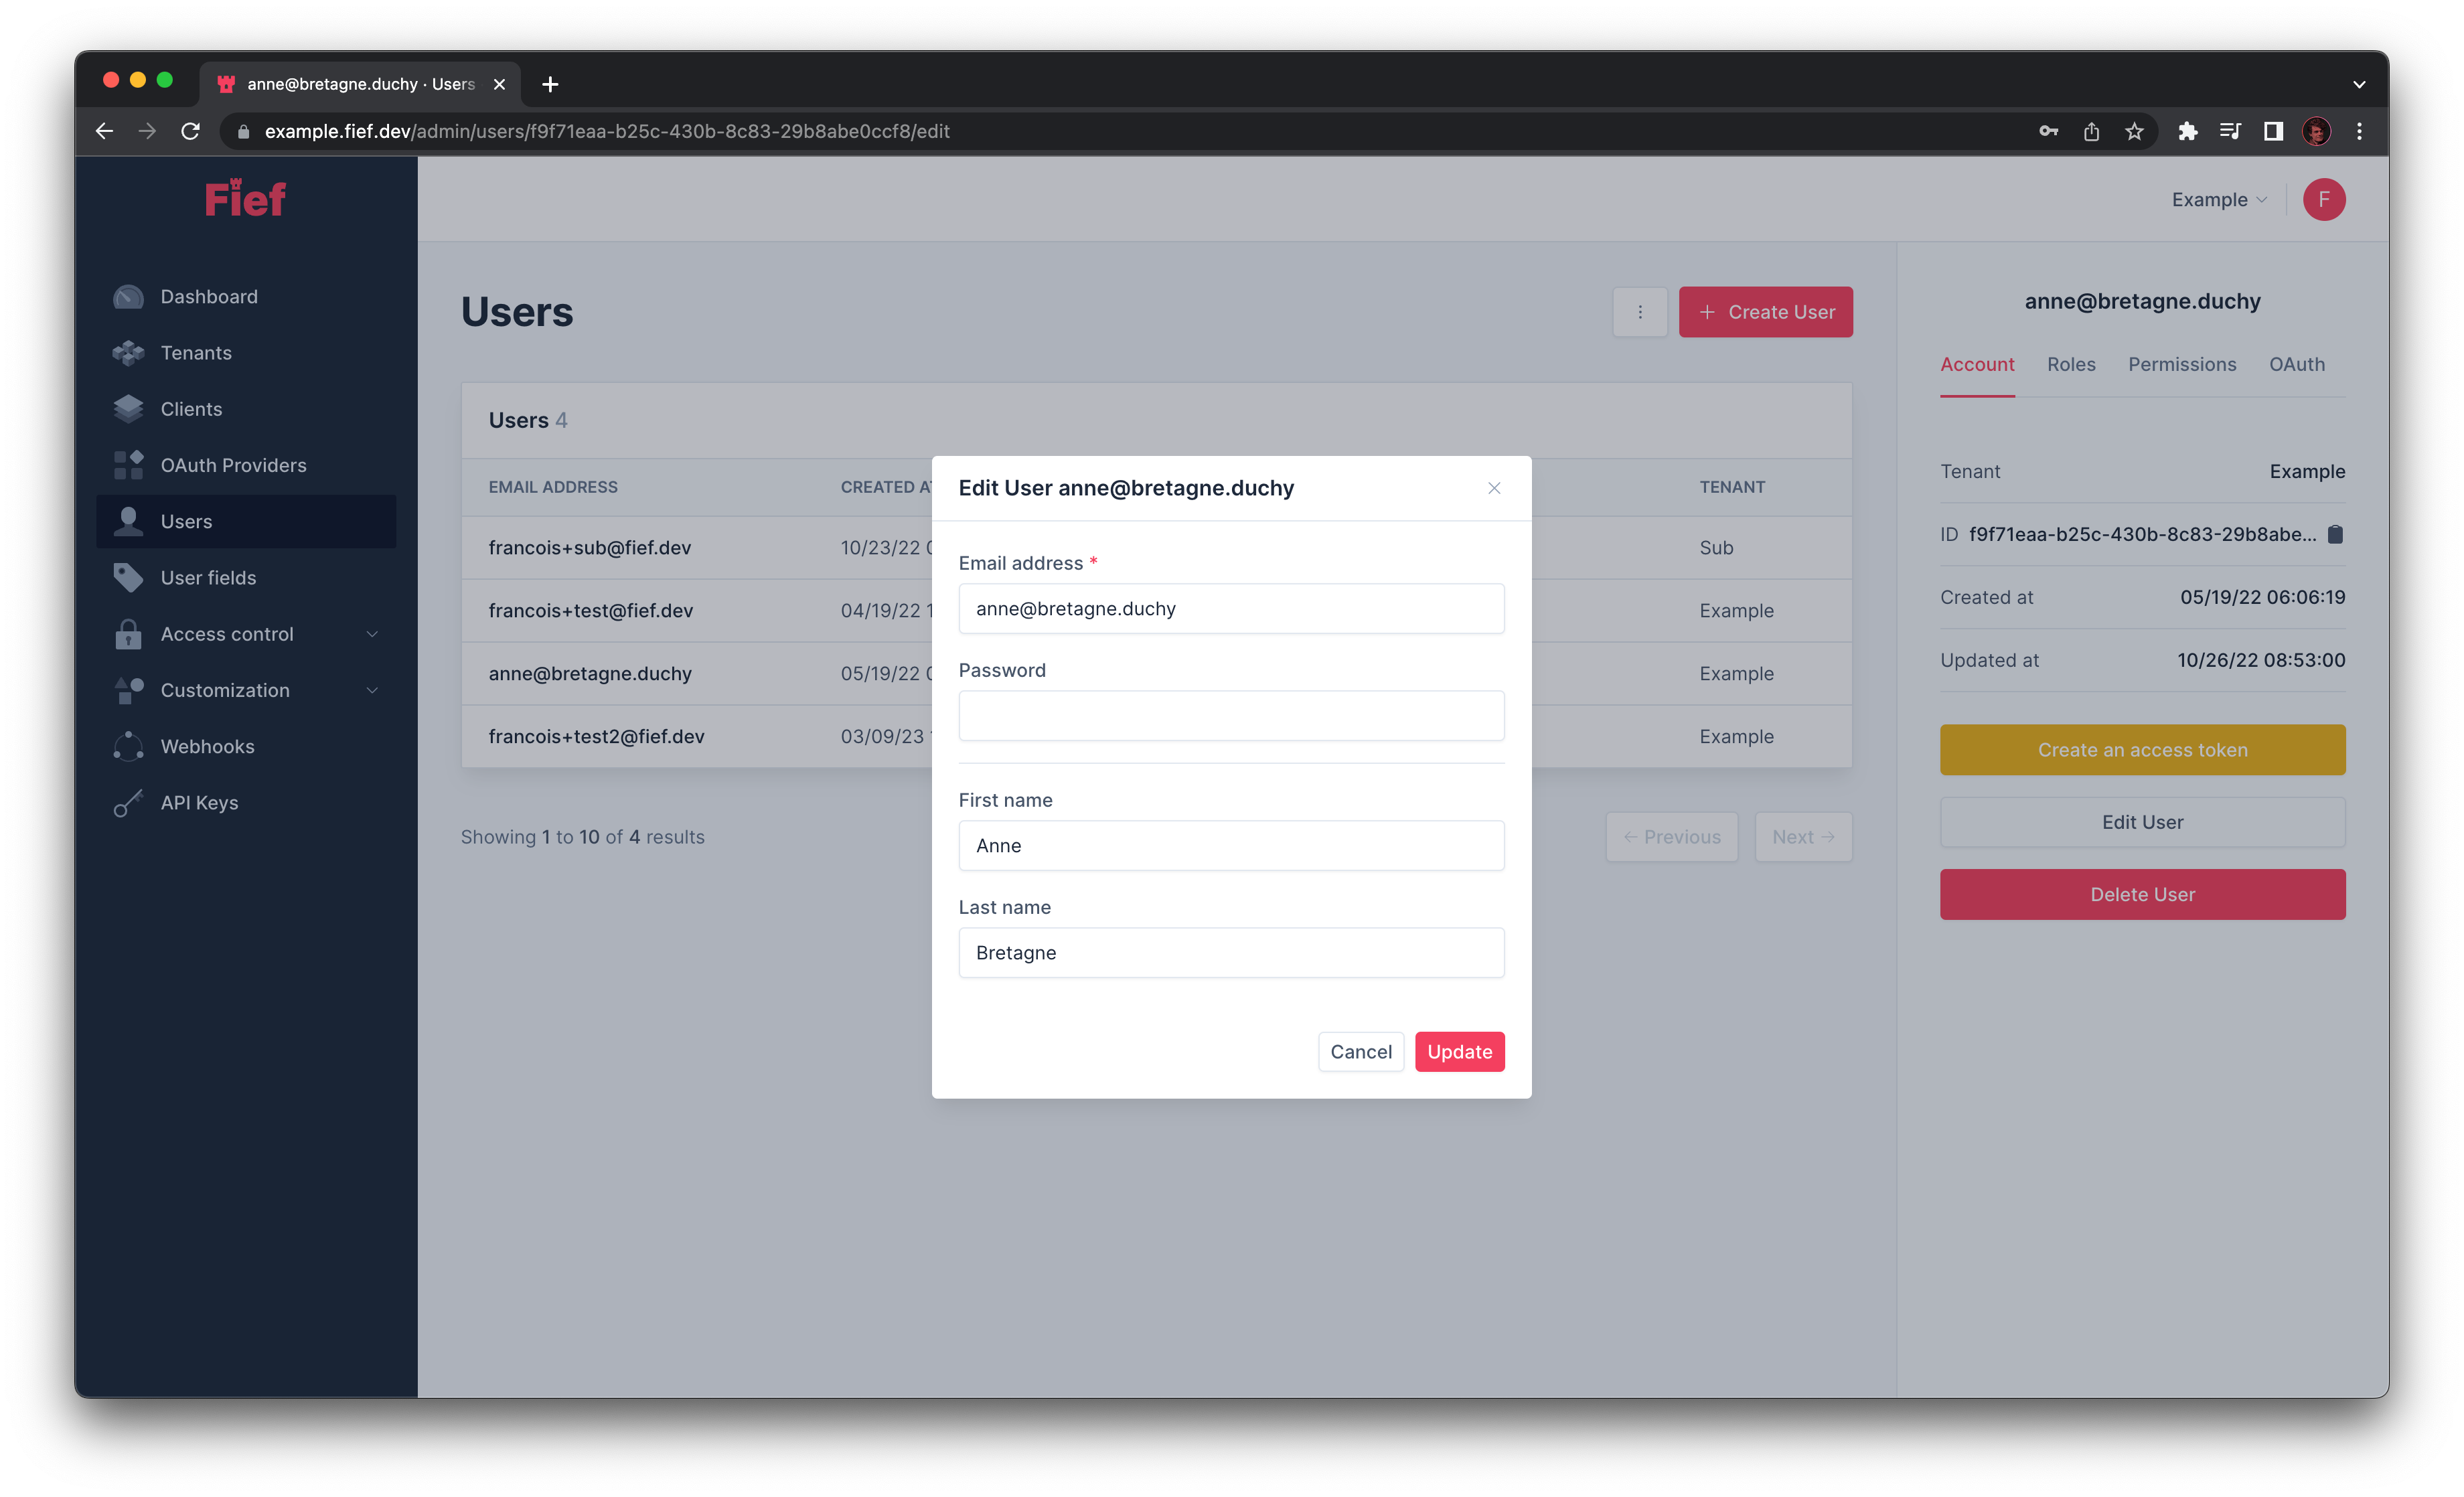
Edit an existing user
If you click on one of the user in the list, you'll see its details on the right and be able to update them.
If you click on the Edit User button, you'll be able to update its properties.
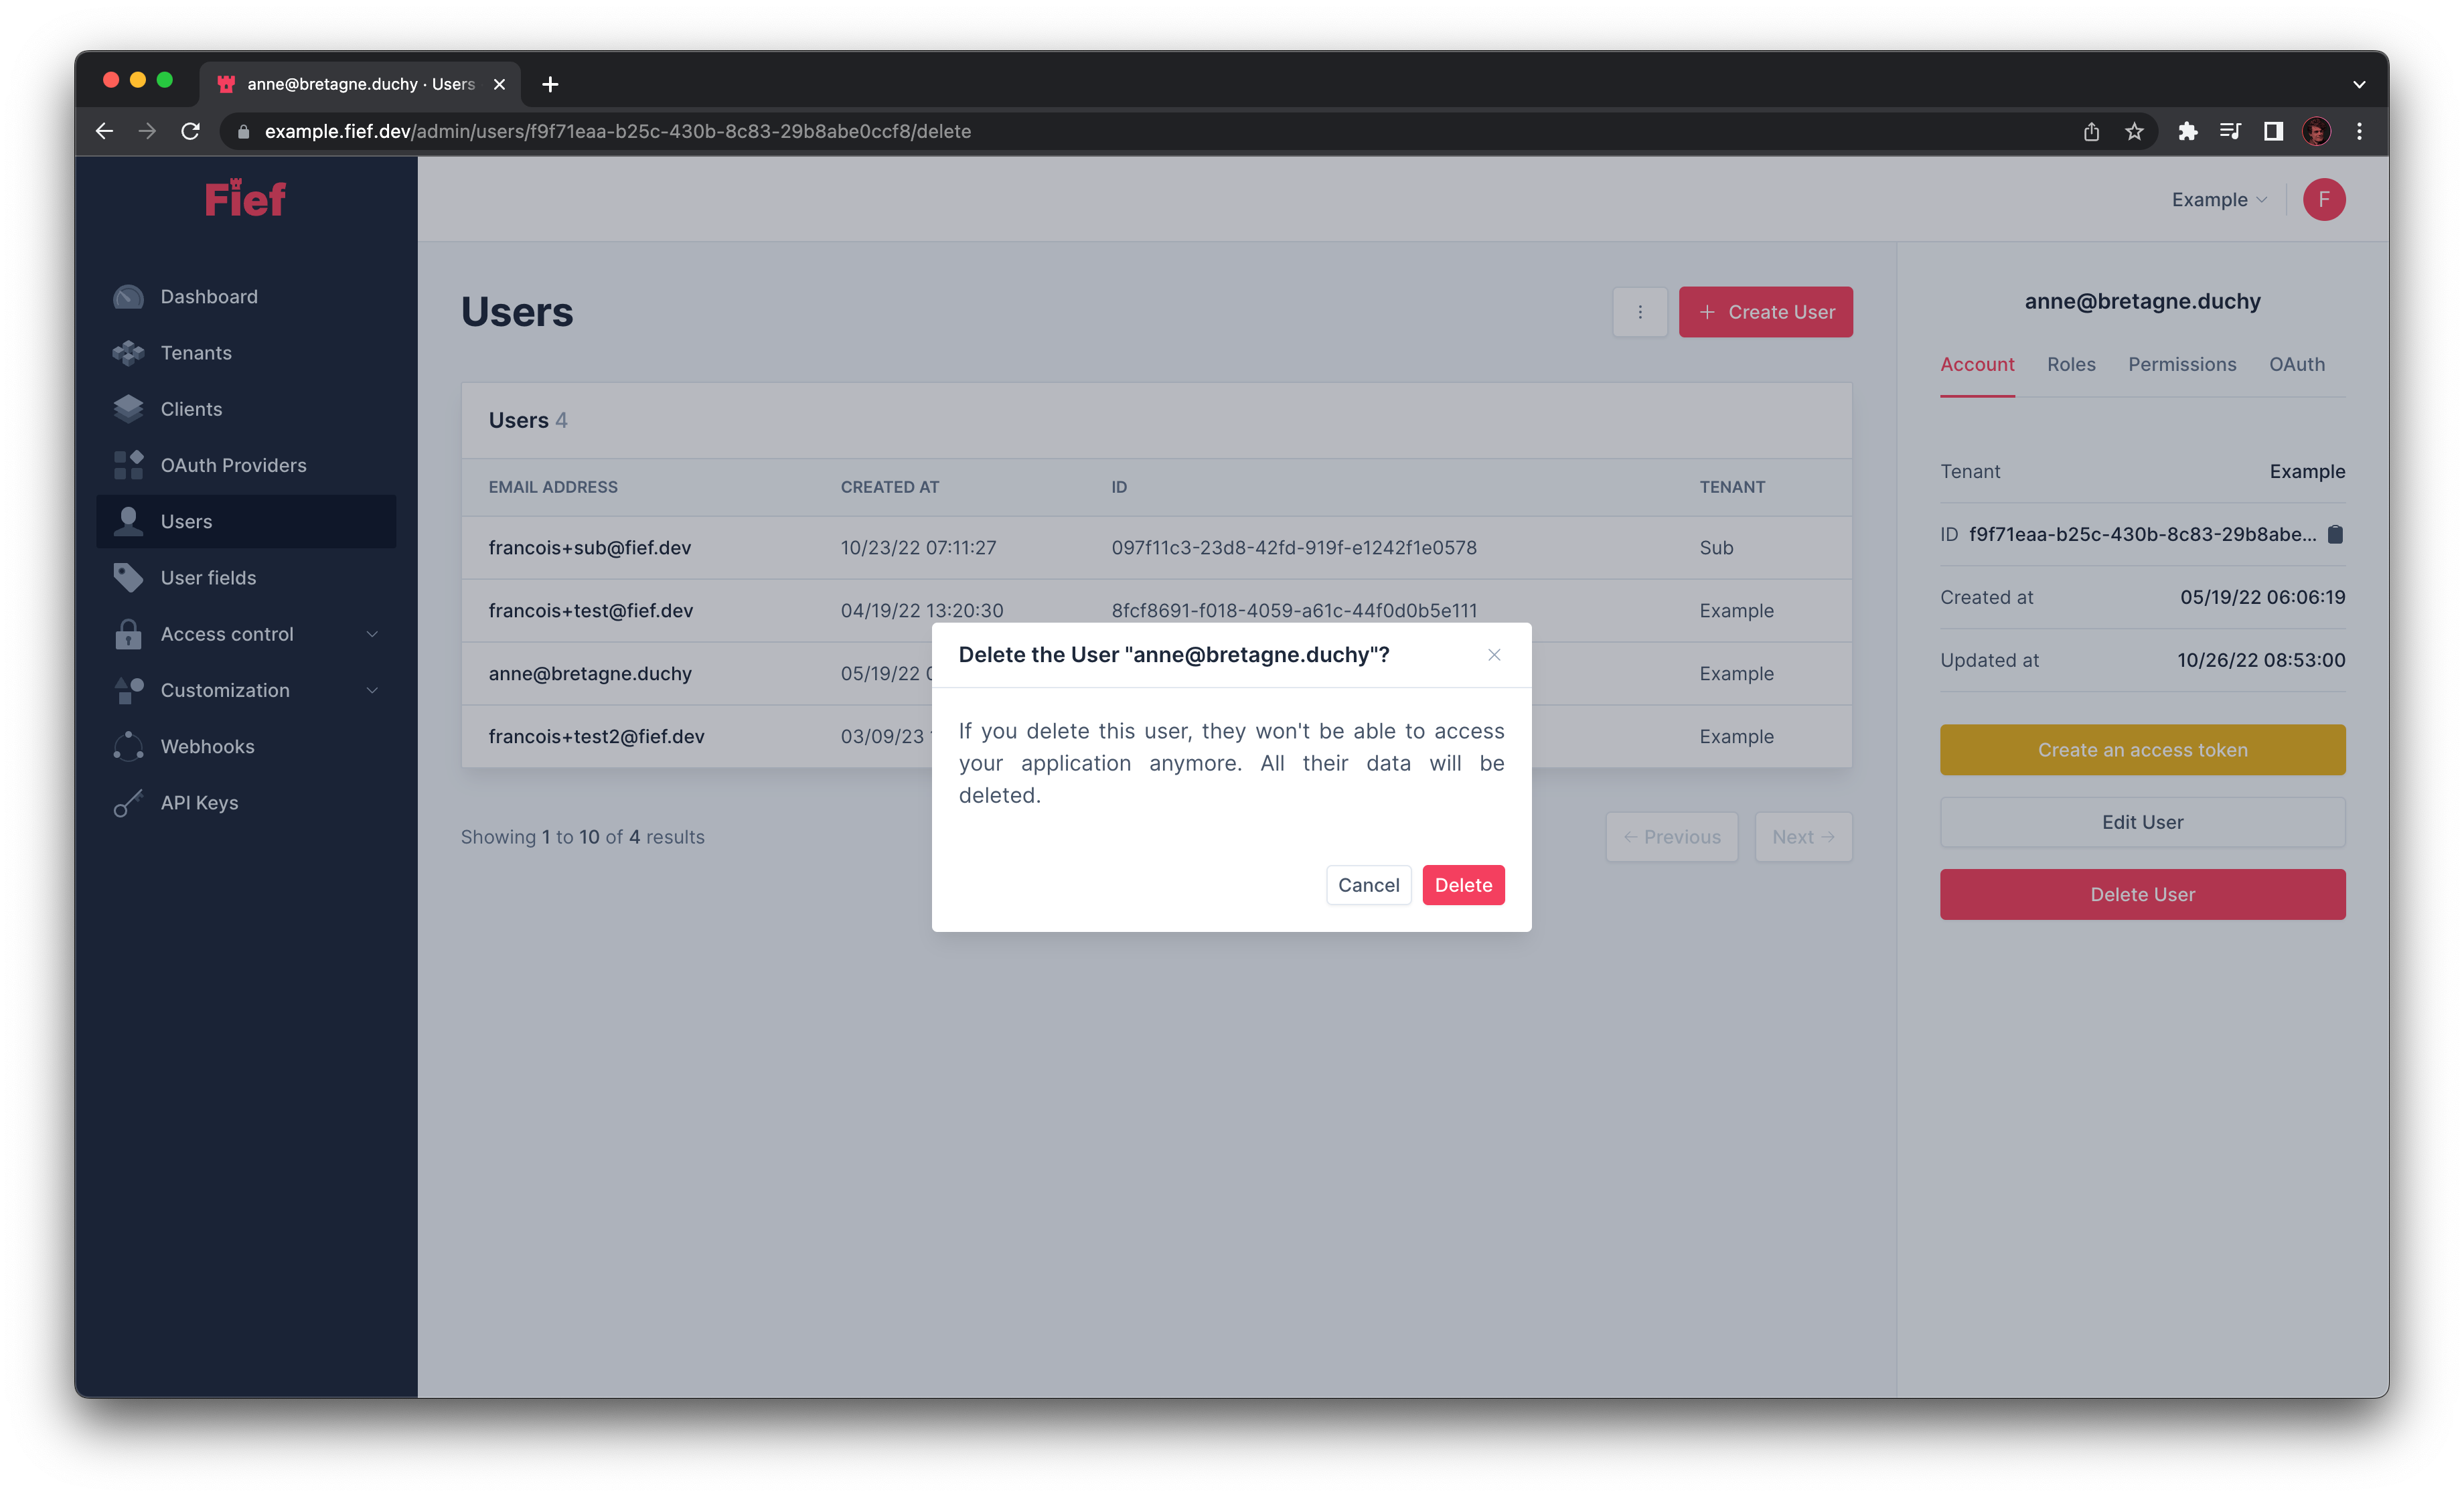
Delete a user
You can delete a user by clicking on it on the list and click on the Delete button on the right.
Assign roles and permissions to a user
What are permissions and roles?
Permissions are a way to list the actions a user will be allowed to perform in your application. For example, if you have a resource in your application called Castle, we can define the permissions Read Castle and Create Castle.
Then, those permissions can be assigned to users. You'll then be able to control this list of permissions in your app to determine if the current user is able to perform the action they request.
Assigning permissions directly to users can be tedious and error-prone. To help with this, Fief also supports the concept of Roles. A role consists of a set of permissions. Following our previous example, we can imagine to have the roles Castle Visitor, which only have the Read Castle permission and a Castle Manager role, which have both Read Castle and Create Castle permissions.
Those roles can also be assigned to users. Then, they'll be automatically granted with the set of associated permissions. The good thing is that if you modify a role to add or remove permissions, it'll be automatically be passed on every users with this role. Said another way, it's a way to easily organize and assign permissions.
Fief allows you to define permissions and roles to determine what your users are allowed to do or not in your application. From the dashboard, you are able to assign permissions and roles to users.
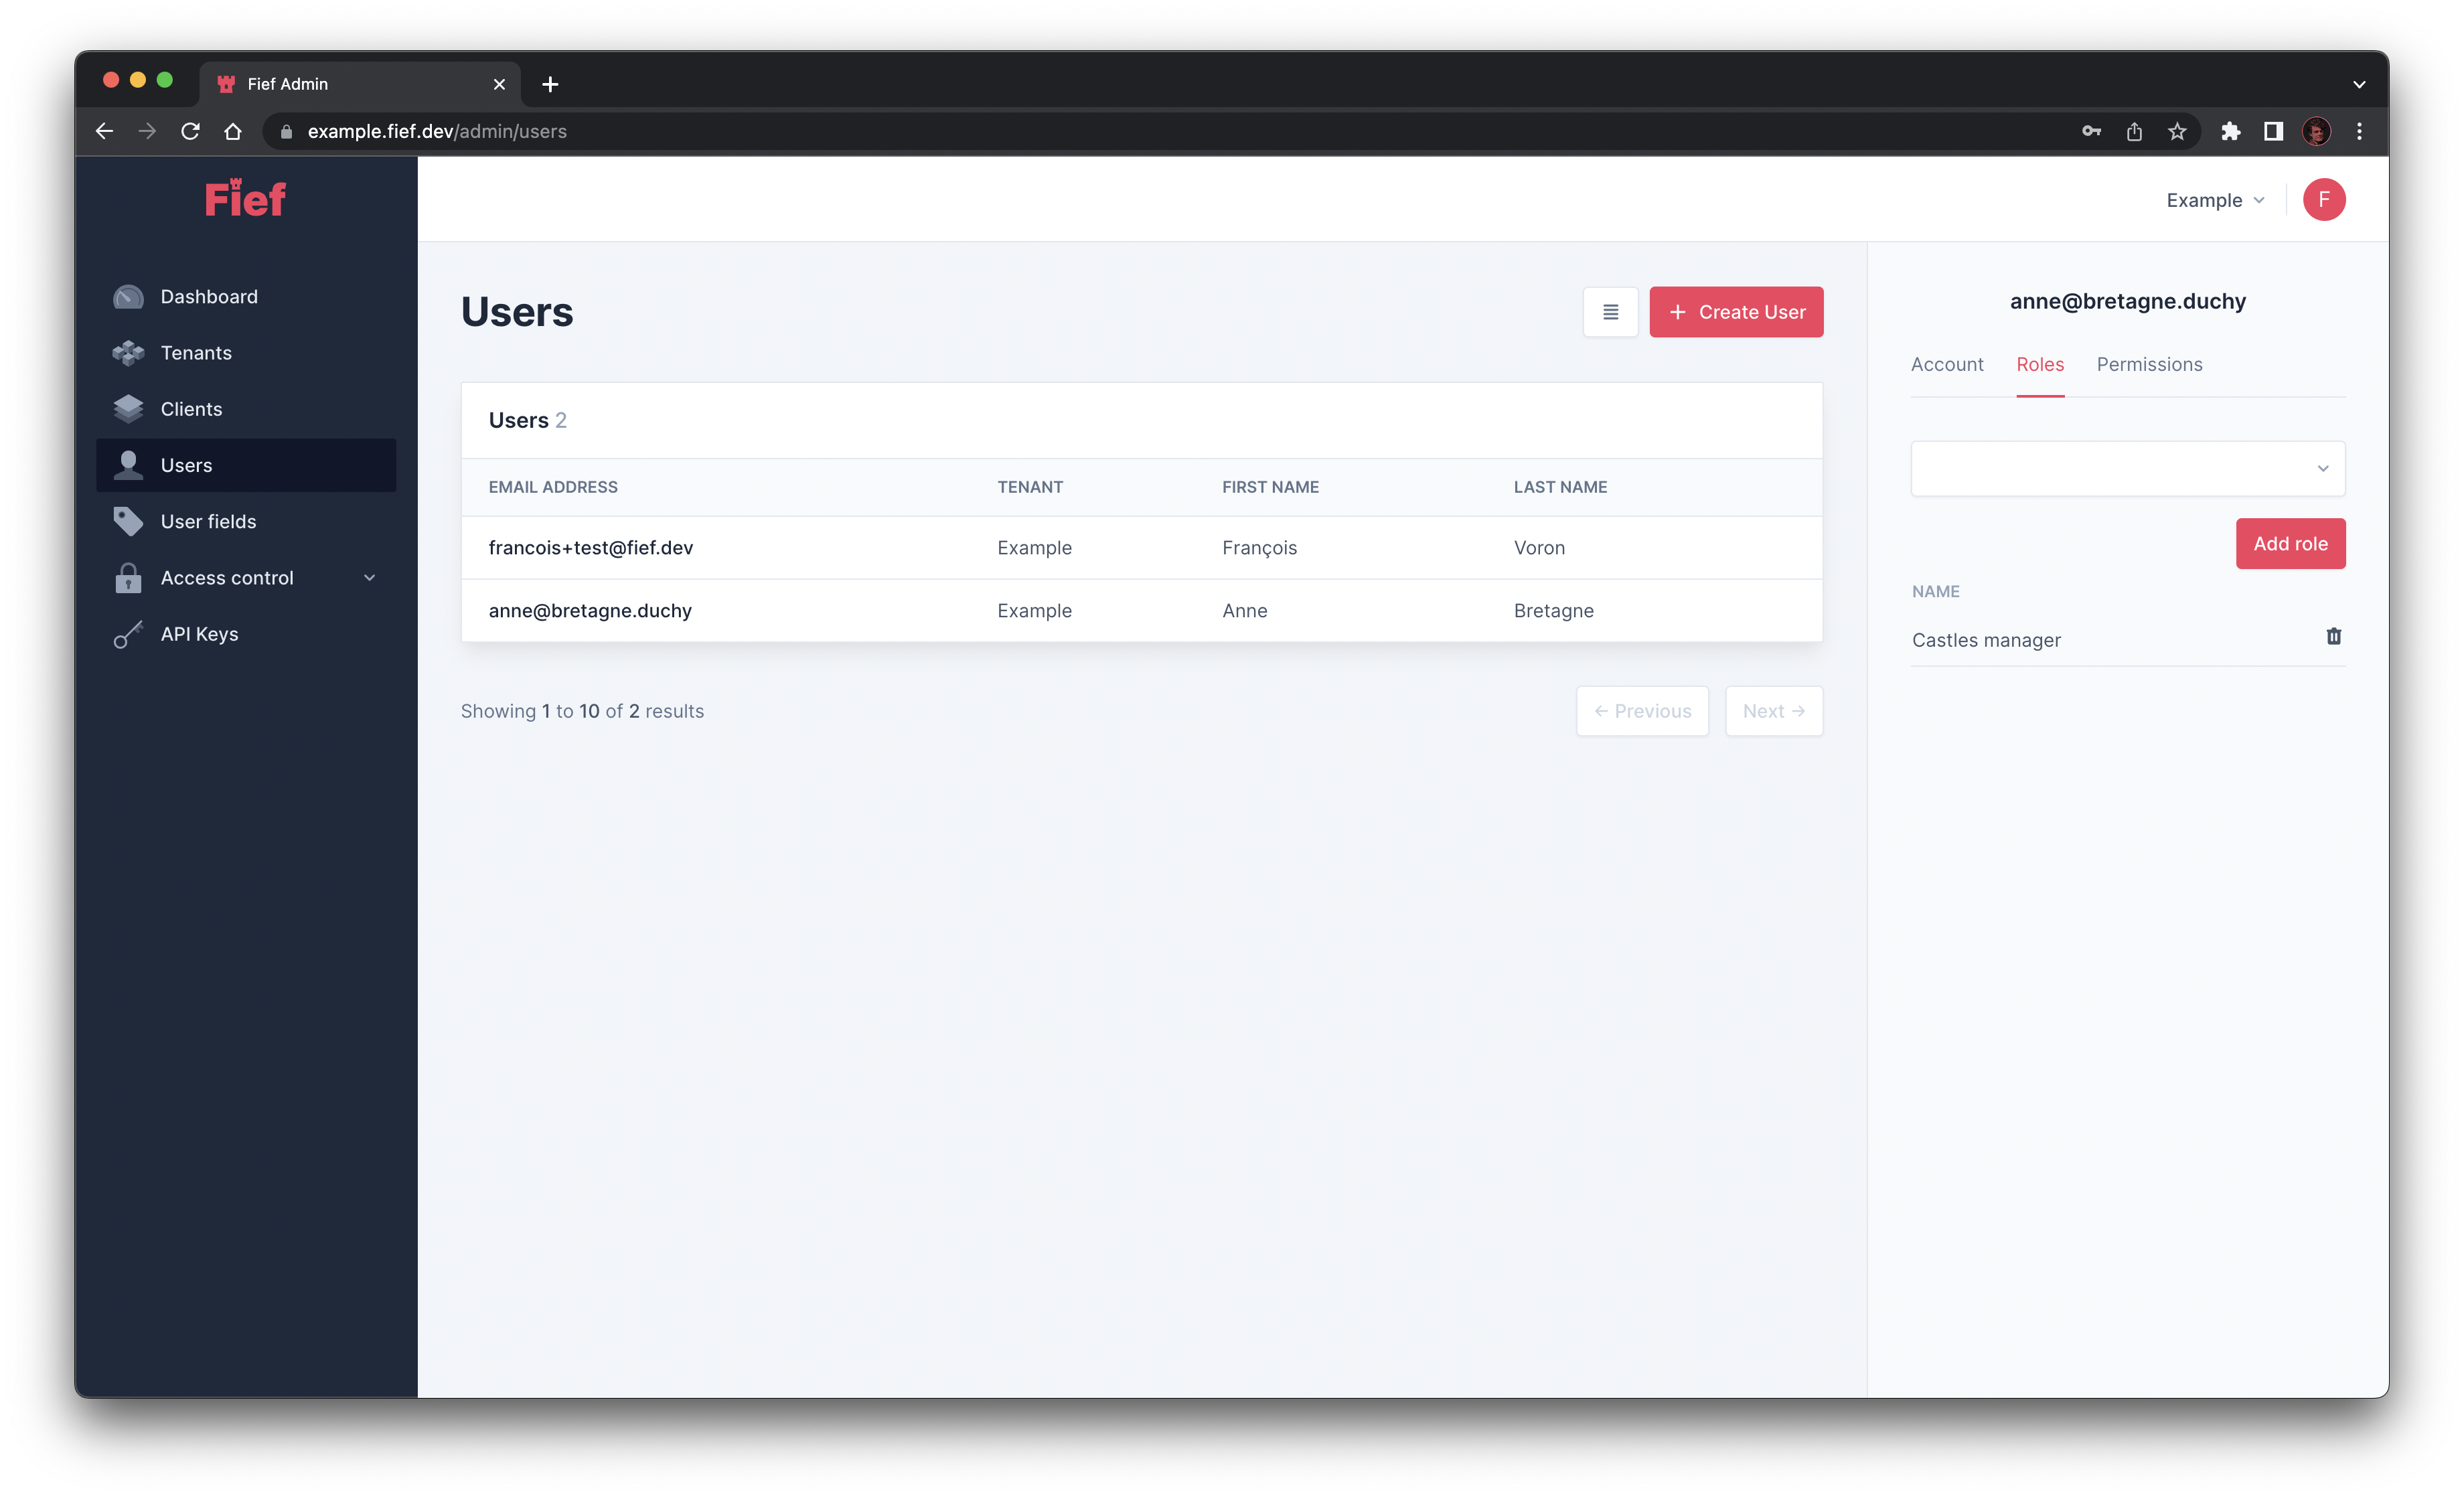
Assign a role
You can assign a role to a user by clicking on it in the list. It details will open on the right. Click on the Roles tab to see the roles they already have. From here, you can look for roles in the select menu. Click on Add role to assign it to the user.

Asssociated permissions are automatically granted
Of course, when you assign a role to a user, the permissions associated to this role are automatically granted to the user. Nothing more to do!
Revoke a role
You can revoke a role from a user by clicking on the trash button in front of the role you want to remove.
Asssociated permissions are automatically revoked
Of course, when you revoke a role from a user, the permissions associated to this role are automatically revoked from this user. Nothing more to do!
Assign a permission
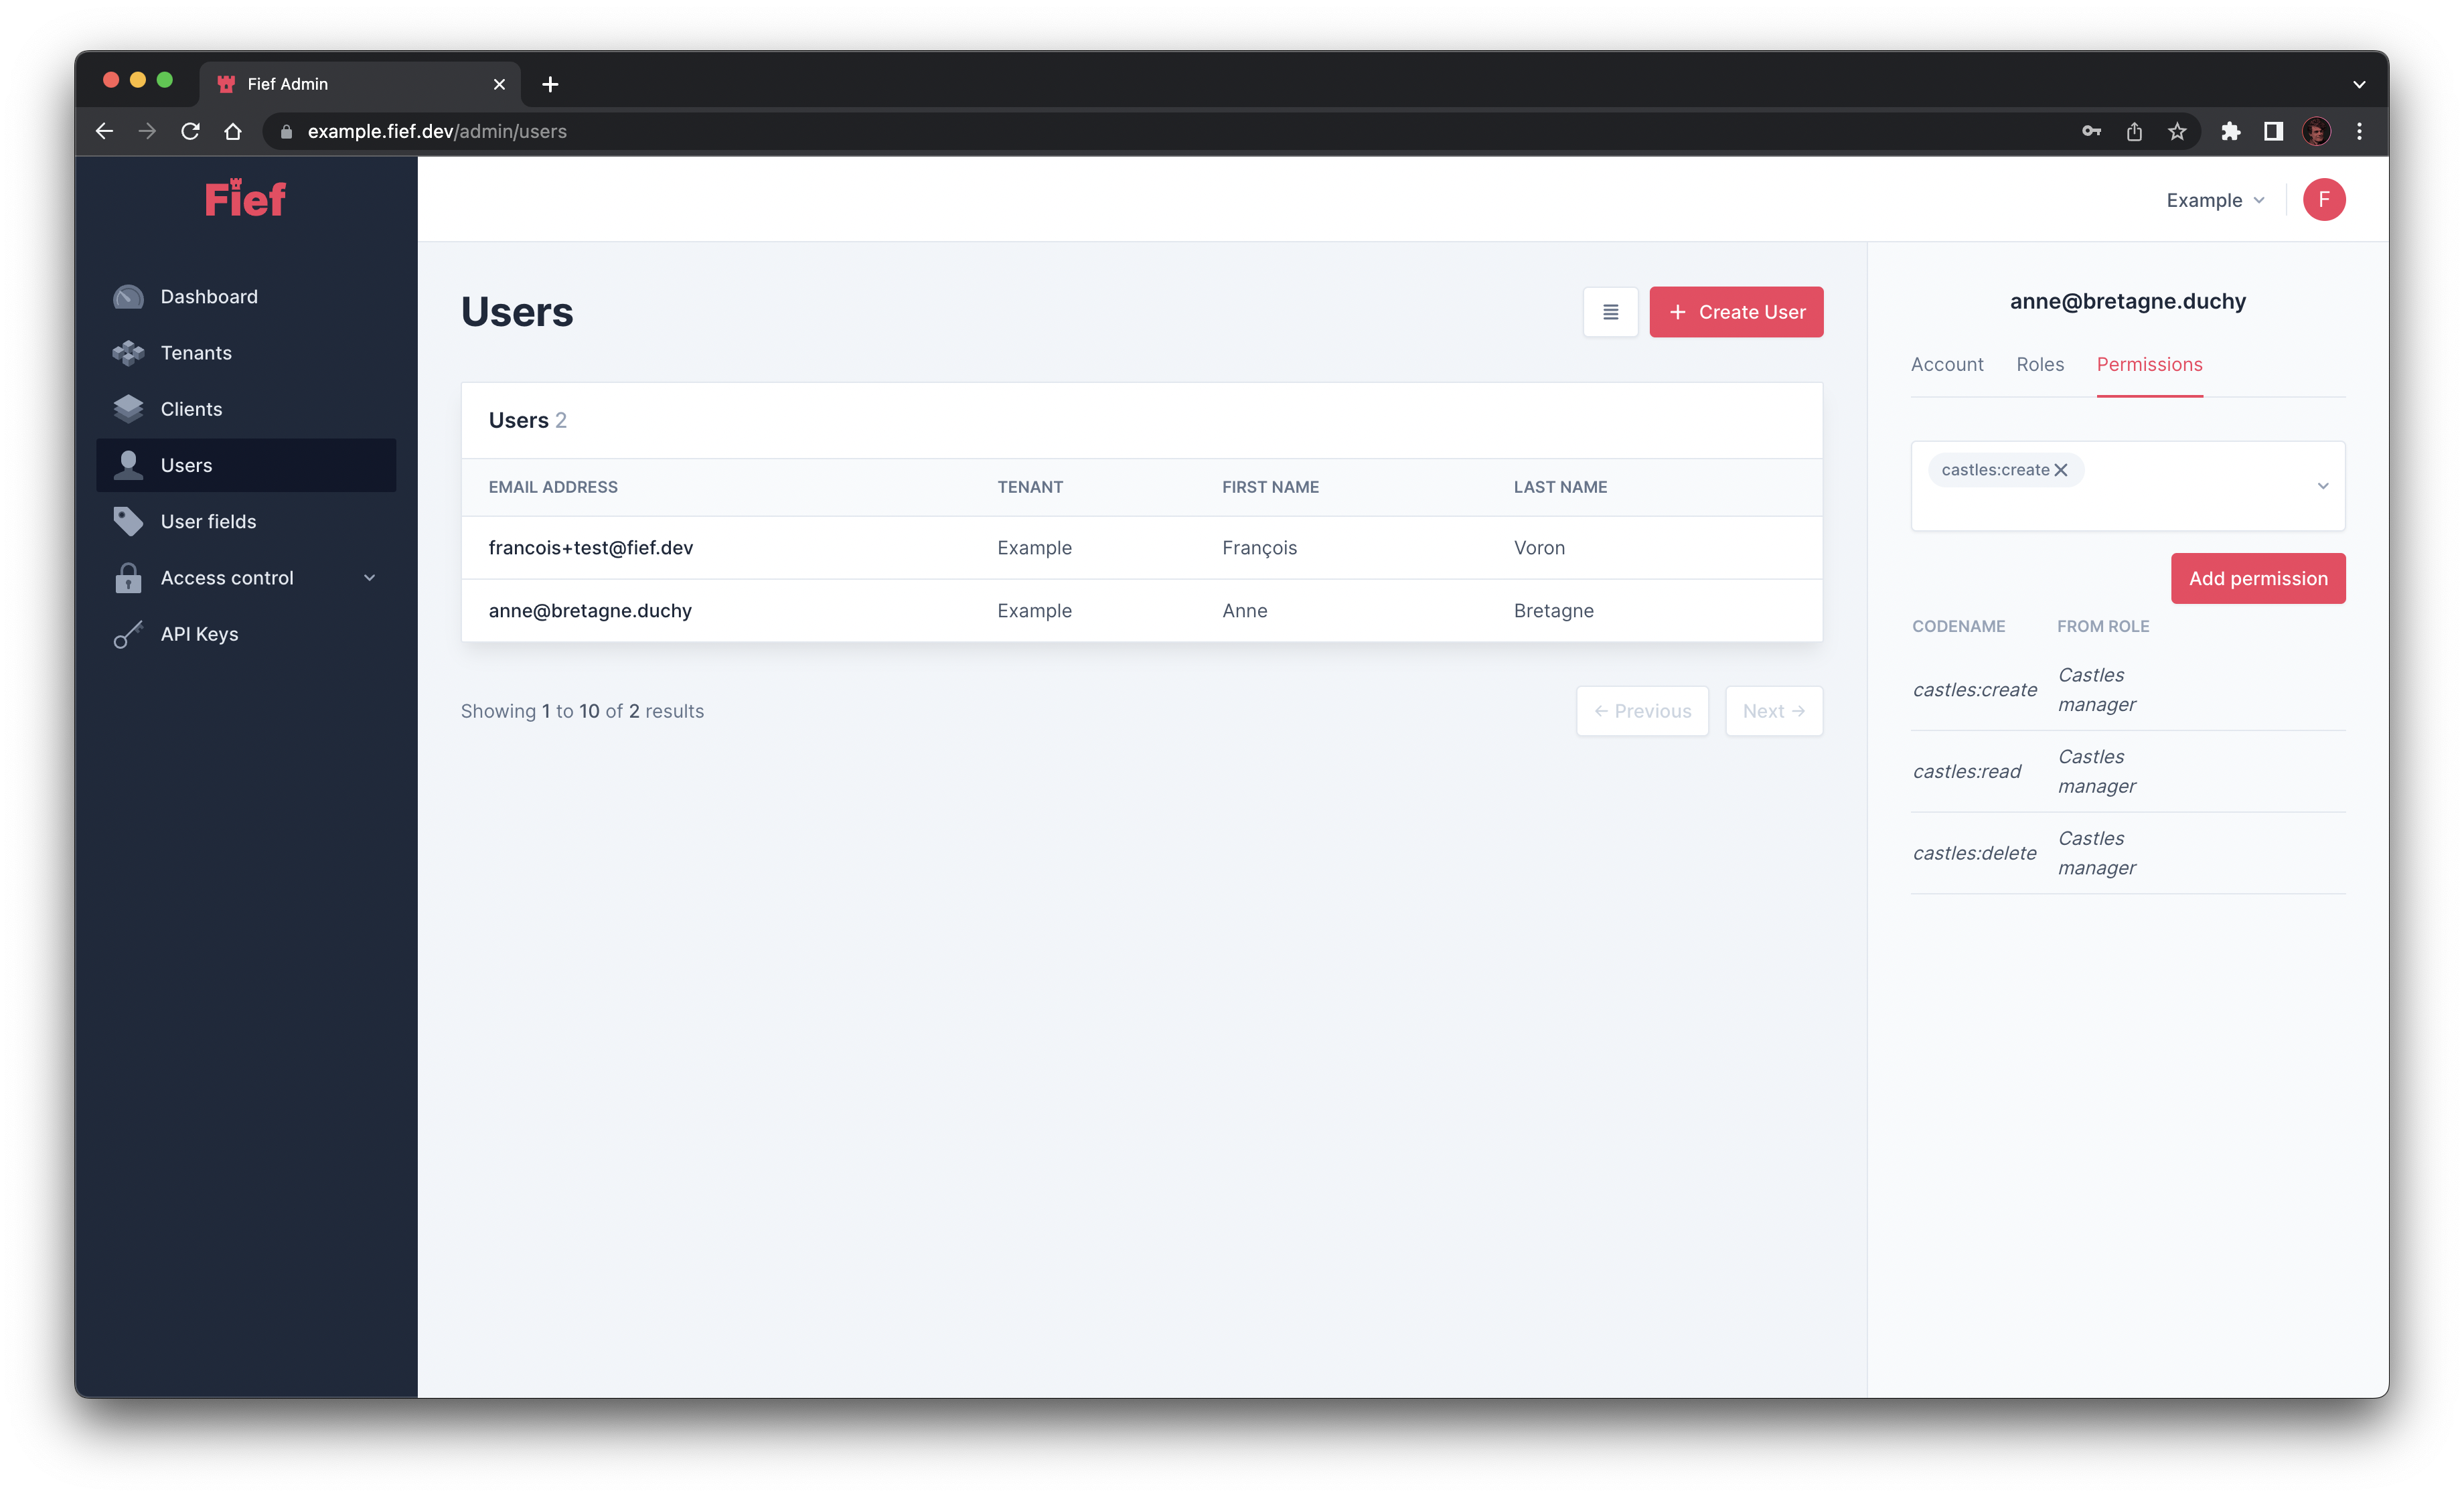
You can assign a single permission to a user by clicking on it in the list. It details will open on the right. Click on the Permissions tab to see the permissions they already have. Notice that permissions granted through roles are also displayed, in italic.
From here, you can look for permissions in the select menu. Click on Add permission to assign it to the user.
In general, you should prefer roles
Assigning a single permission can be convenient from time-to-time but we generally recommend to assign proper roles, even if they contain only one permission. This way, you can be more future-proof if you find that you actually need to add a new permission: rather than editing every users one by one, you'll only have to update the role once.
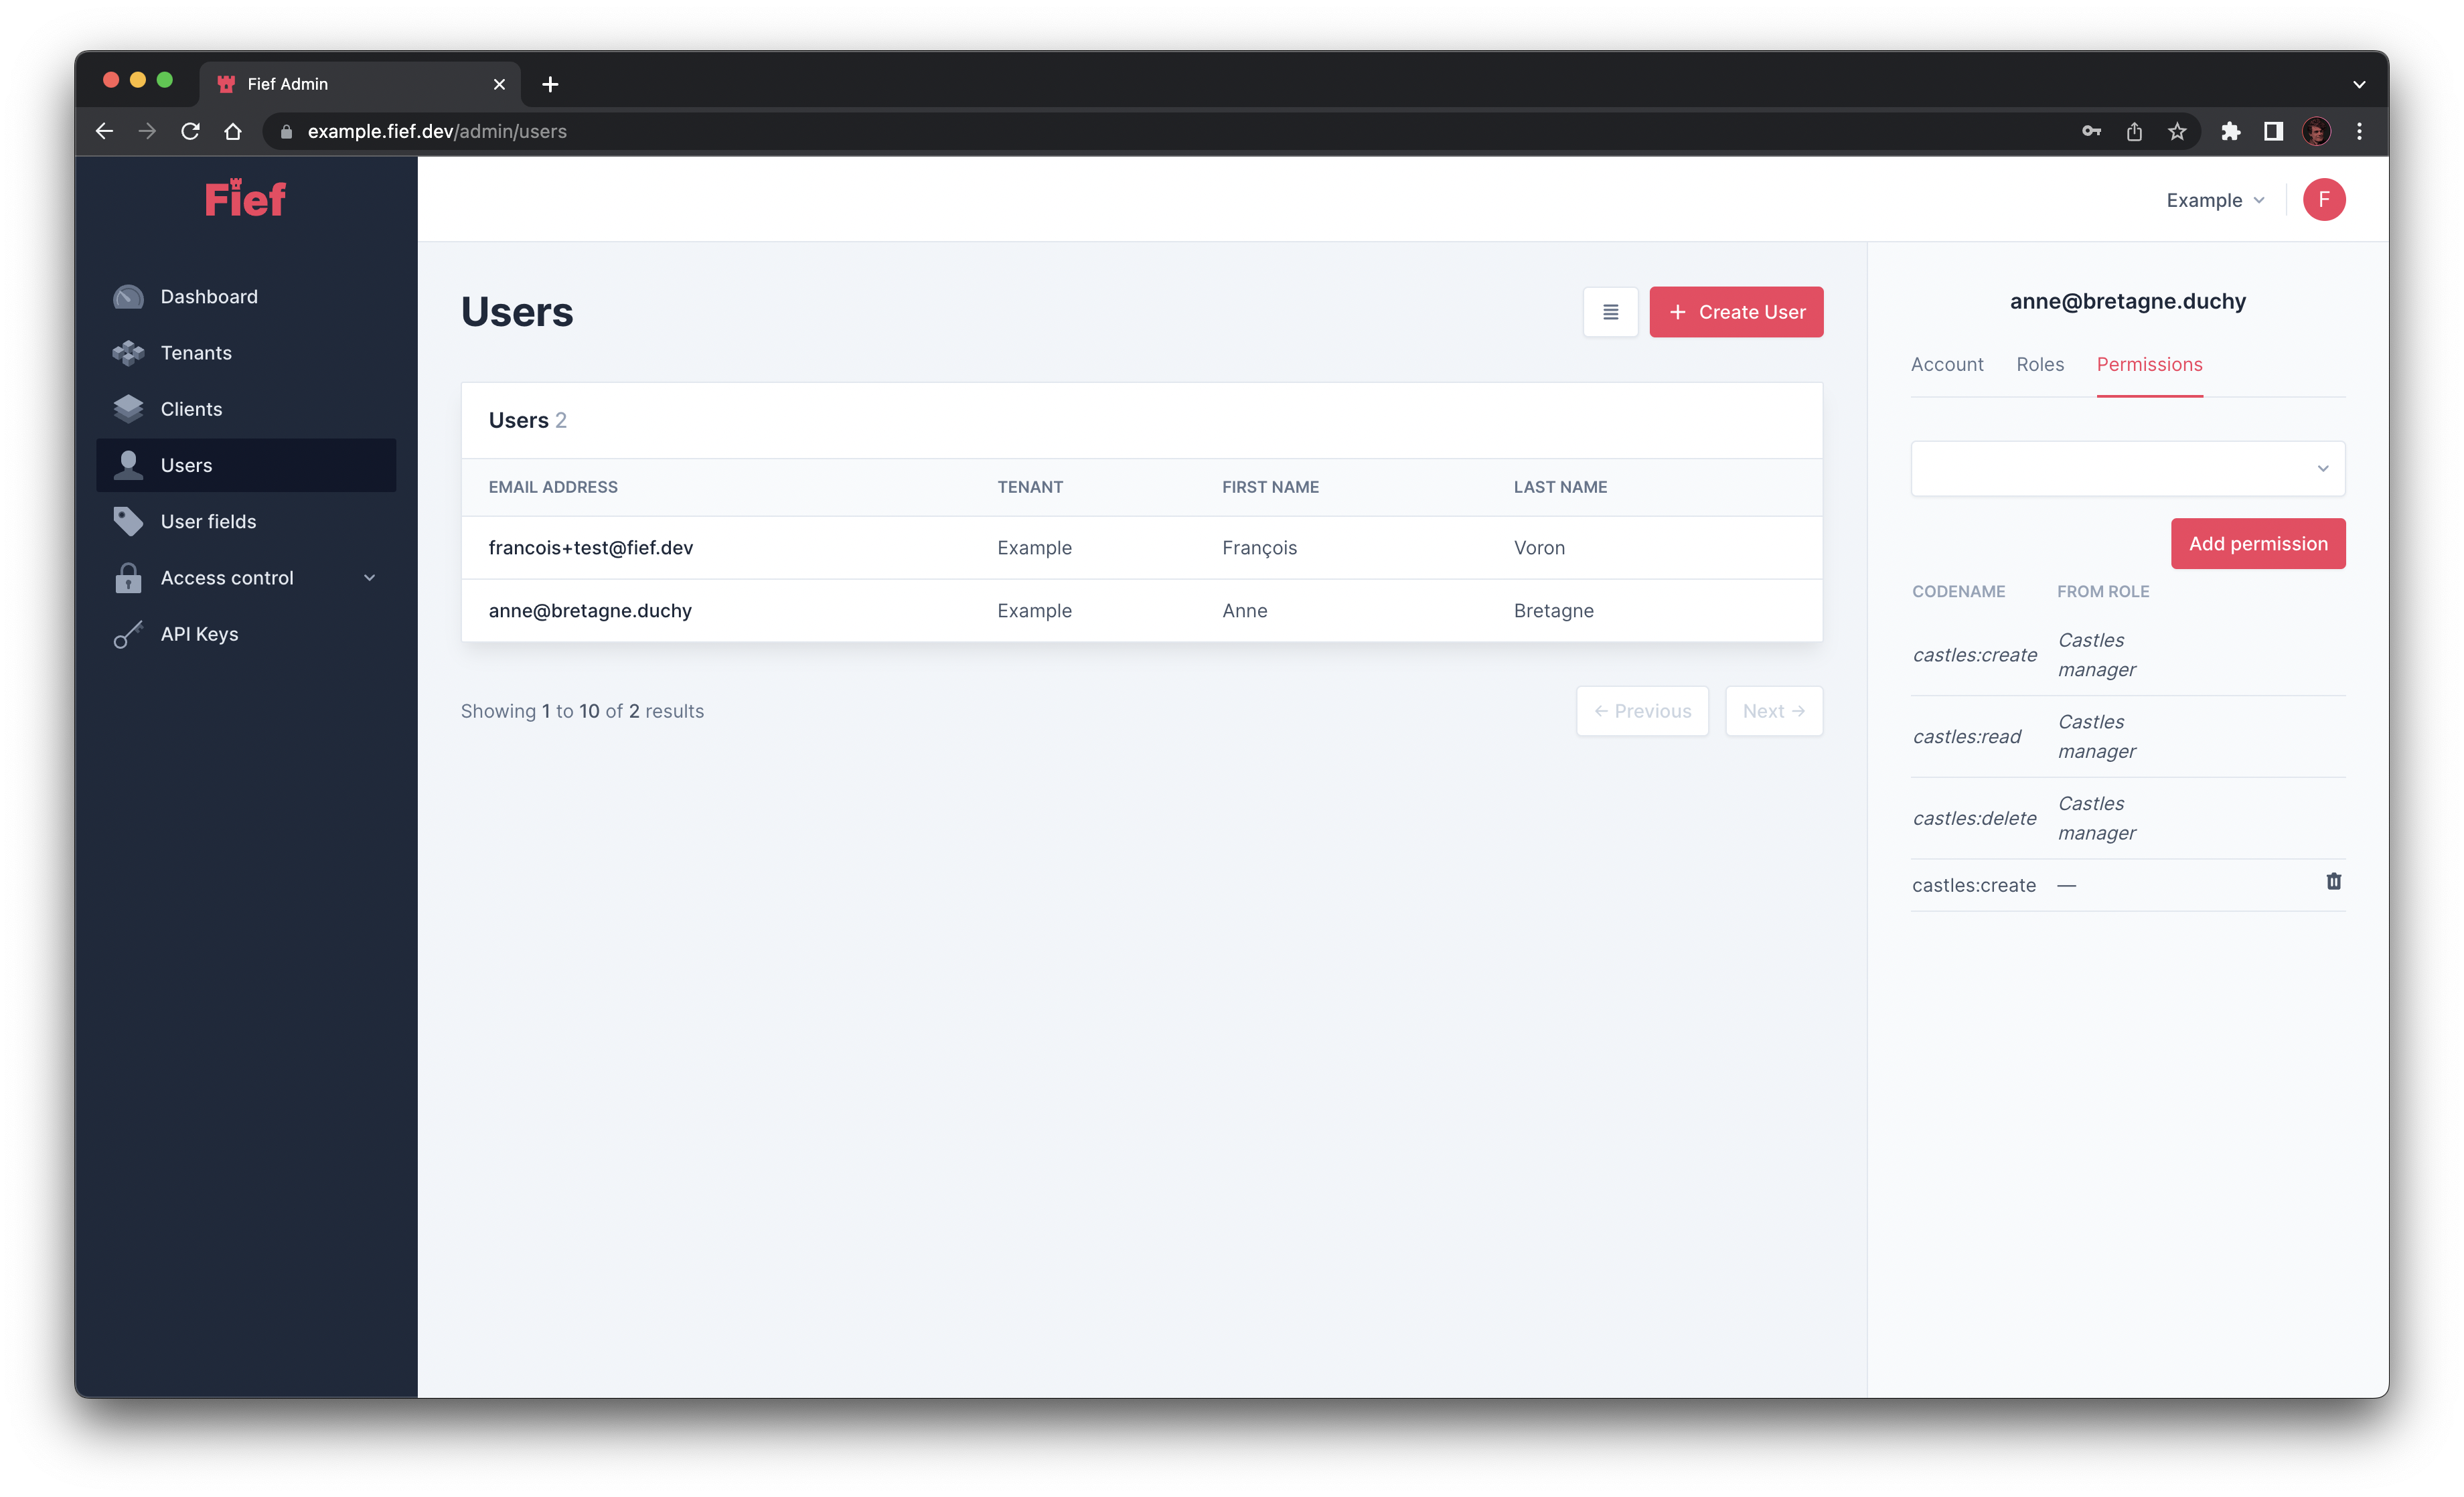
Revoke a permission
You can revoke a permission from a user by clicking on the trash button in front of the permission you want to remove.
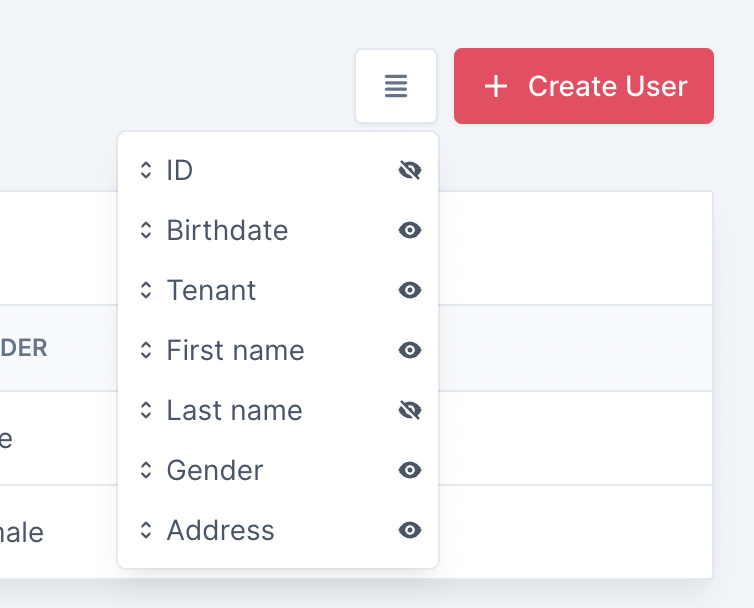
Displaying user fields
By default, every user fields are displayed in the list. You can customize the view by clicking on the button at the left of the Create User button. A menu will show up where you'll be able to show or hide a field by clicking on the eye icon and reorder them by drag-and-drop.
Create an access token
In some circumstances, like debugging, you might need to impersonate one of your users to better understand what is going on. To help you with this, you can generate an access token directly from the admin dashboard.
To do this, click on one of the user in the list. You'll see its details on the right. Then, you can click on Create an access token. A modal will appear asking you on which Client the access token will be tied and what are its allowed scopes. You'll at least need the openid scope, which is filled by default.
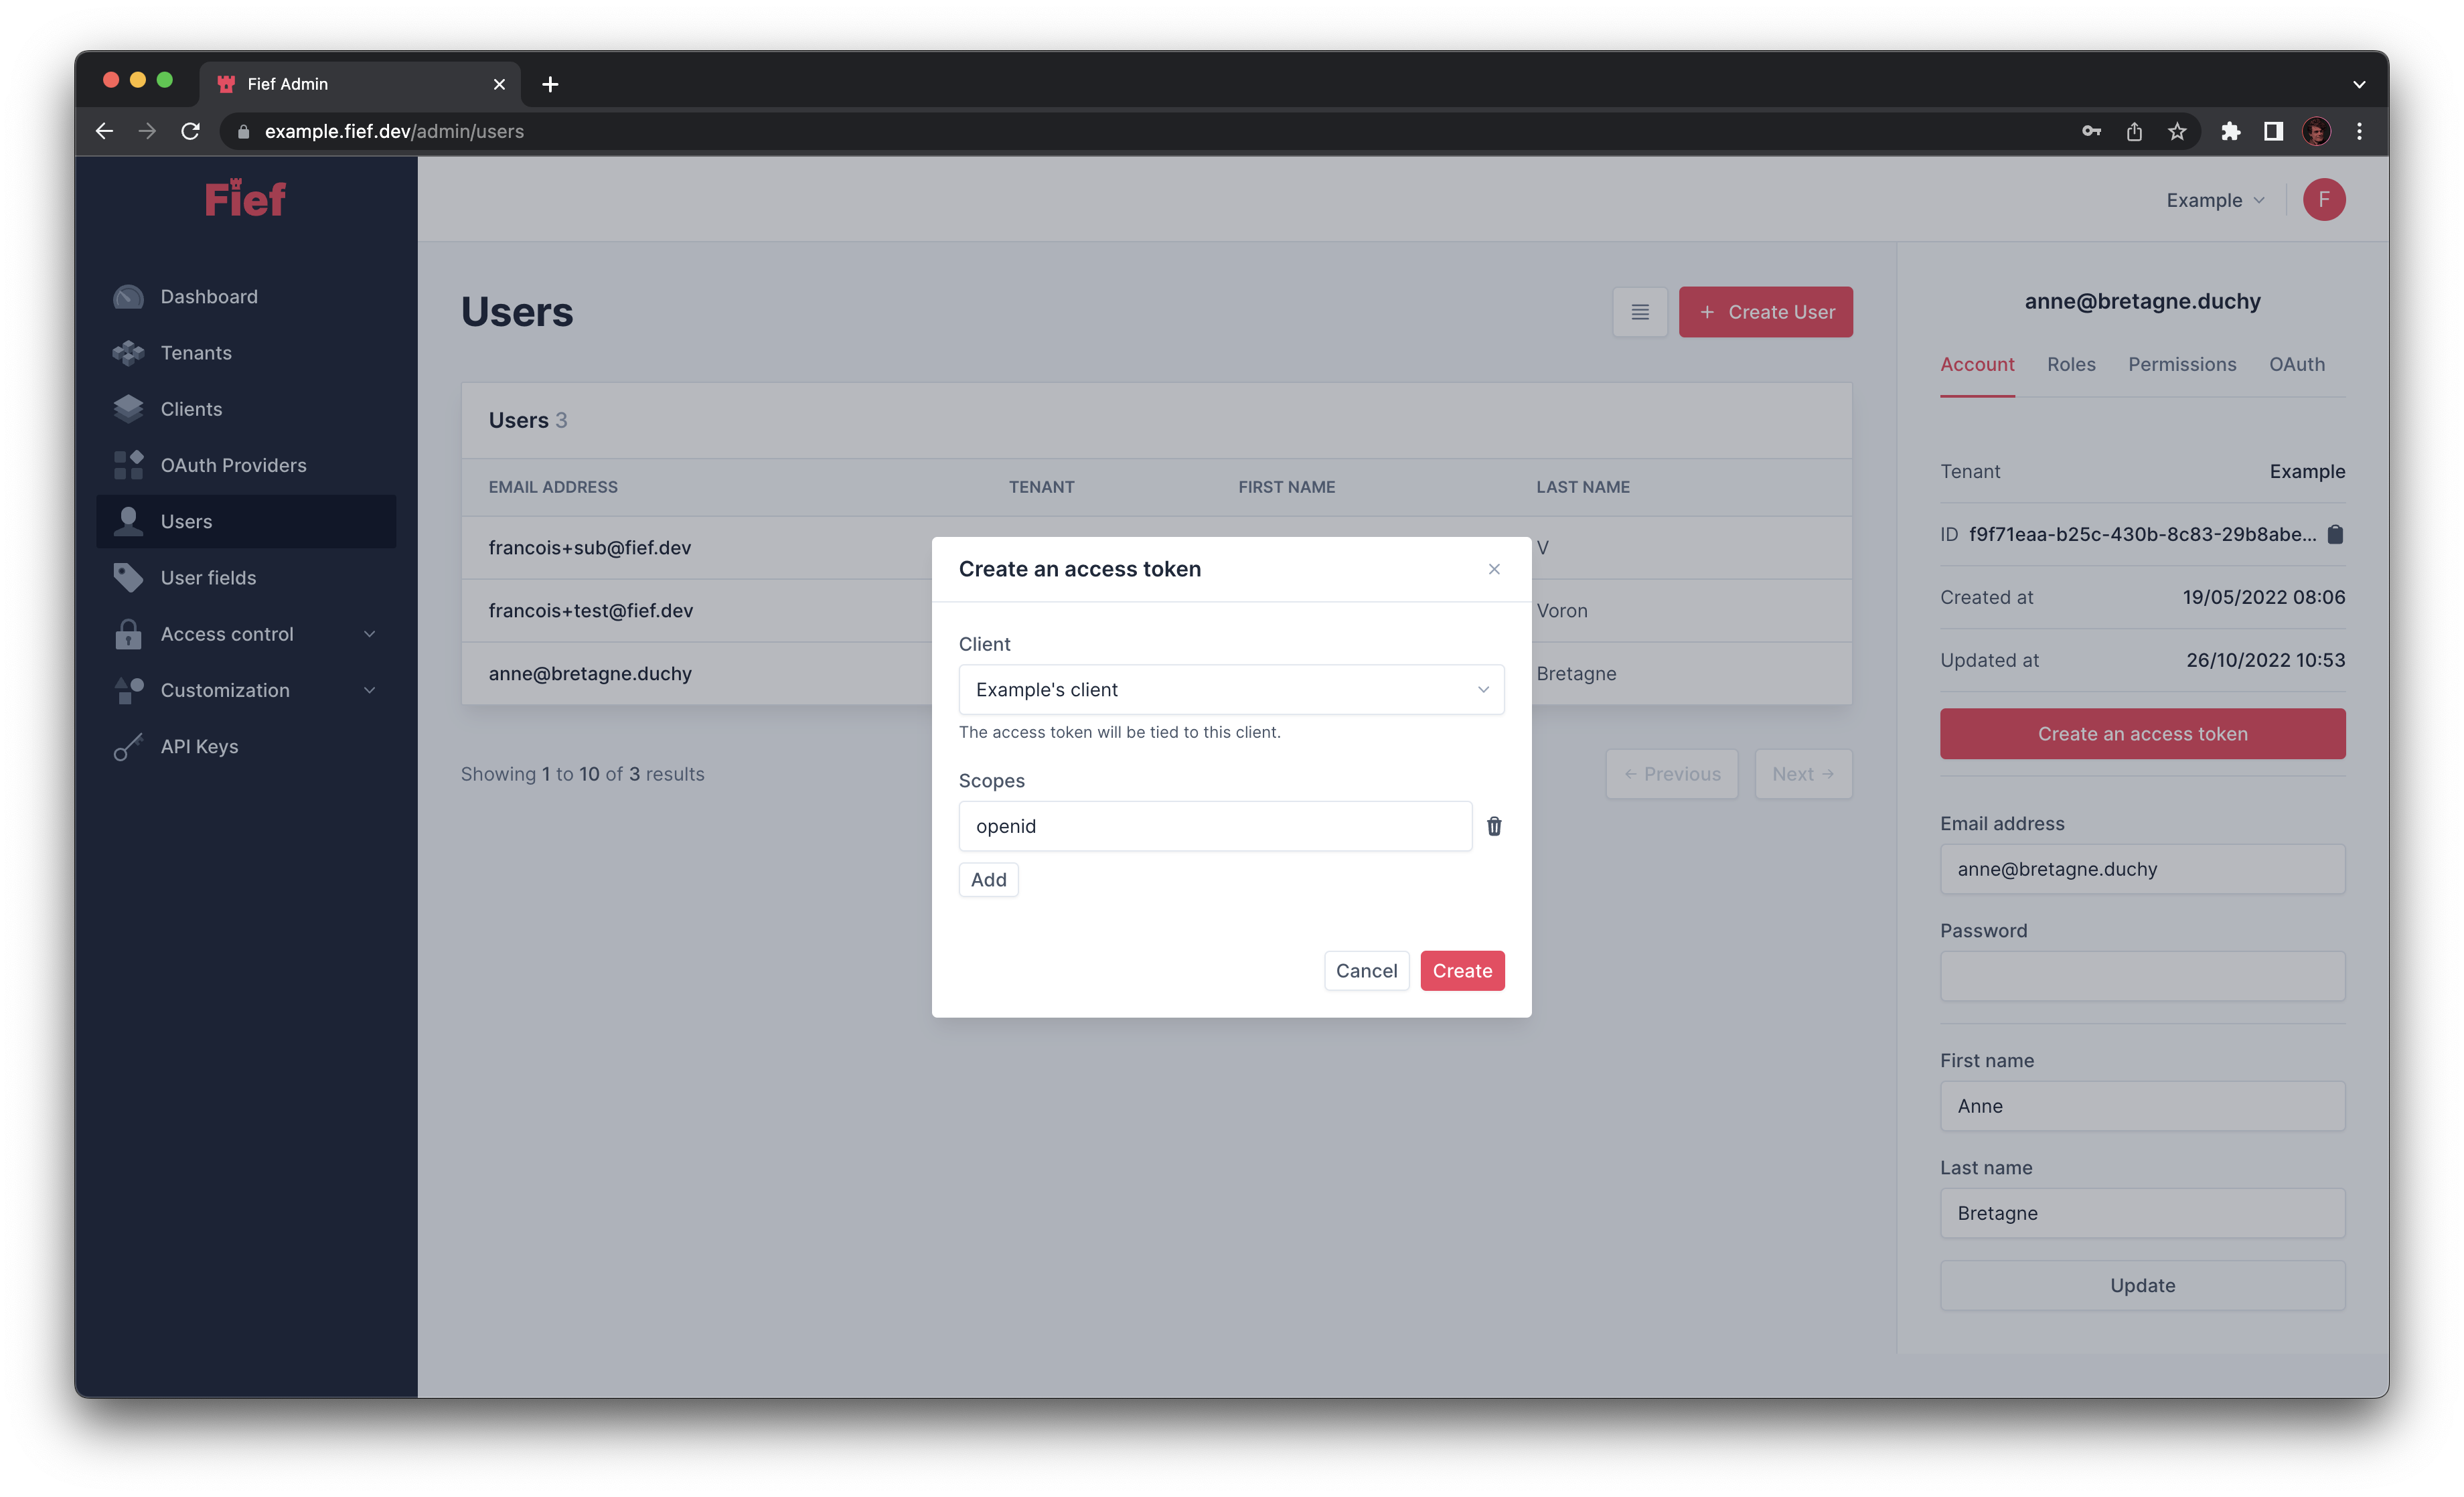
Finally, click on Create to generate the access token. It'll be valid for 1 hour.
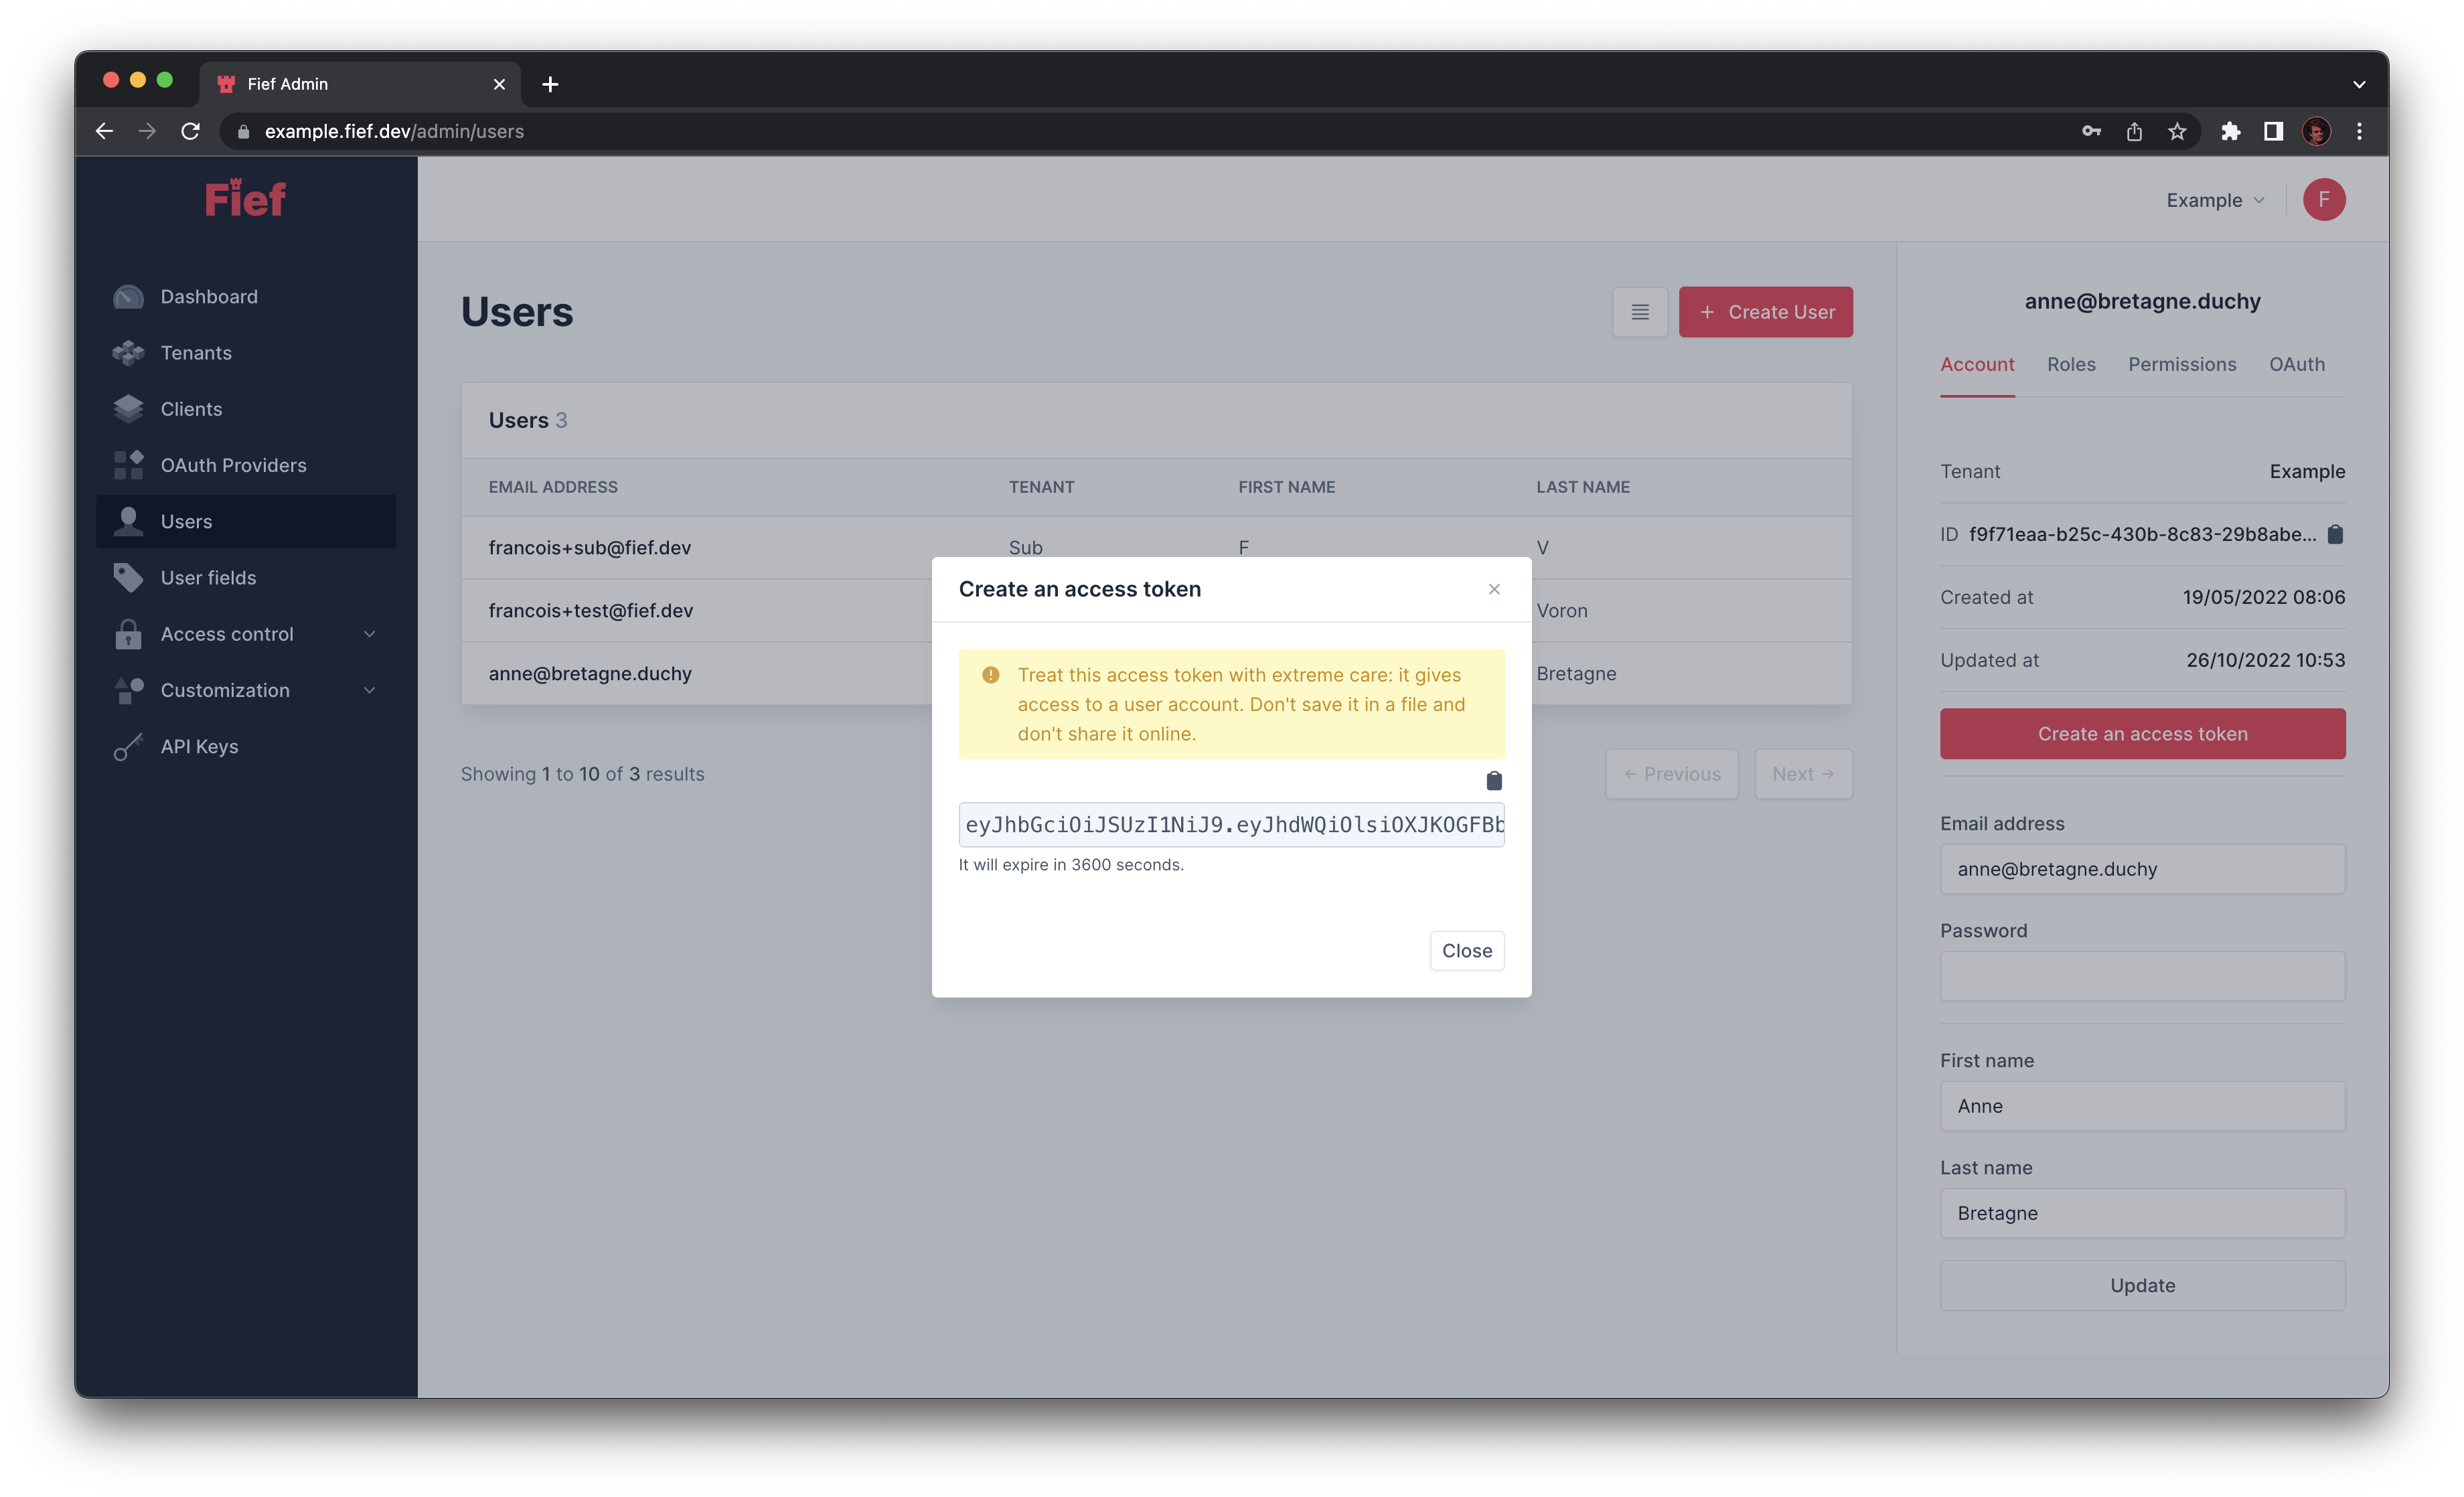
Treat this access token with extreme care
This access token gives access to a user account. Don't save it in a file and don't share it online.